Meuble lavabo autonome/en
Tuto — Difficulté : Moyen — Durée : 6 hour(s) — Coût : 190 EUR — Mise à jour : 11 décembre 2020 — 118 révision(s) — Licence : Attribution-ShareAlike (CC BY-SA)
Aires : Habitat Eau Hygiene — Contributeurs : FuzzyBot, Kkrussel, GoldofBengal
Fiche reformulée à partir du wiki Low-tech Lab : voir la fiche originale ↗
Versions de cette fiche : EN FR
Introduction
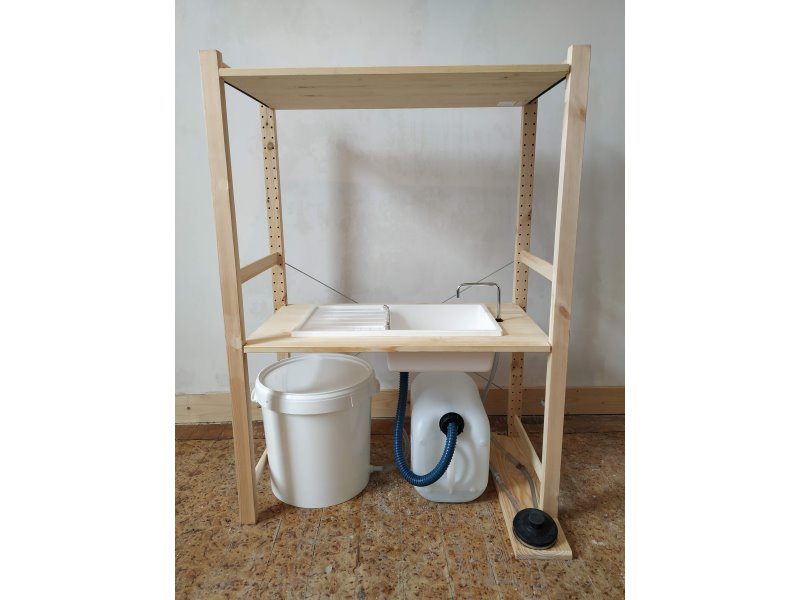
This "autonomous" sink was originally created for a nursery school classroom. The classroom didn't have a water line connection, and we didn't want the sink to rely on electricity either. This idea emerged in the COVID era and its concern with sanitation. We conceived of this sink with the idea that it could equally serve in other contexts, a stand-alone workshop or studio, for example. We opted, then, for a shelving system that could be adjusted in height, permitting the user to adjust it to the desired size.
Description
Self-sustained Sink Suitable for Both Children and Adults
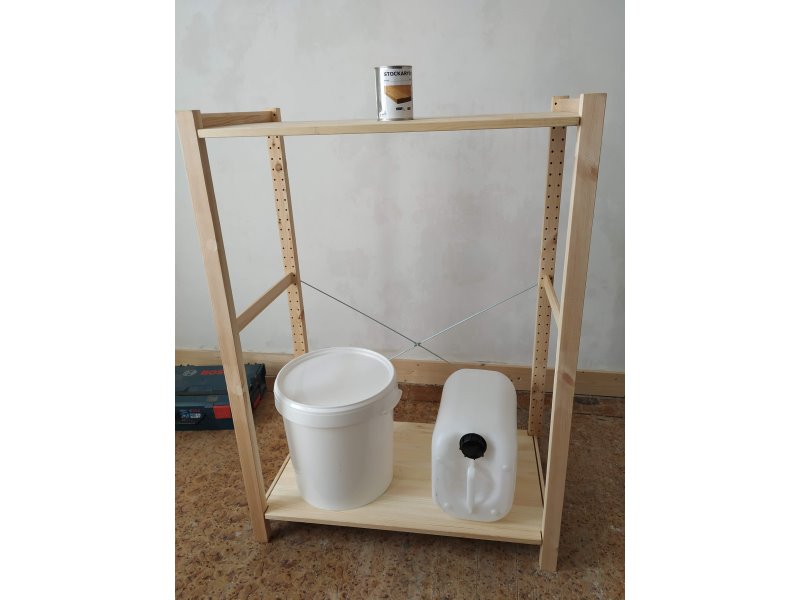
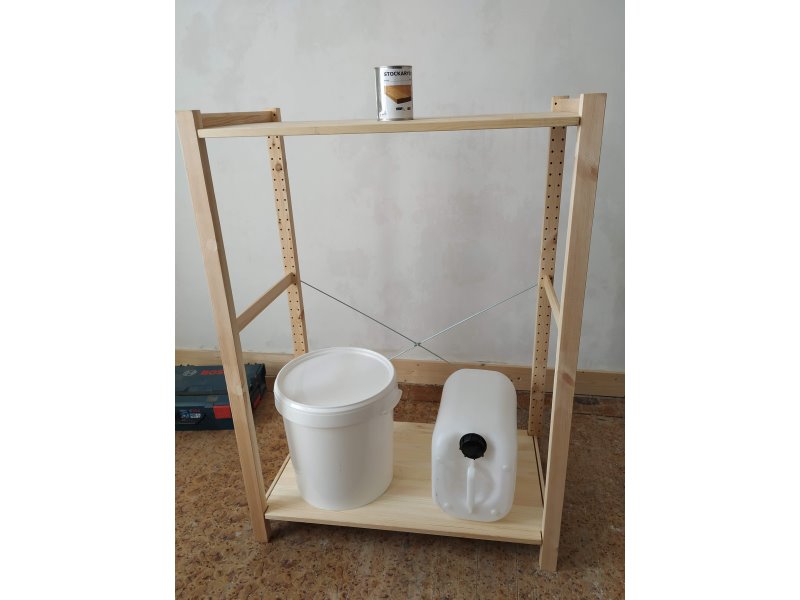
Assemble the Shelf
For the shelf, the most autonomous action would obviously be to do it yourself, but we are focused on assembly from existing materials. So, to assemble this shelf, refer to the manual provided by Ikea.
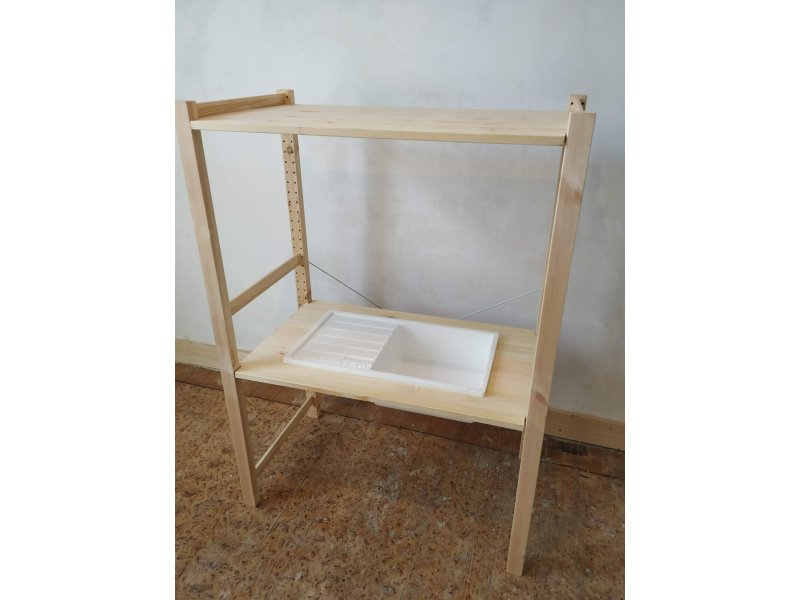
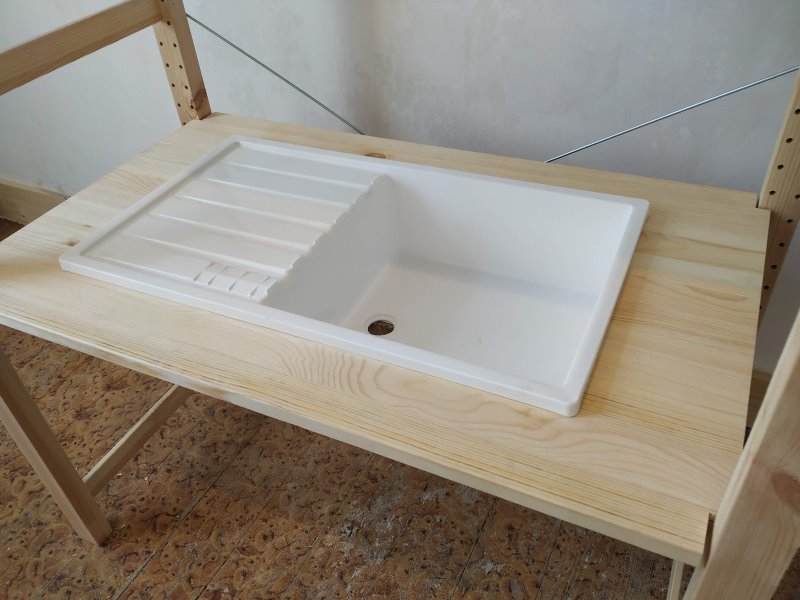
Install the Sink into the Shelf
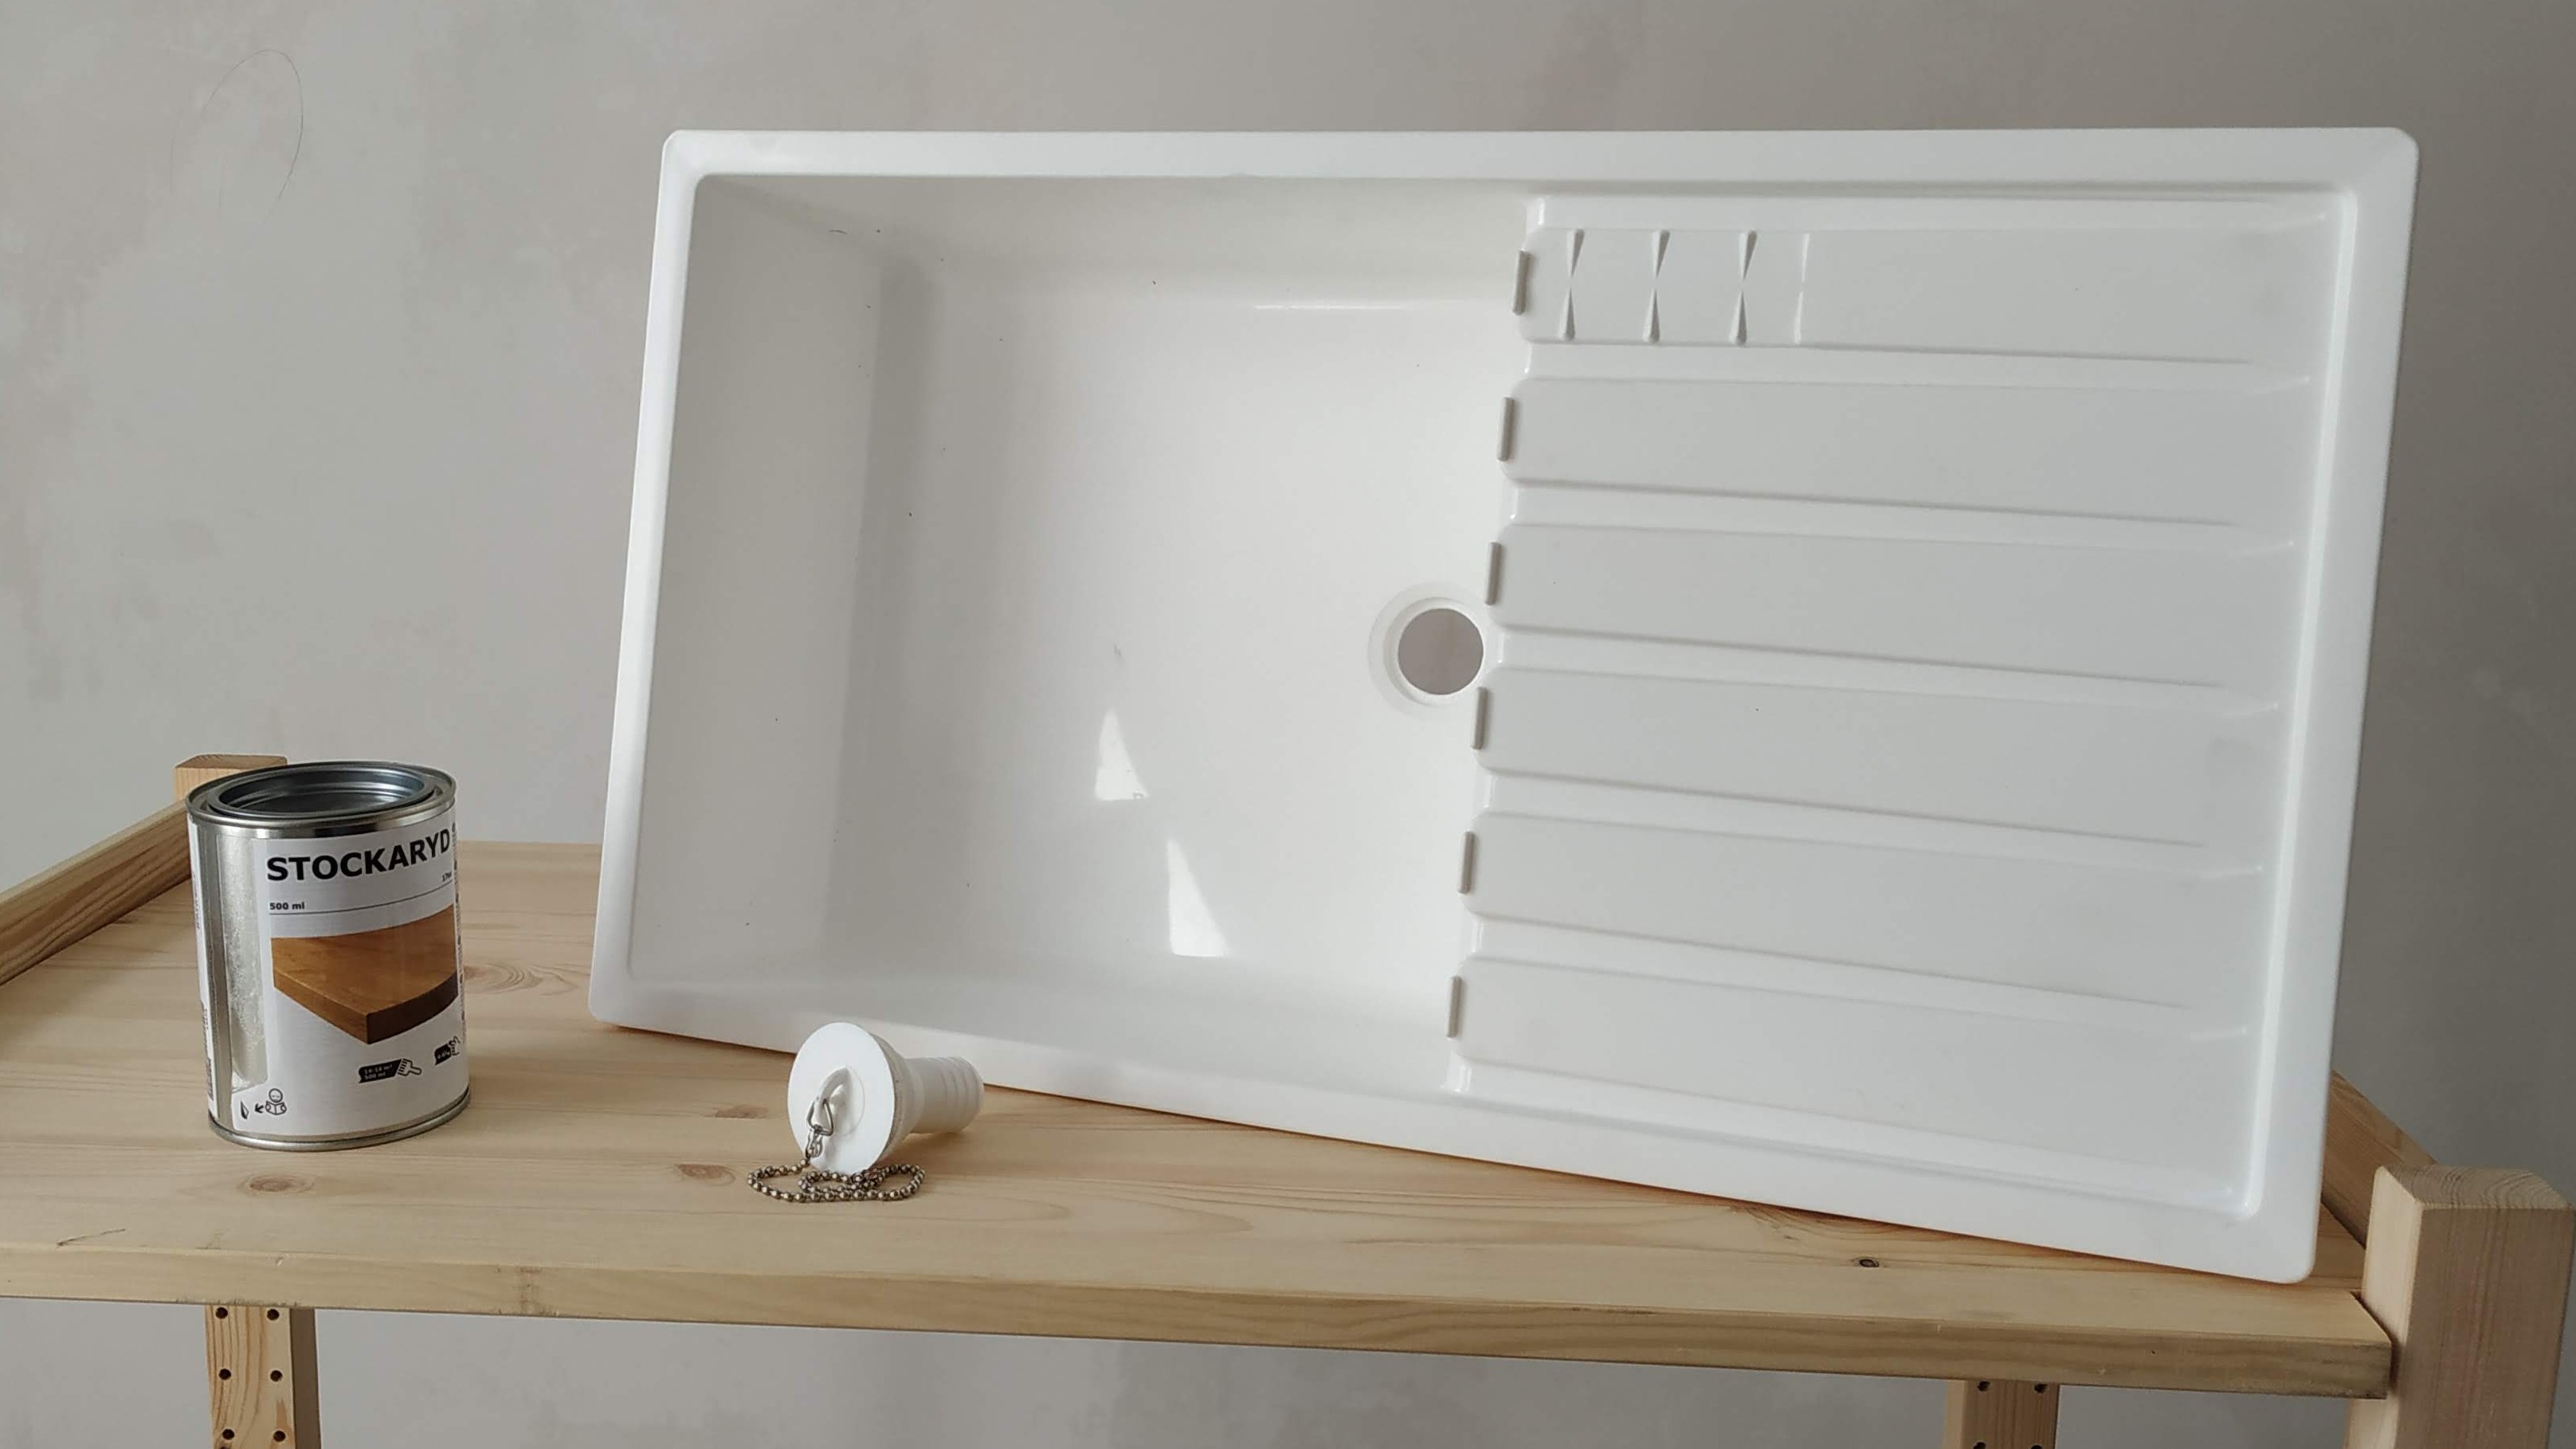
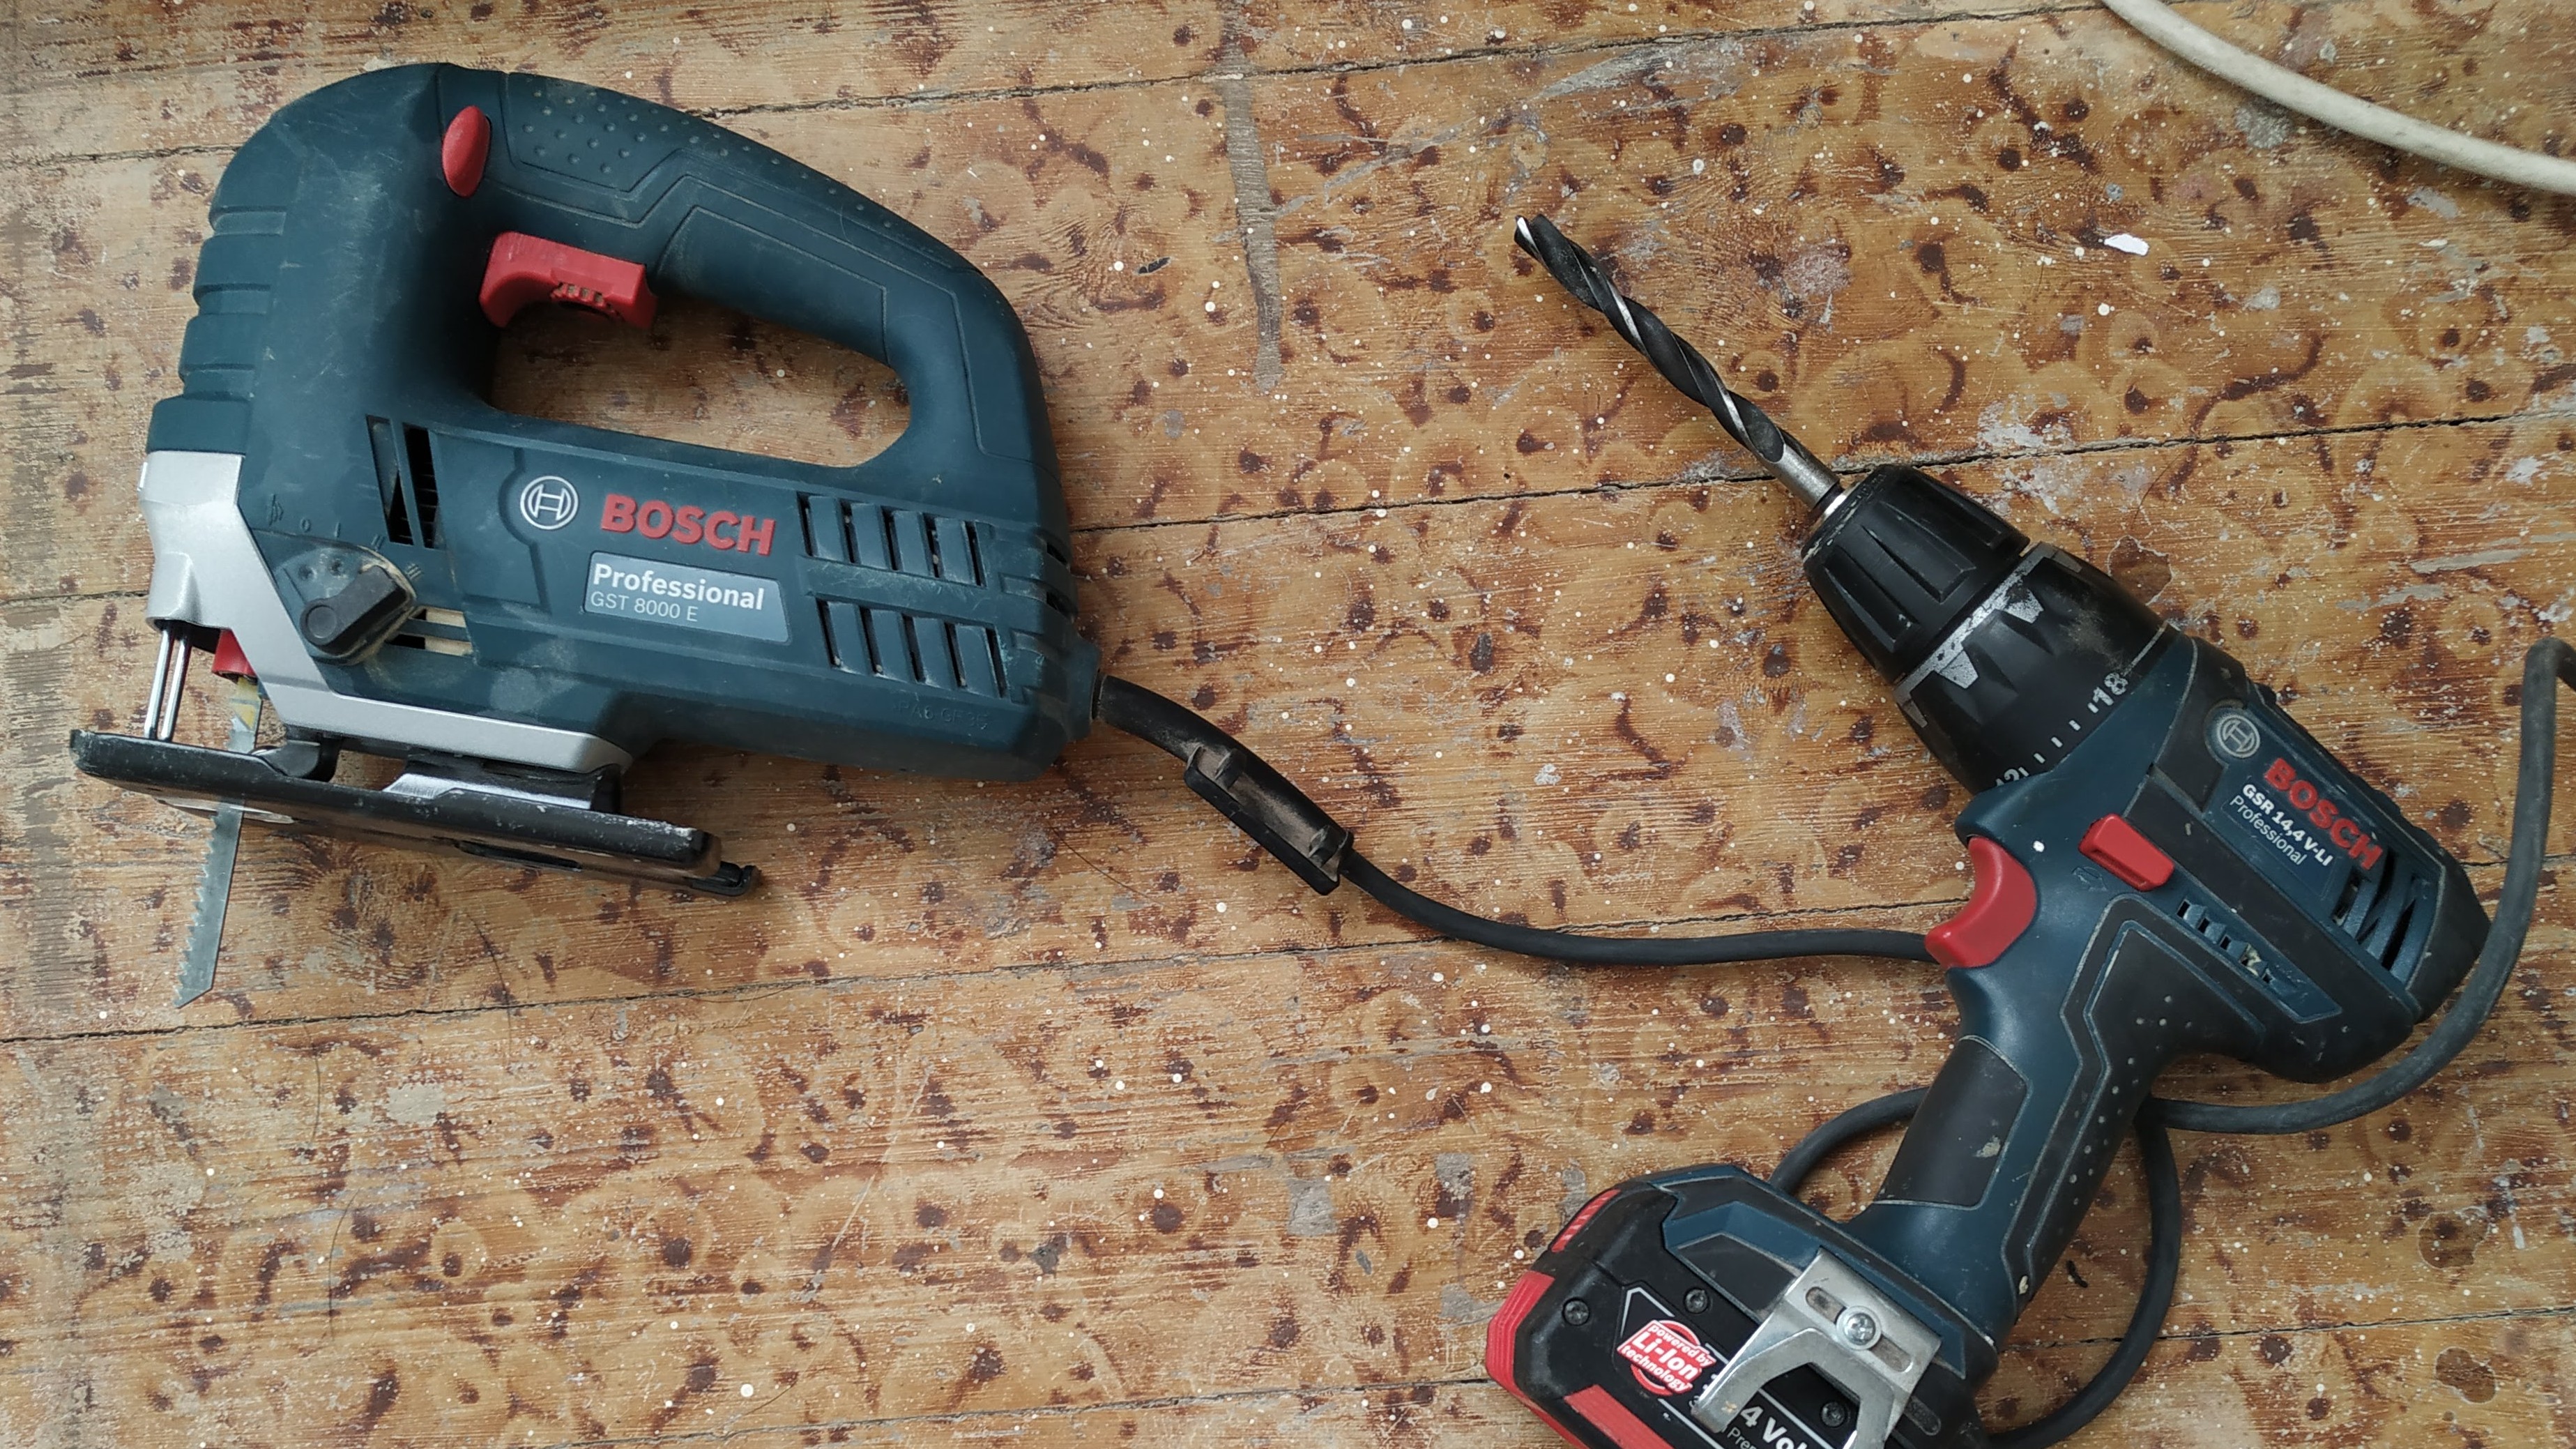
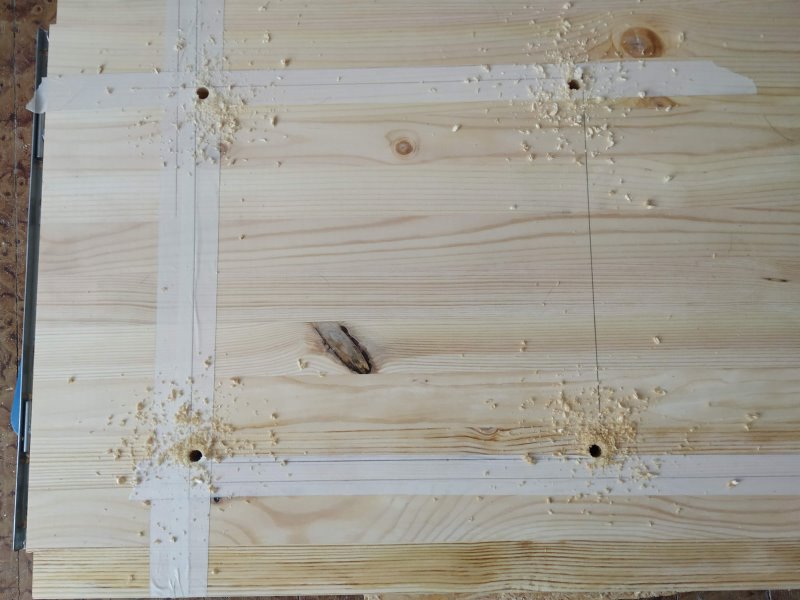
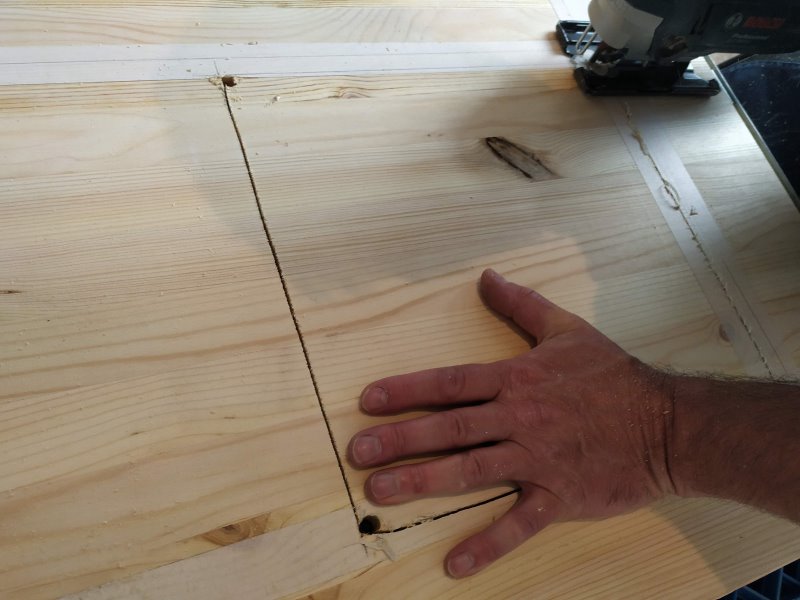
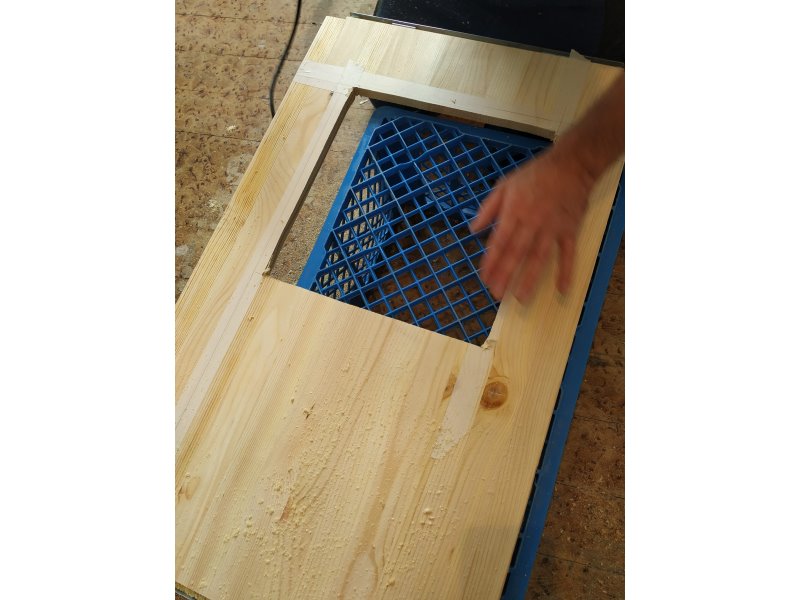
Materials *Masking tape *Ruler *Square *Tape Measure *Drill *10mm drill bit *Jigsaw Directions #Plot the outline of the part of the sink to be inserted on the non-visible side of the board (the underside). #Drill a hole on each of the 4 corners of the outline #Cut out the outline with the jigsaw #Insert the sink #Install the shelf with the sink at the desired height according to the size of the children or adults
Install the Fitting for the Clean Water Bucket
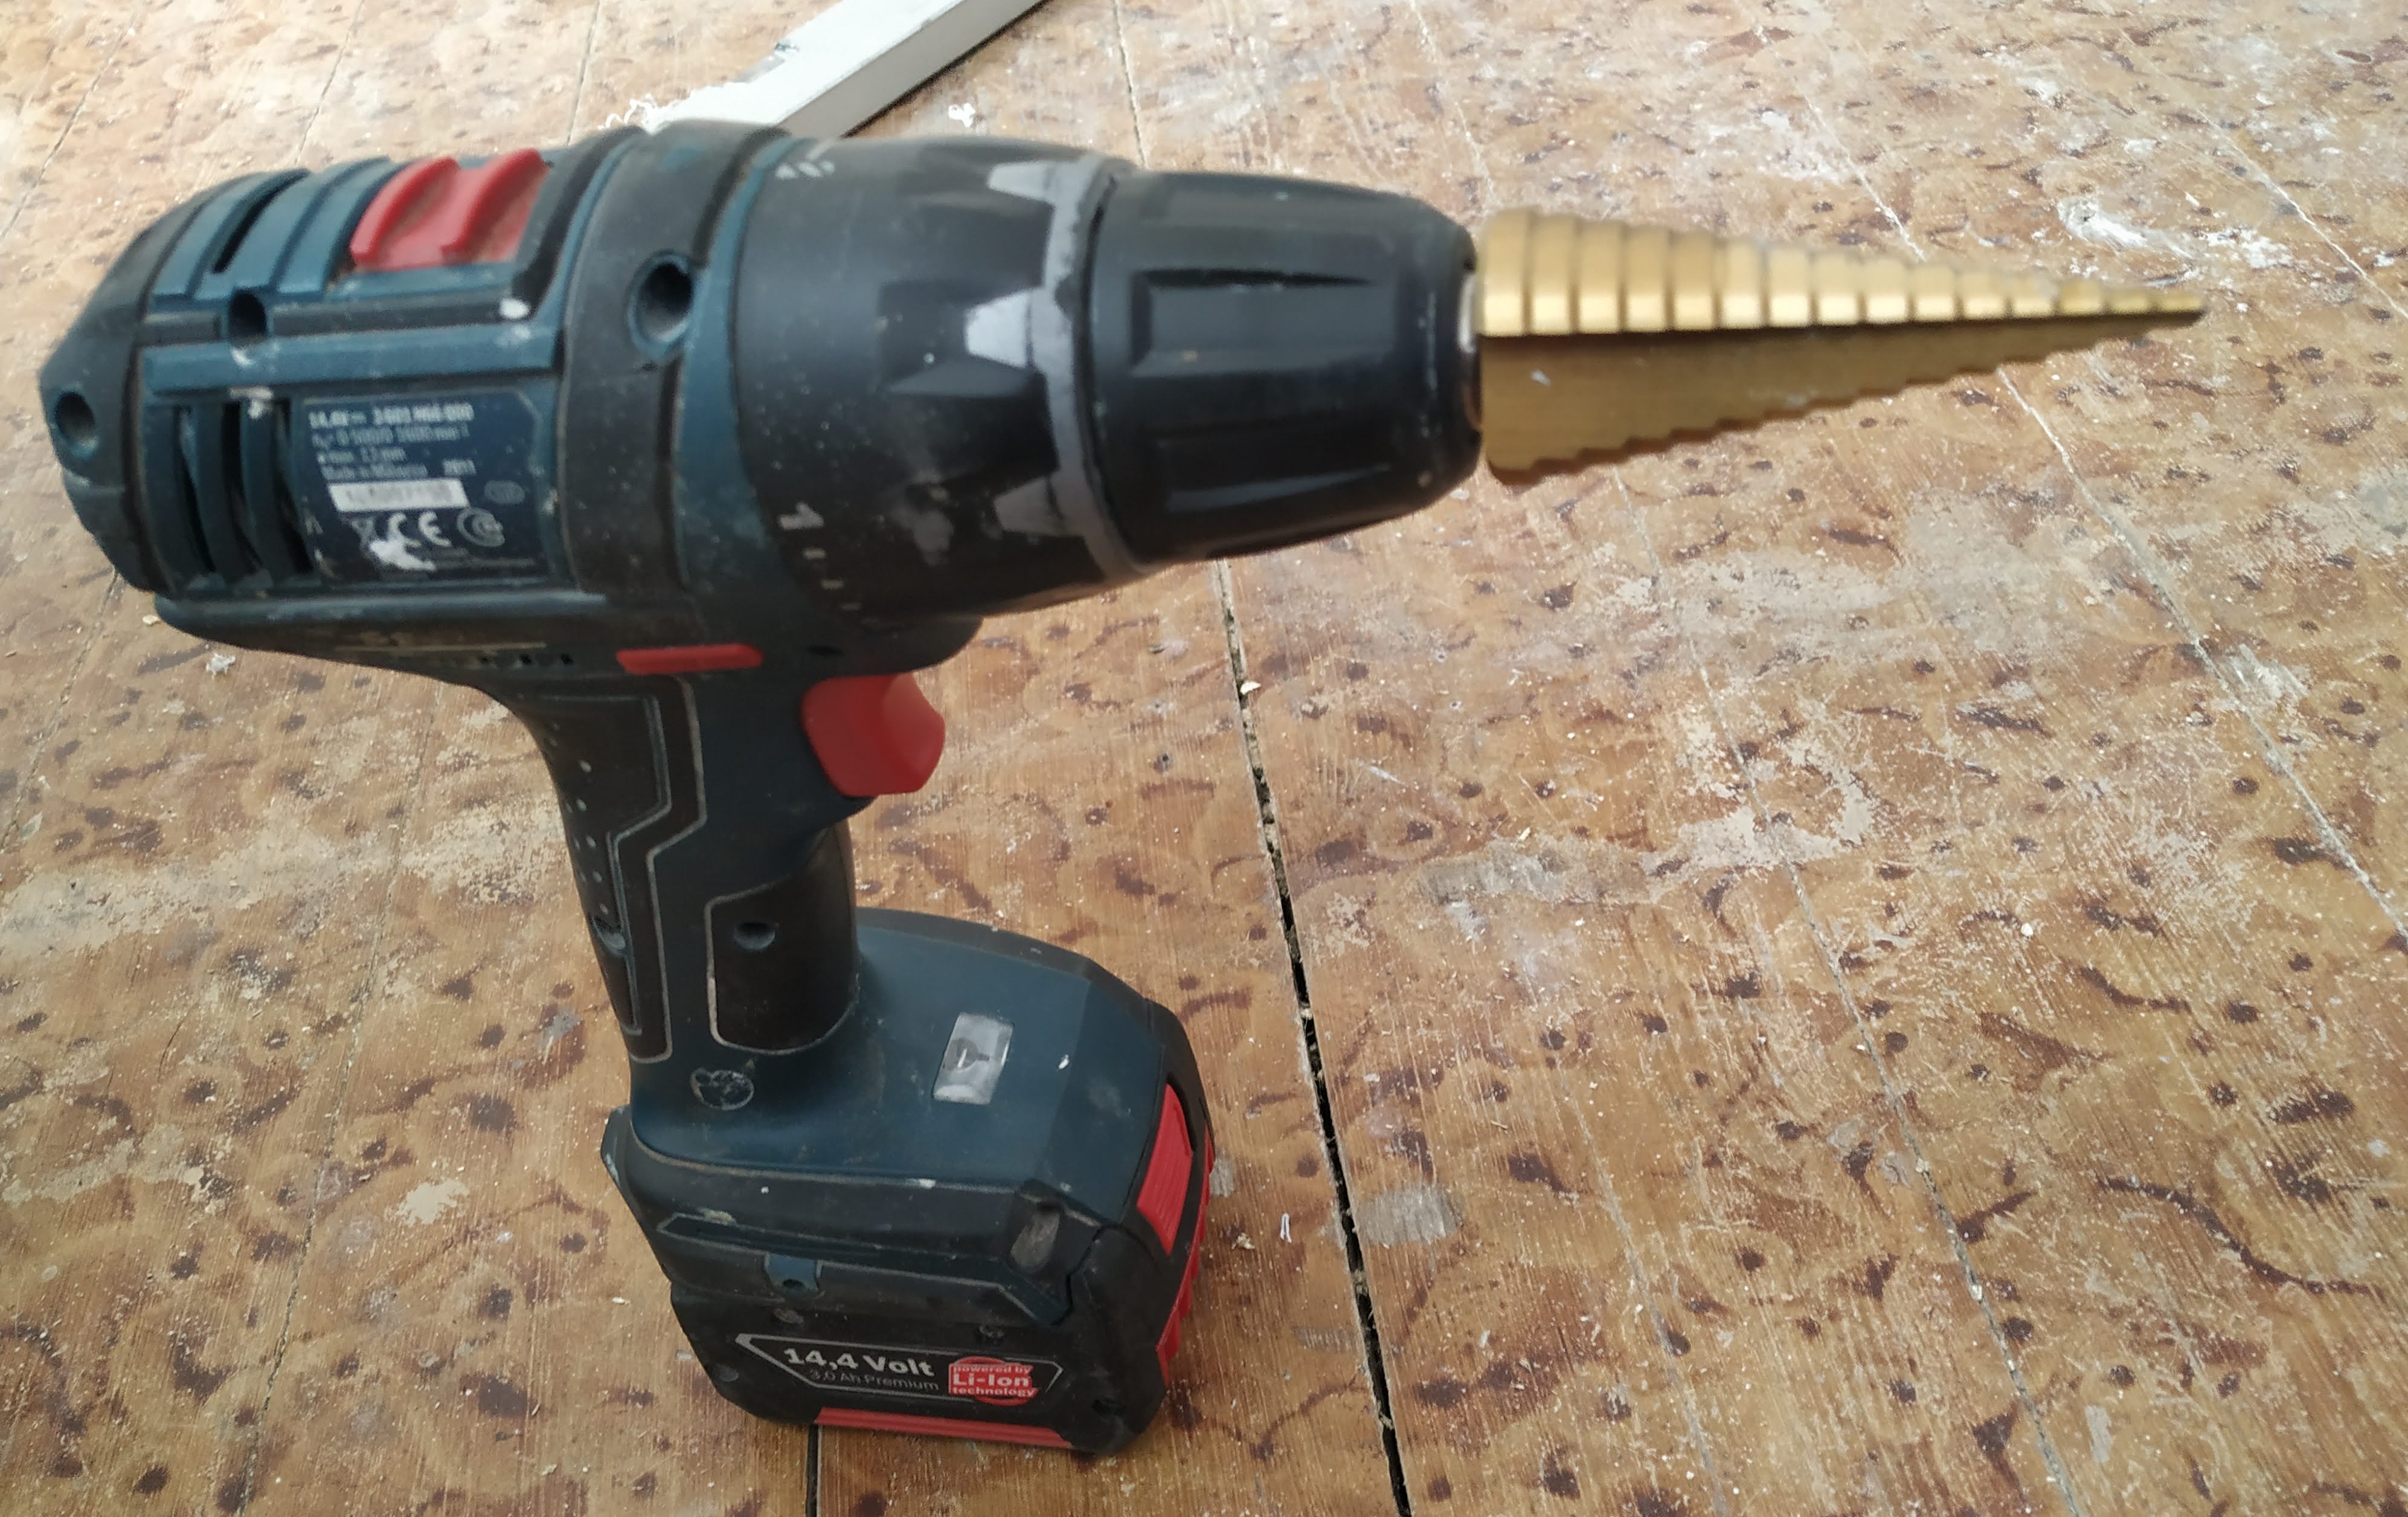
Materials *Auer plastic food safe bucket - 30 liters *Masking tape *Ruler *Tape measure *Step drill bit *Fitting - 12mm diameter, 1/2", straight (not curved) Directions #Mark the location of the fitting on the lowest end of the bucket. #Drill the bucket with the step drill bit. #Screw the fitting in. Attach the gasket and nut to the fitting inside the bucket.
Connect the Tubes
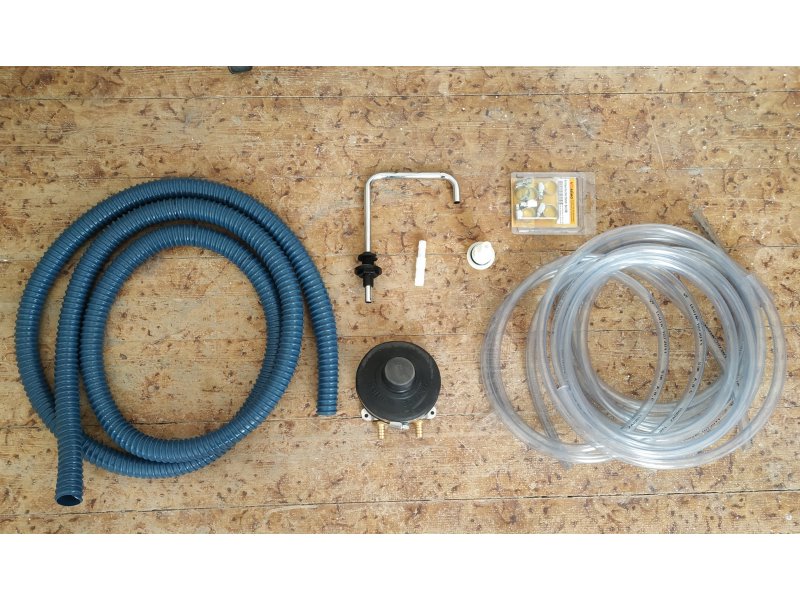
Materials *Clear tubing 16/12mm (120cm + 20cm) *Clear tubing 12/10mm (40cm) *Plastic reducing adapter 12/10mm *Foot pump *Swivel spout tap Directions #Connect the clean water bucket to the foot pump. Attach the 16/12 (1.2 meters) tube to the nozzle of the clean water bucket. Then, connect the 16/12 tube to the foot pump (The nozzle on the right when viewed from the bottom (water intake)). #Connect the foot pump to the swivel spout tap. Link the 16/12 (20cm) tube from the foot pump to the adapter and then to the 10/12 (40cm) clear tube which goes toward the swivel spout tap.
Leak Test the Connections
Using 5 litres of water placed in the clean water bucket, test the watertightness of the system in place.
Attach the Swivel Spout Tap to the Shelf
Materials *Drill *Drill bits *Swivel spout tap Directions #Mark the location and drill a hole using a size 18 flat wood bit #Make a countersink hole using a size 39 flat wood bit on the bottom of the board. #Screw the base of the tap into the board and install the spout.
Fasten the Drain and Plug to the Sink
Materials *Straight sink drain 25mm
Install Sink-Stopper Chain and Metal Fastener (optional)
Installing Wastewater Drainage
Materials *Jerrycan/fuel can 20 litres *Ribbed hosing - 25mm diameter 90cm length *Drill with step drill bits *Straight drain and plug 25mm *PVC fastener 40mm. 4 x 30 screw Directions #Drill a 32mm hole into the lid of the jerrycan with the flat drill bit and drill. #Connect the sink drain to the jerrycan. #Install a 40mm diameter PVC fastener for the drainage hose. "(When the jerrycan is full and it's time to empty it, this fastener allows you to keep the hose raised, which prevents the water remaining in the hose from spilling on the floor, which happened on our first use...)" #Install and test the drainage system.
Anti-Tip System
Materials *Wood board 64cm x 14cm x 22mm *2 flat angle brackets 40mm *4 wood screws 4 x 20 Two possible options: one being to fix the board to the feet of the shelf, the other being for the more handy, to make a cut-out to embed the feet of the shelf into the anti-tipping board. We present here the second choice. #Trace and then cut out the outlines of the feet of the shelf by drilling then cutting the portions out with a jigsaw. #Fix the board to the shelf with two flat angle brackets.
Fixing the Foot Pump in Place
Materials *2 stainless steel screws with tapered head M5 x 30mm
Treating the Wood
In order to protect the wood from splashes, it was treated with a hard oil, in two coats.
← Retour au répertoire — Fiche originale sur wiki.lowtechlab.org ↗