Porte-monnaie en brique/en
Tuto — Difficulté : Tres facile — Durée : 5 minute(s) — Coût : 0 EUR — Mise à jour : 2 juin 2026 — 54 révision(s) — Licence : Attribution (CC BY)
Aires : Hygiene Outils — Contributeurs : EKO!, FuzzyBot
Fiche reformulée à partir du wiki Low-tech Lab : voir la fiche originale ↗
Versions de cette fiche : AR EN FR

Introduction
Upcyling, reus and recycling have become essential practices for reducing our environmental impact. One creative way of doing this is to make everyday objects from recycled materials. Today, we're going to learn how to make a wallet from a juice or milk carton. This DIY project is not only environmentally friendly, but also practical and fun to make. Follow the detailed steps below to create your own unique wallet.
Description
How to turn a milk/juice carton into a wallet. At the end of this tutorial, not only will you have a super useful wallet, but you'll also have reused the carton that would otherwise have ended up in the bin. Turning waste into useful products is a key principle of low-tech.
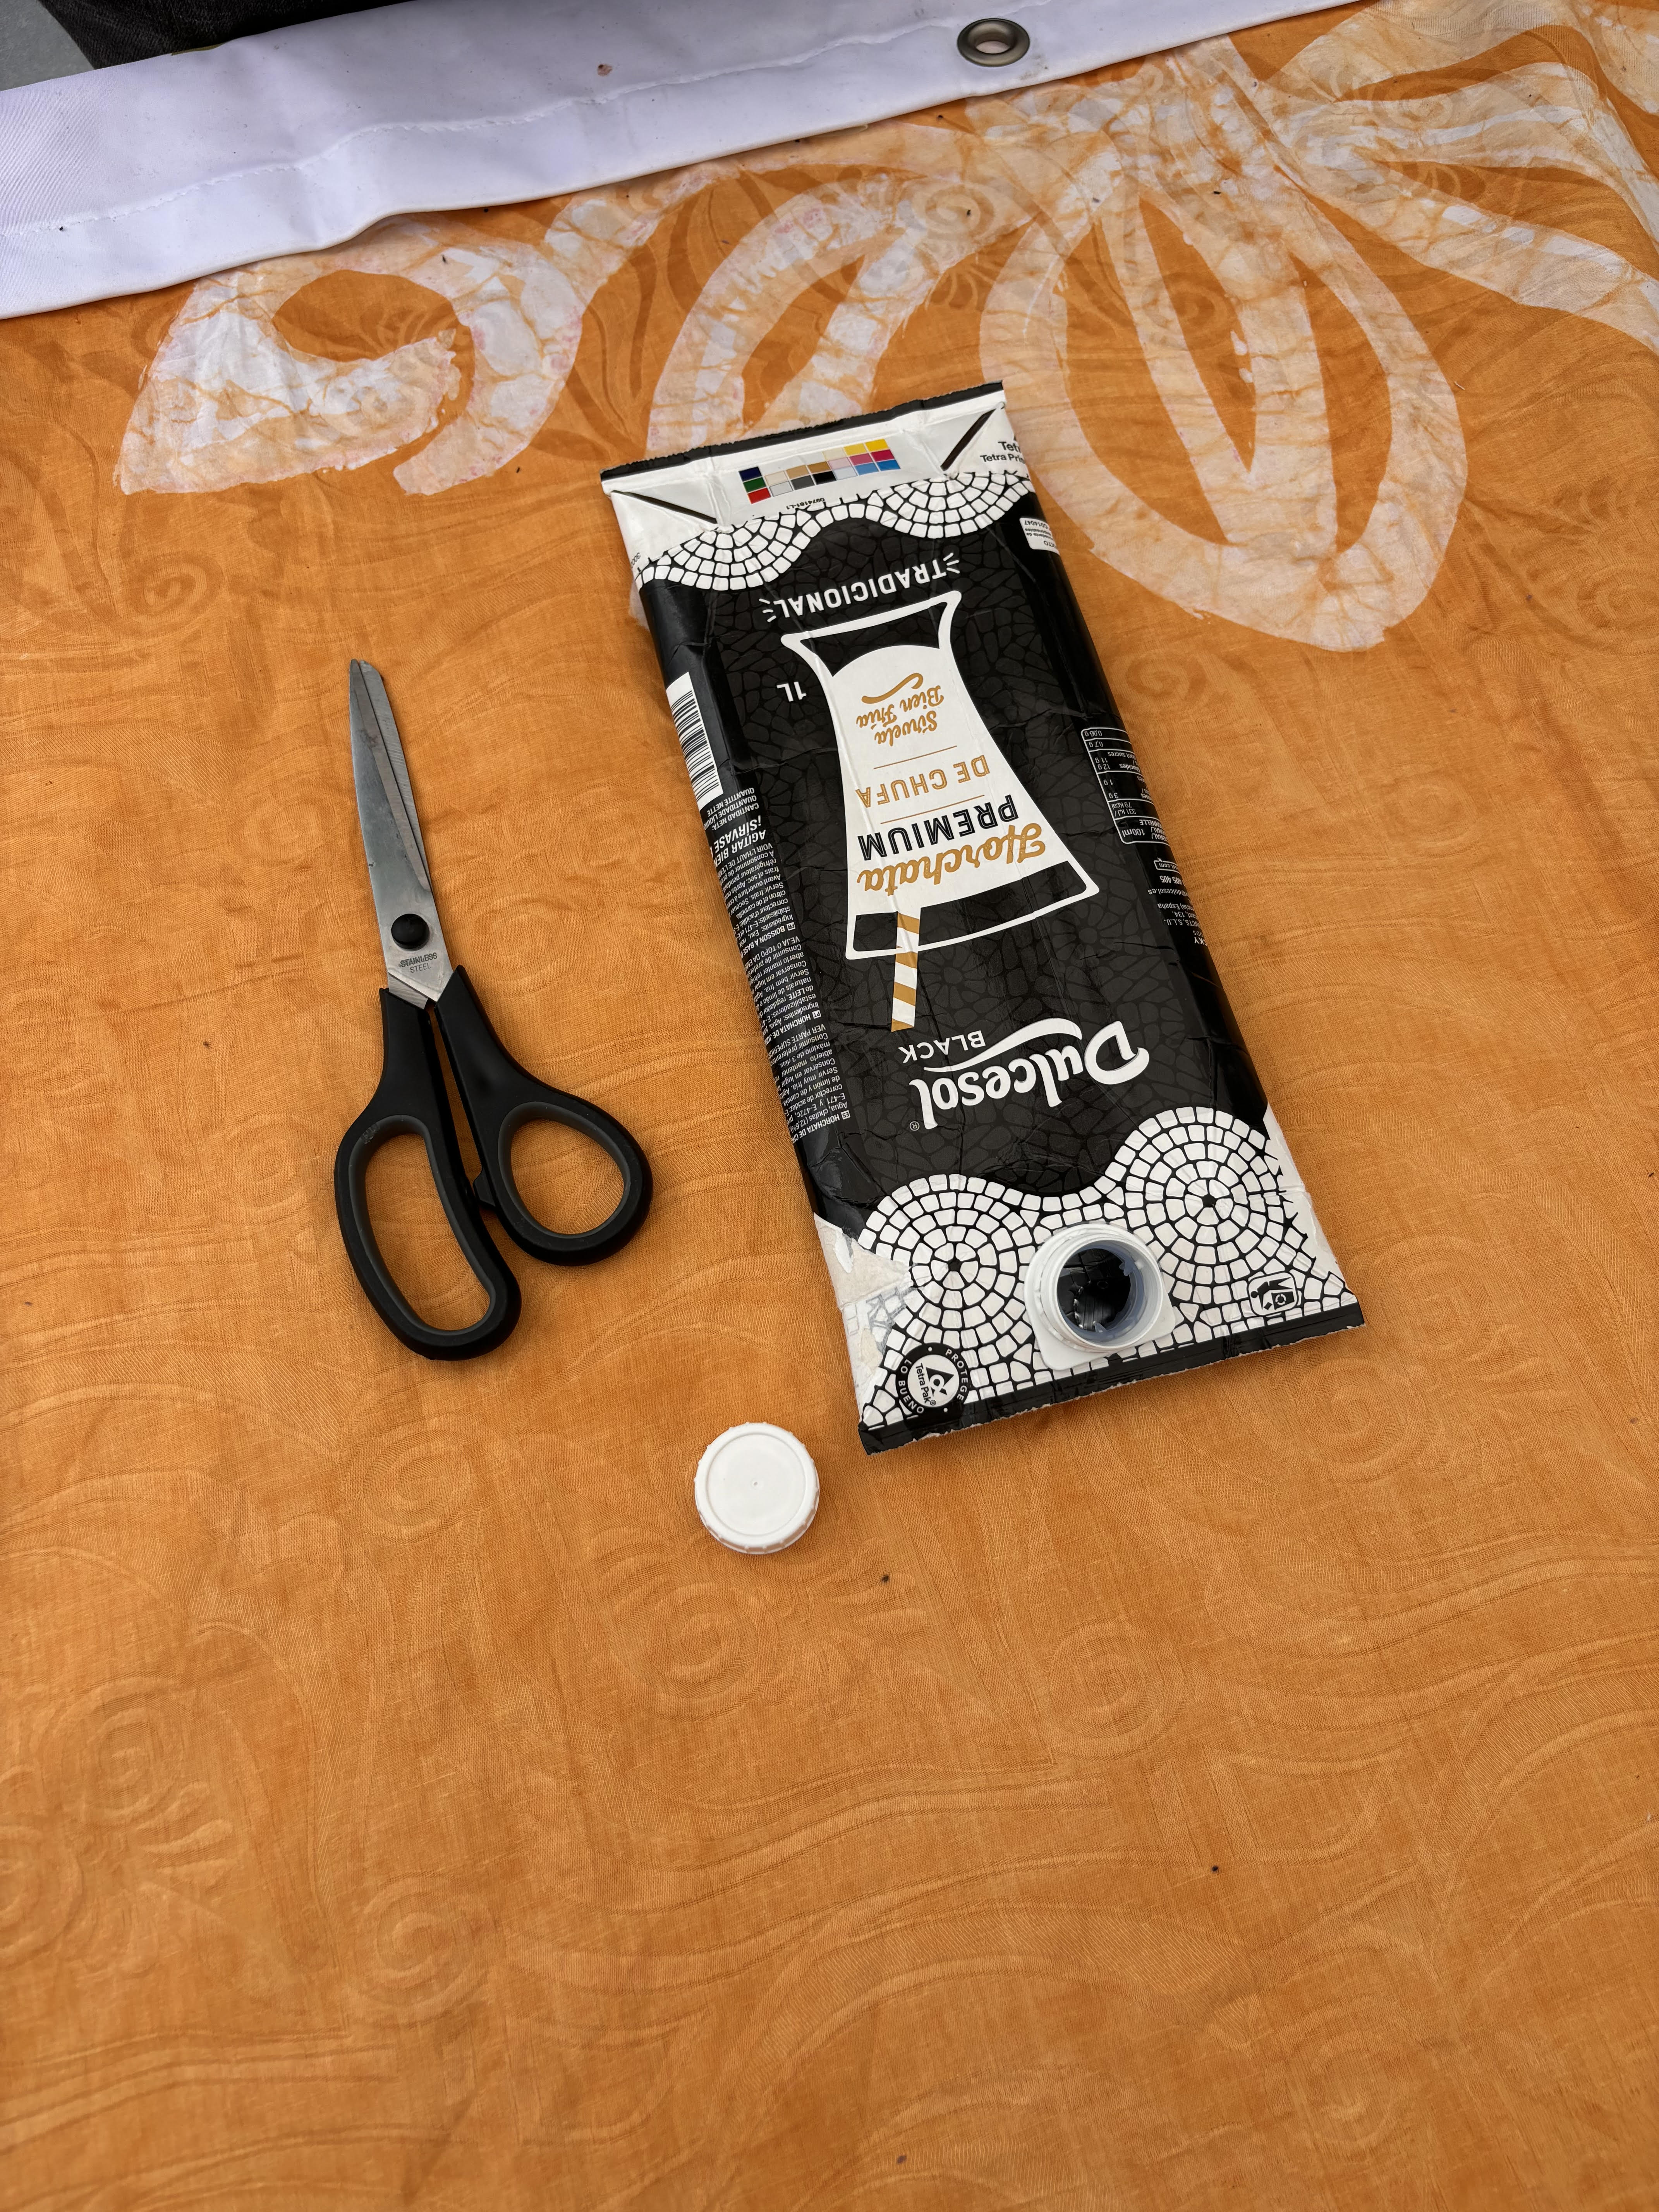
Preparing the carton
- Rinse the inside thoroughly with water - Dry the carton with a cloth - Dry the inside of the carton
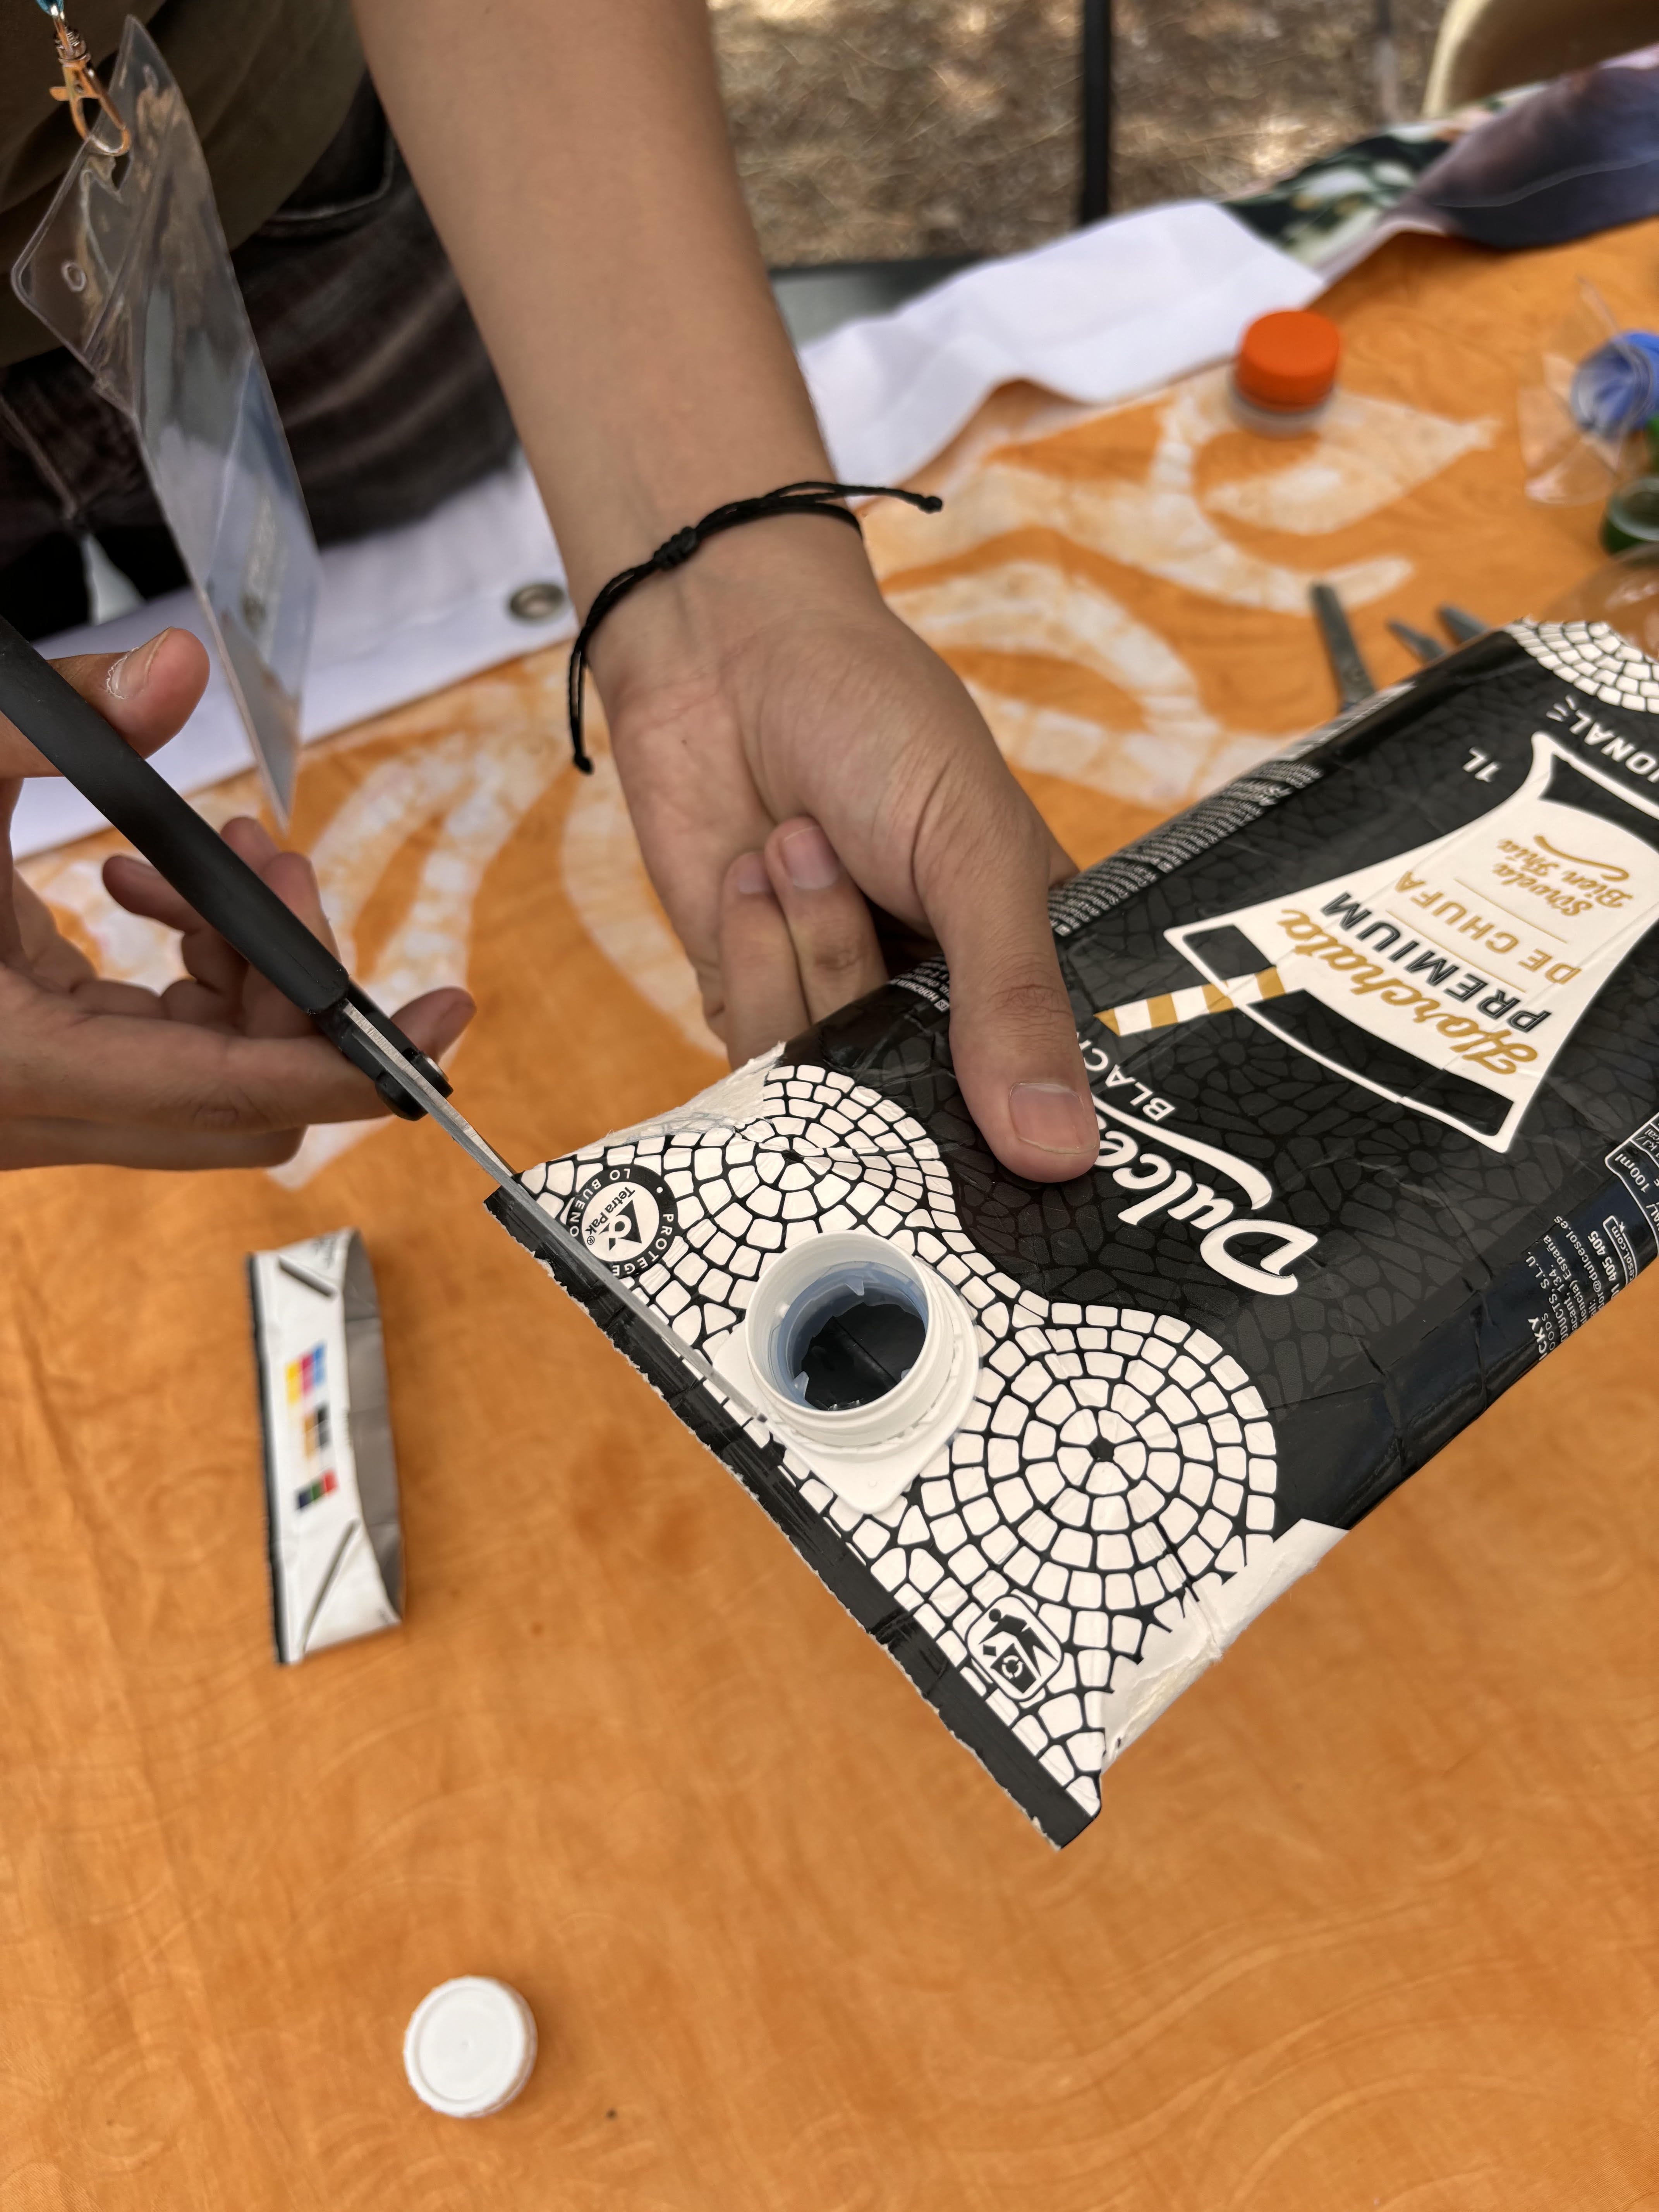
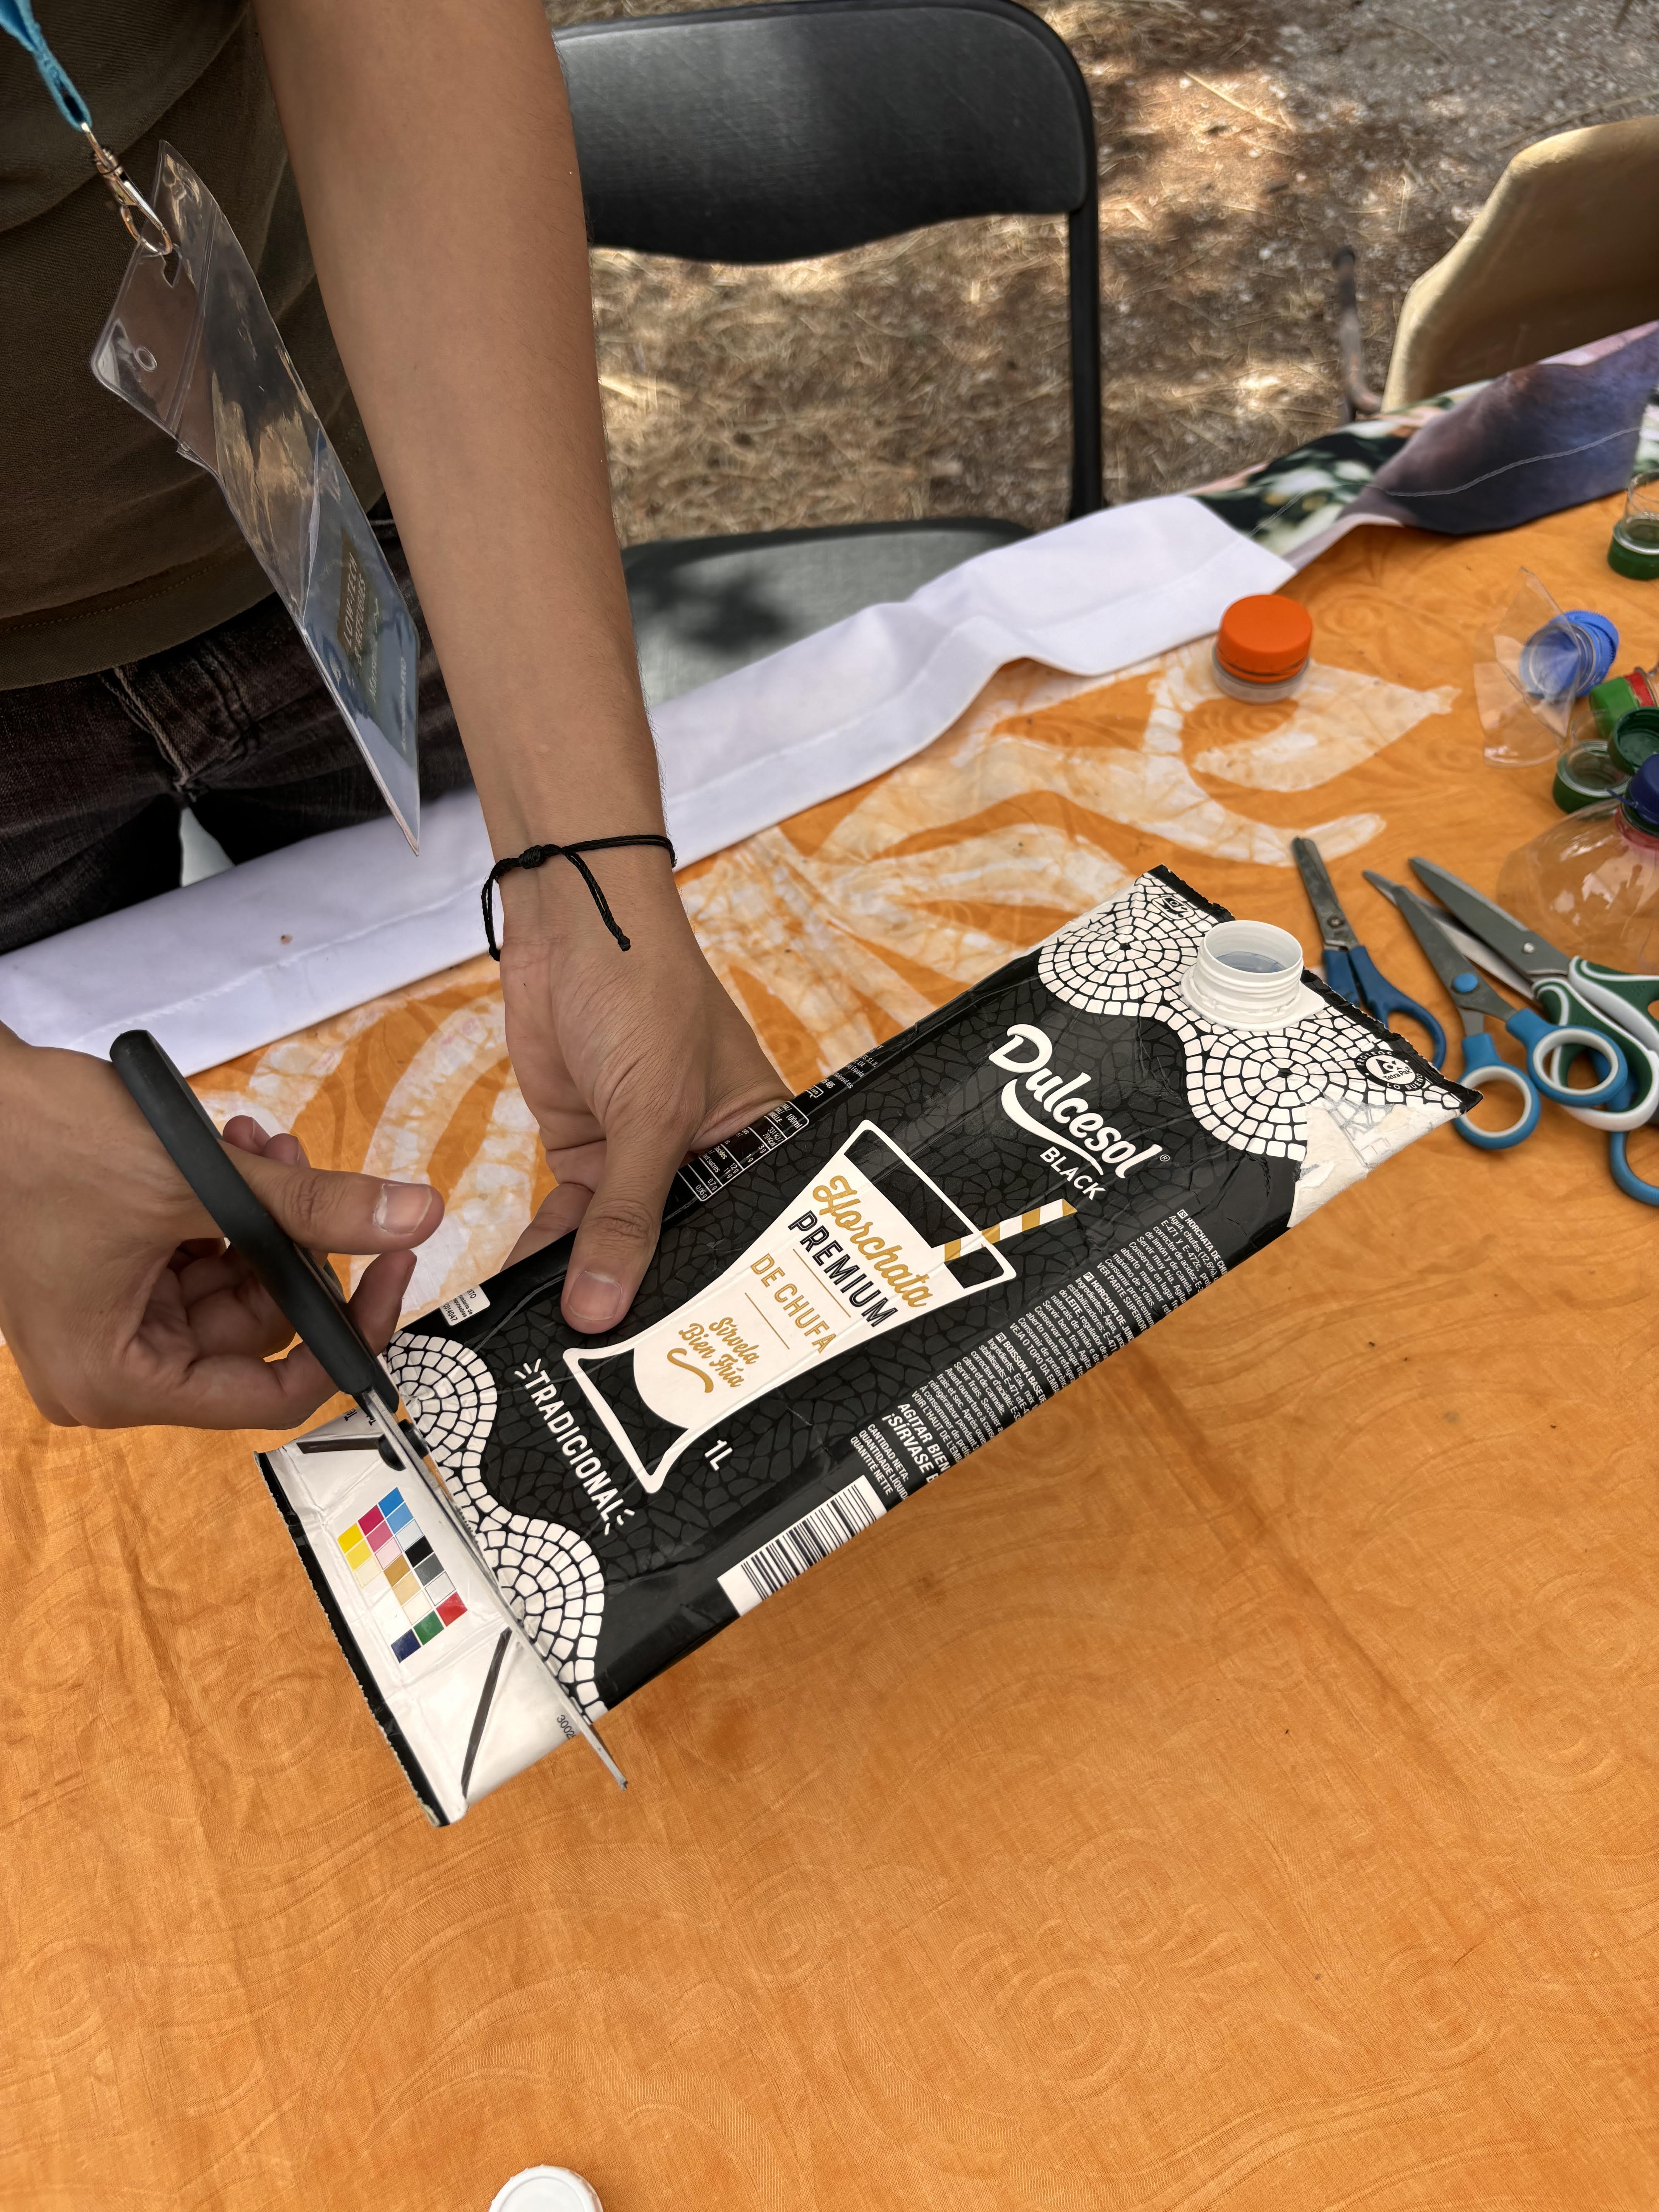
Cutting the carton
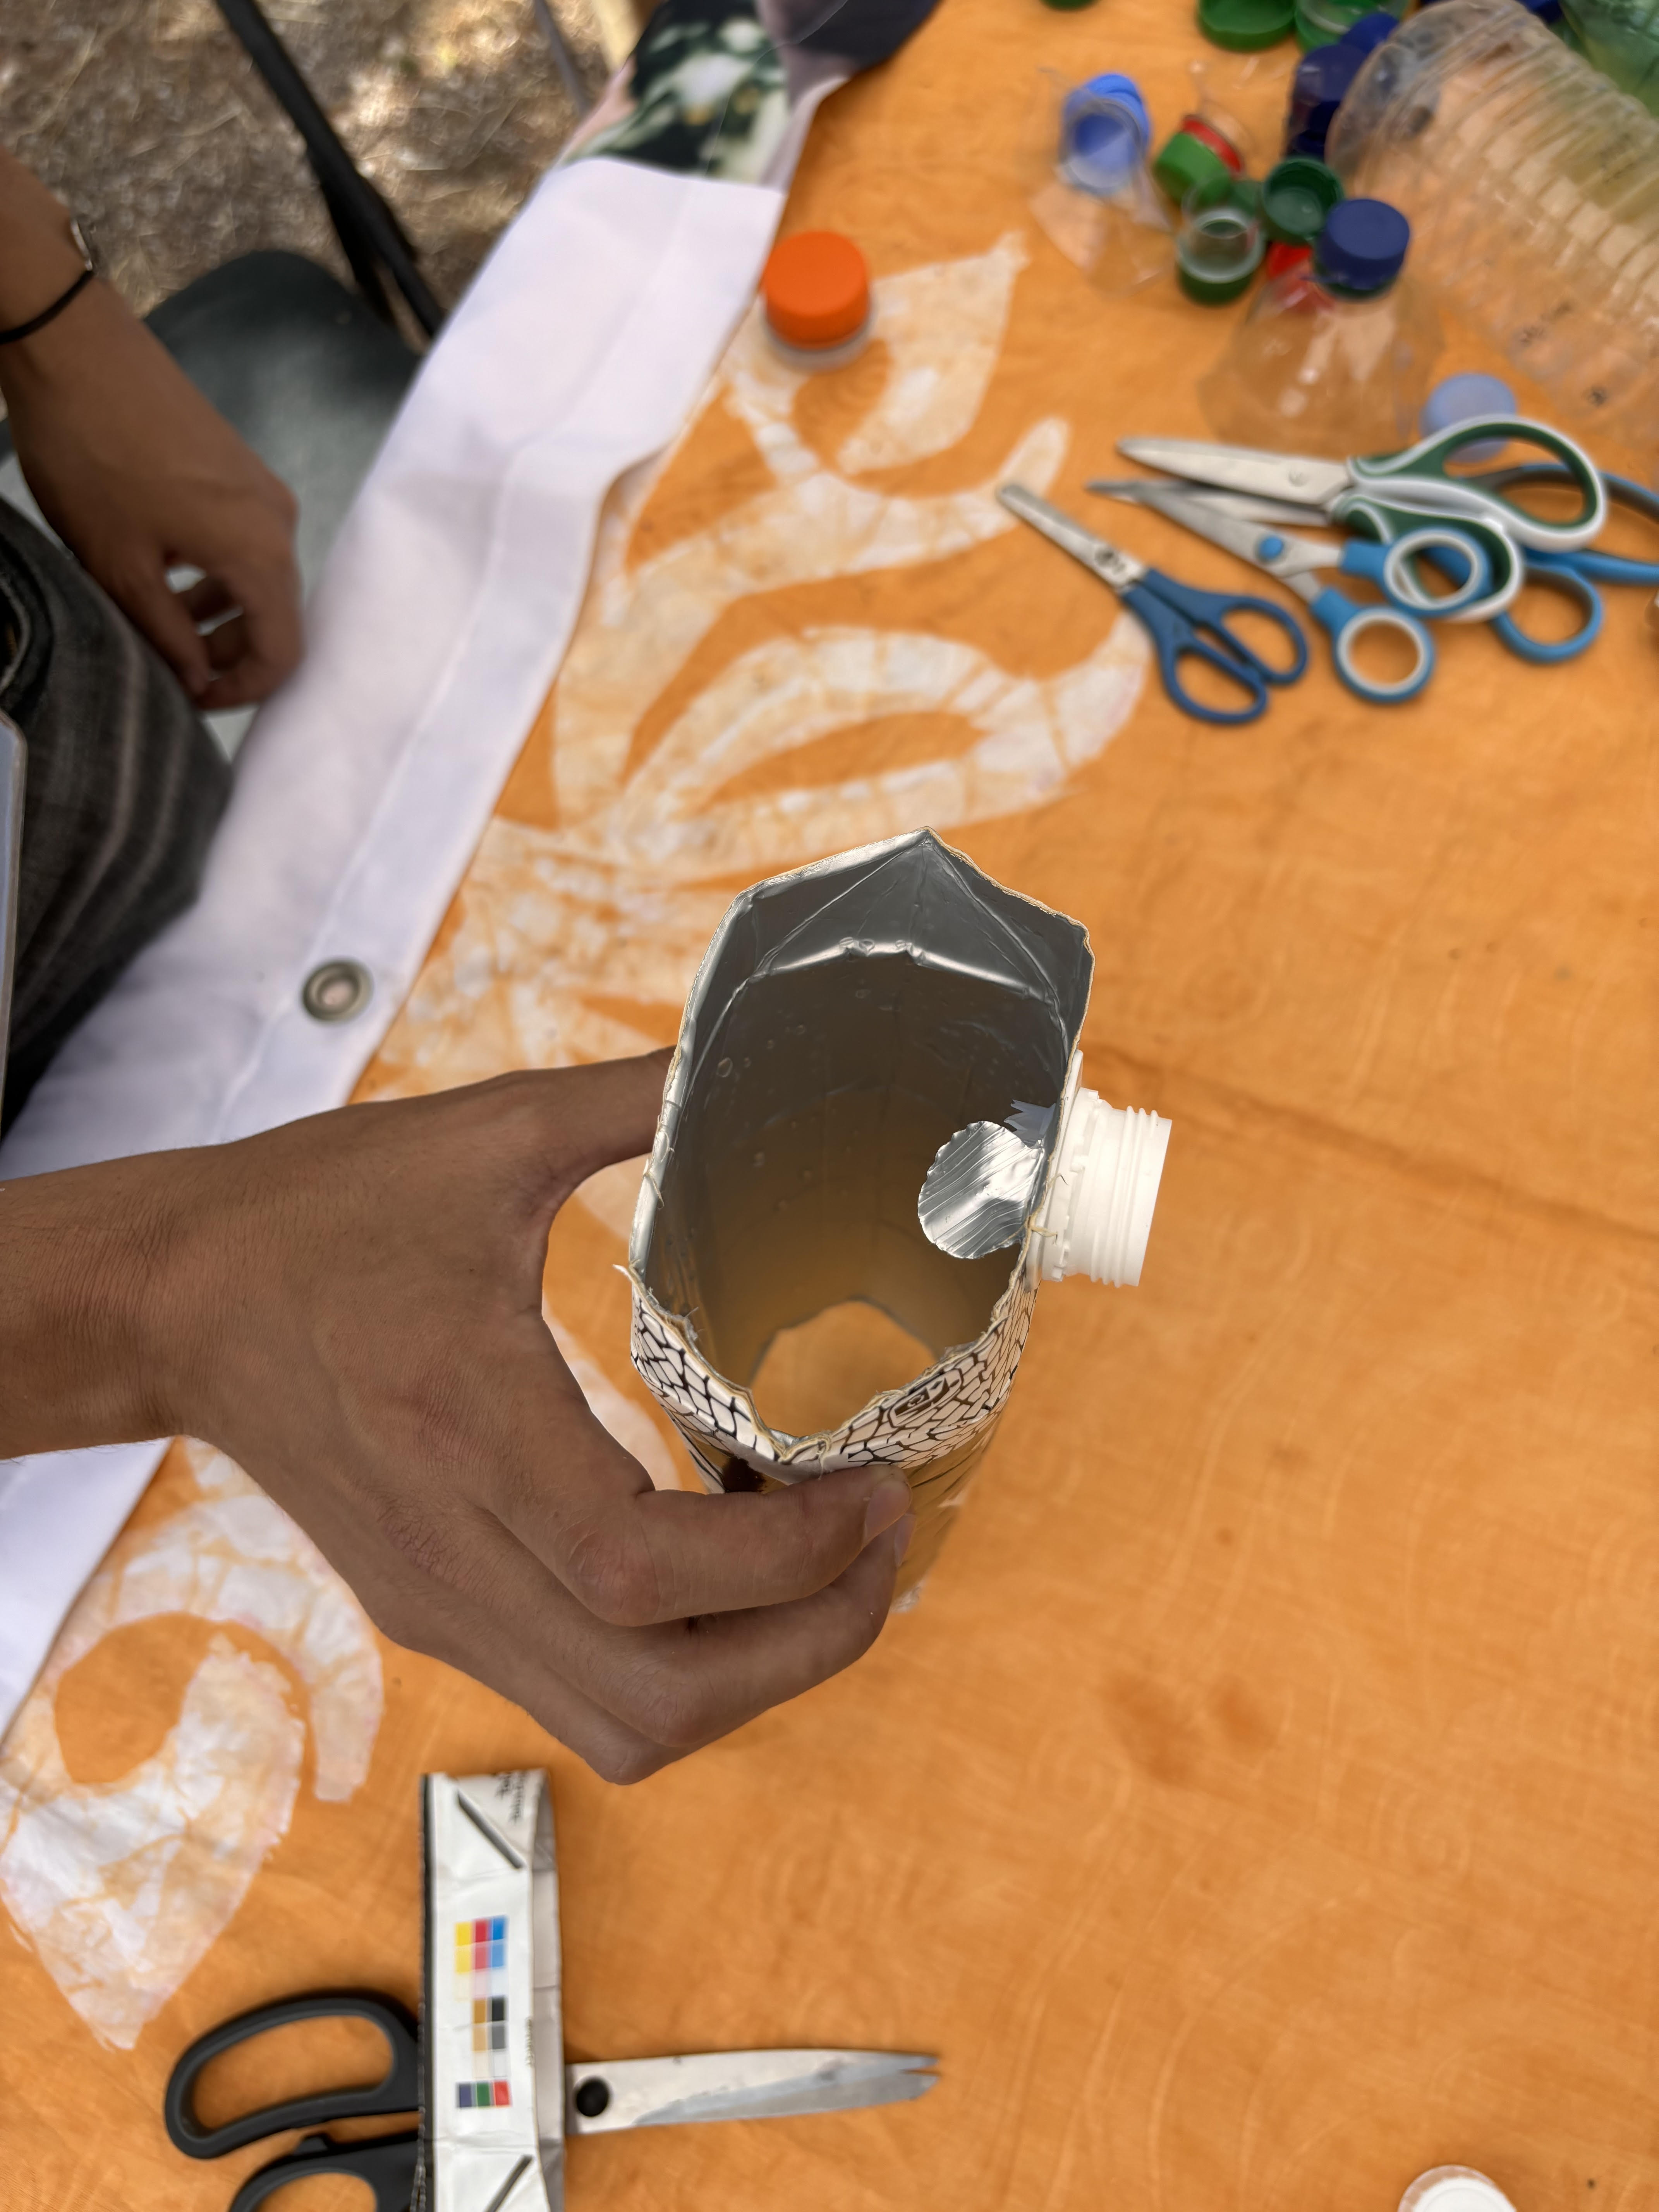
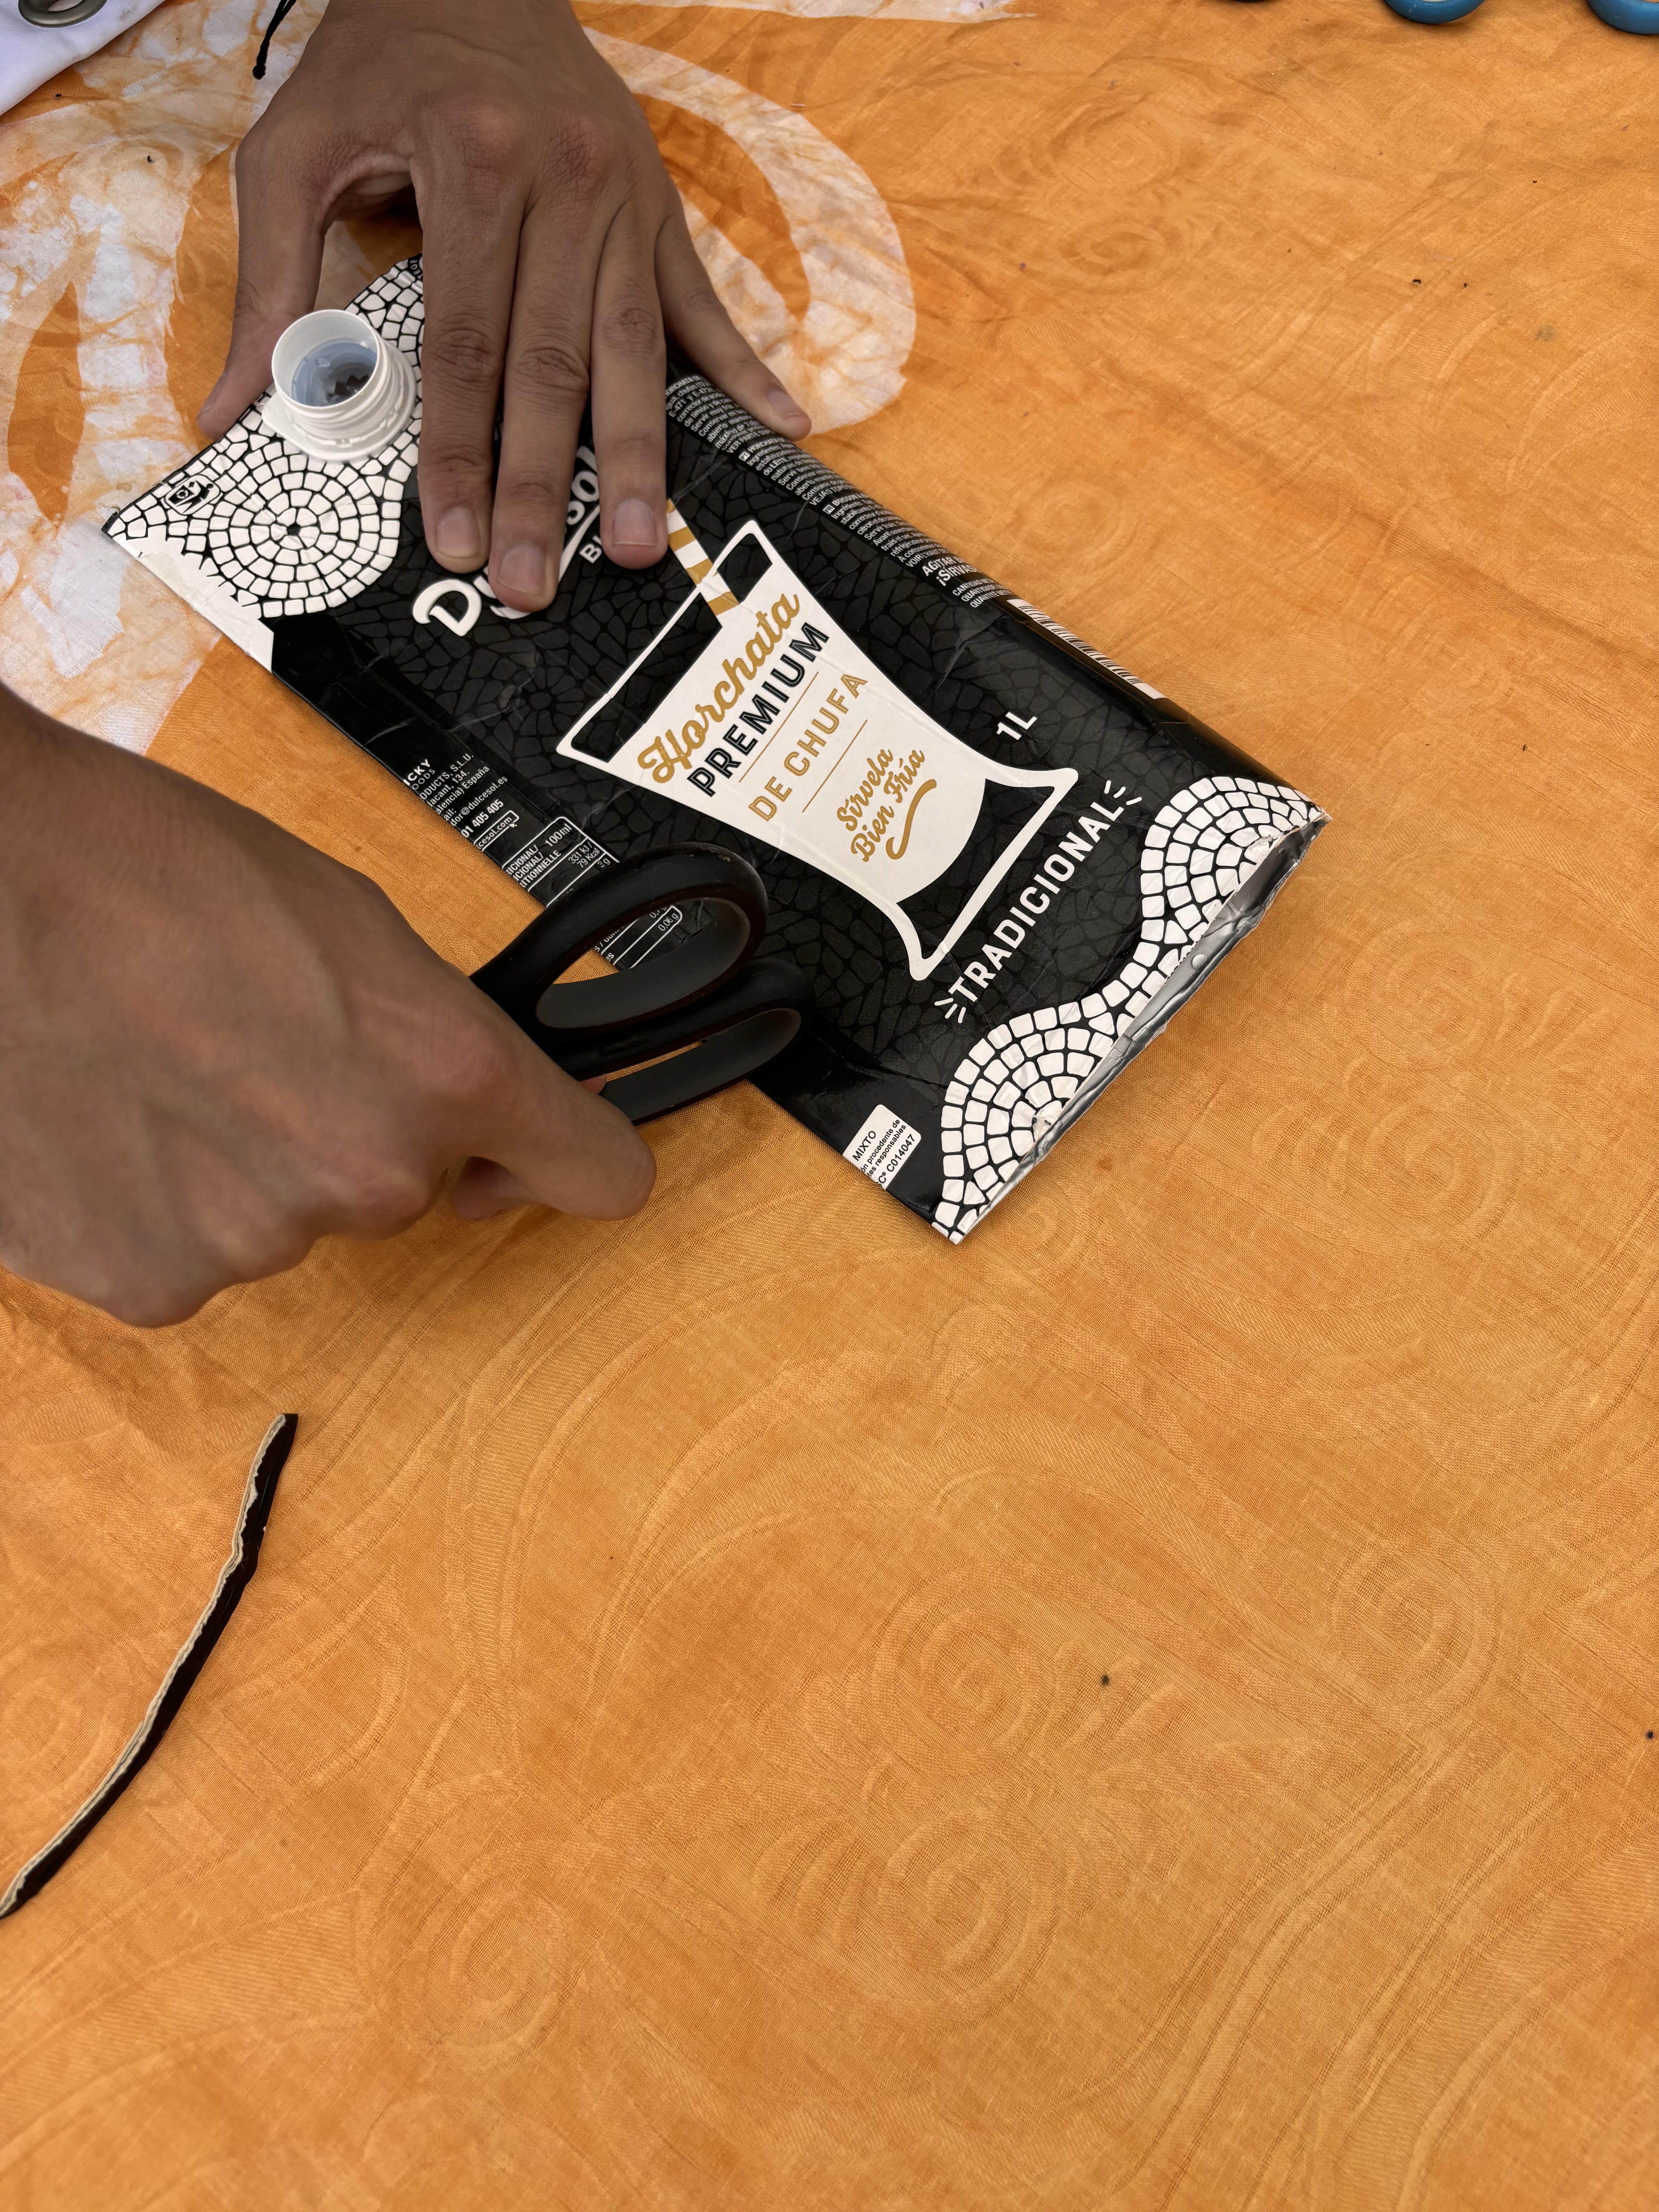
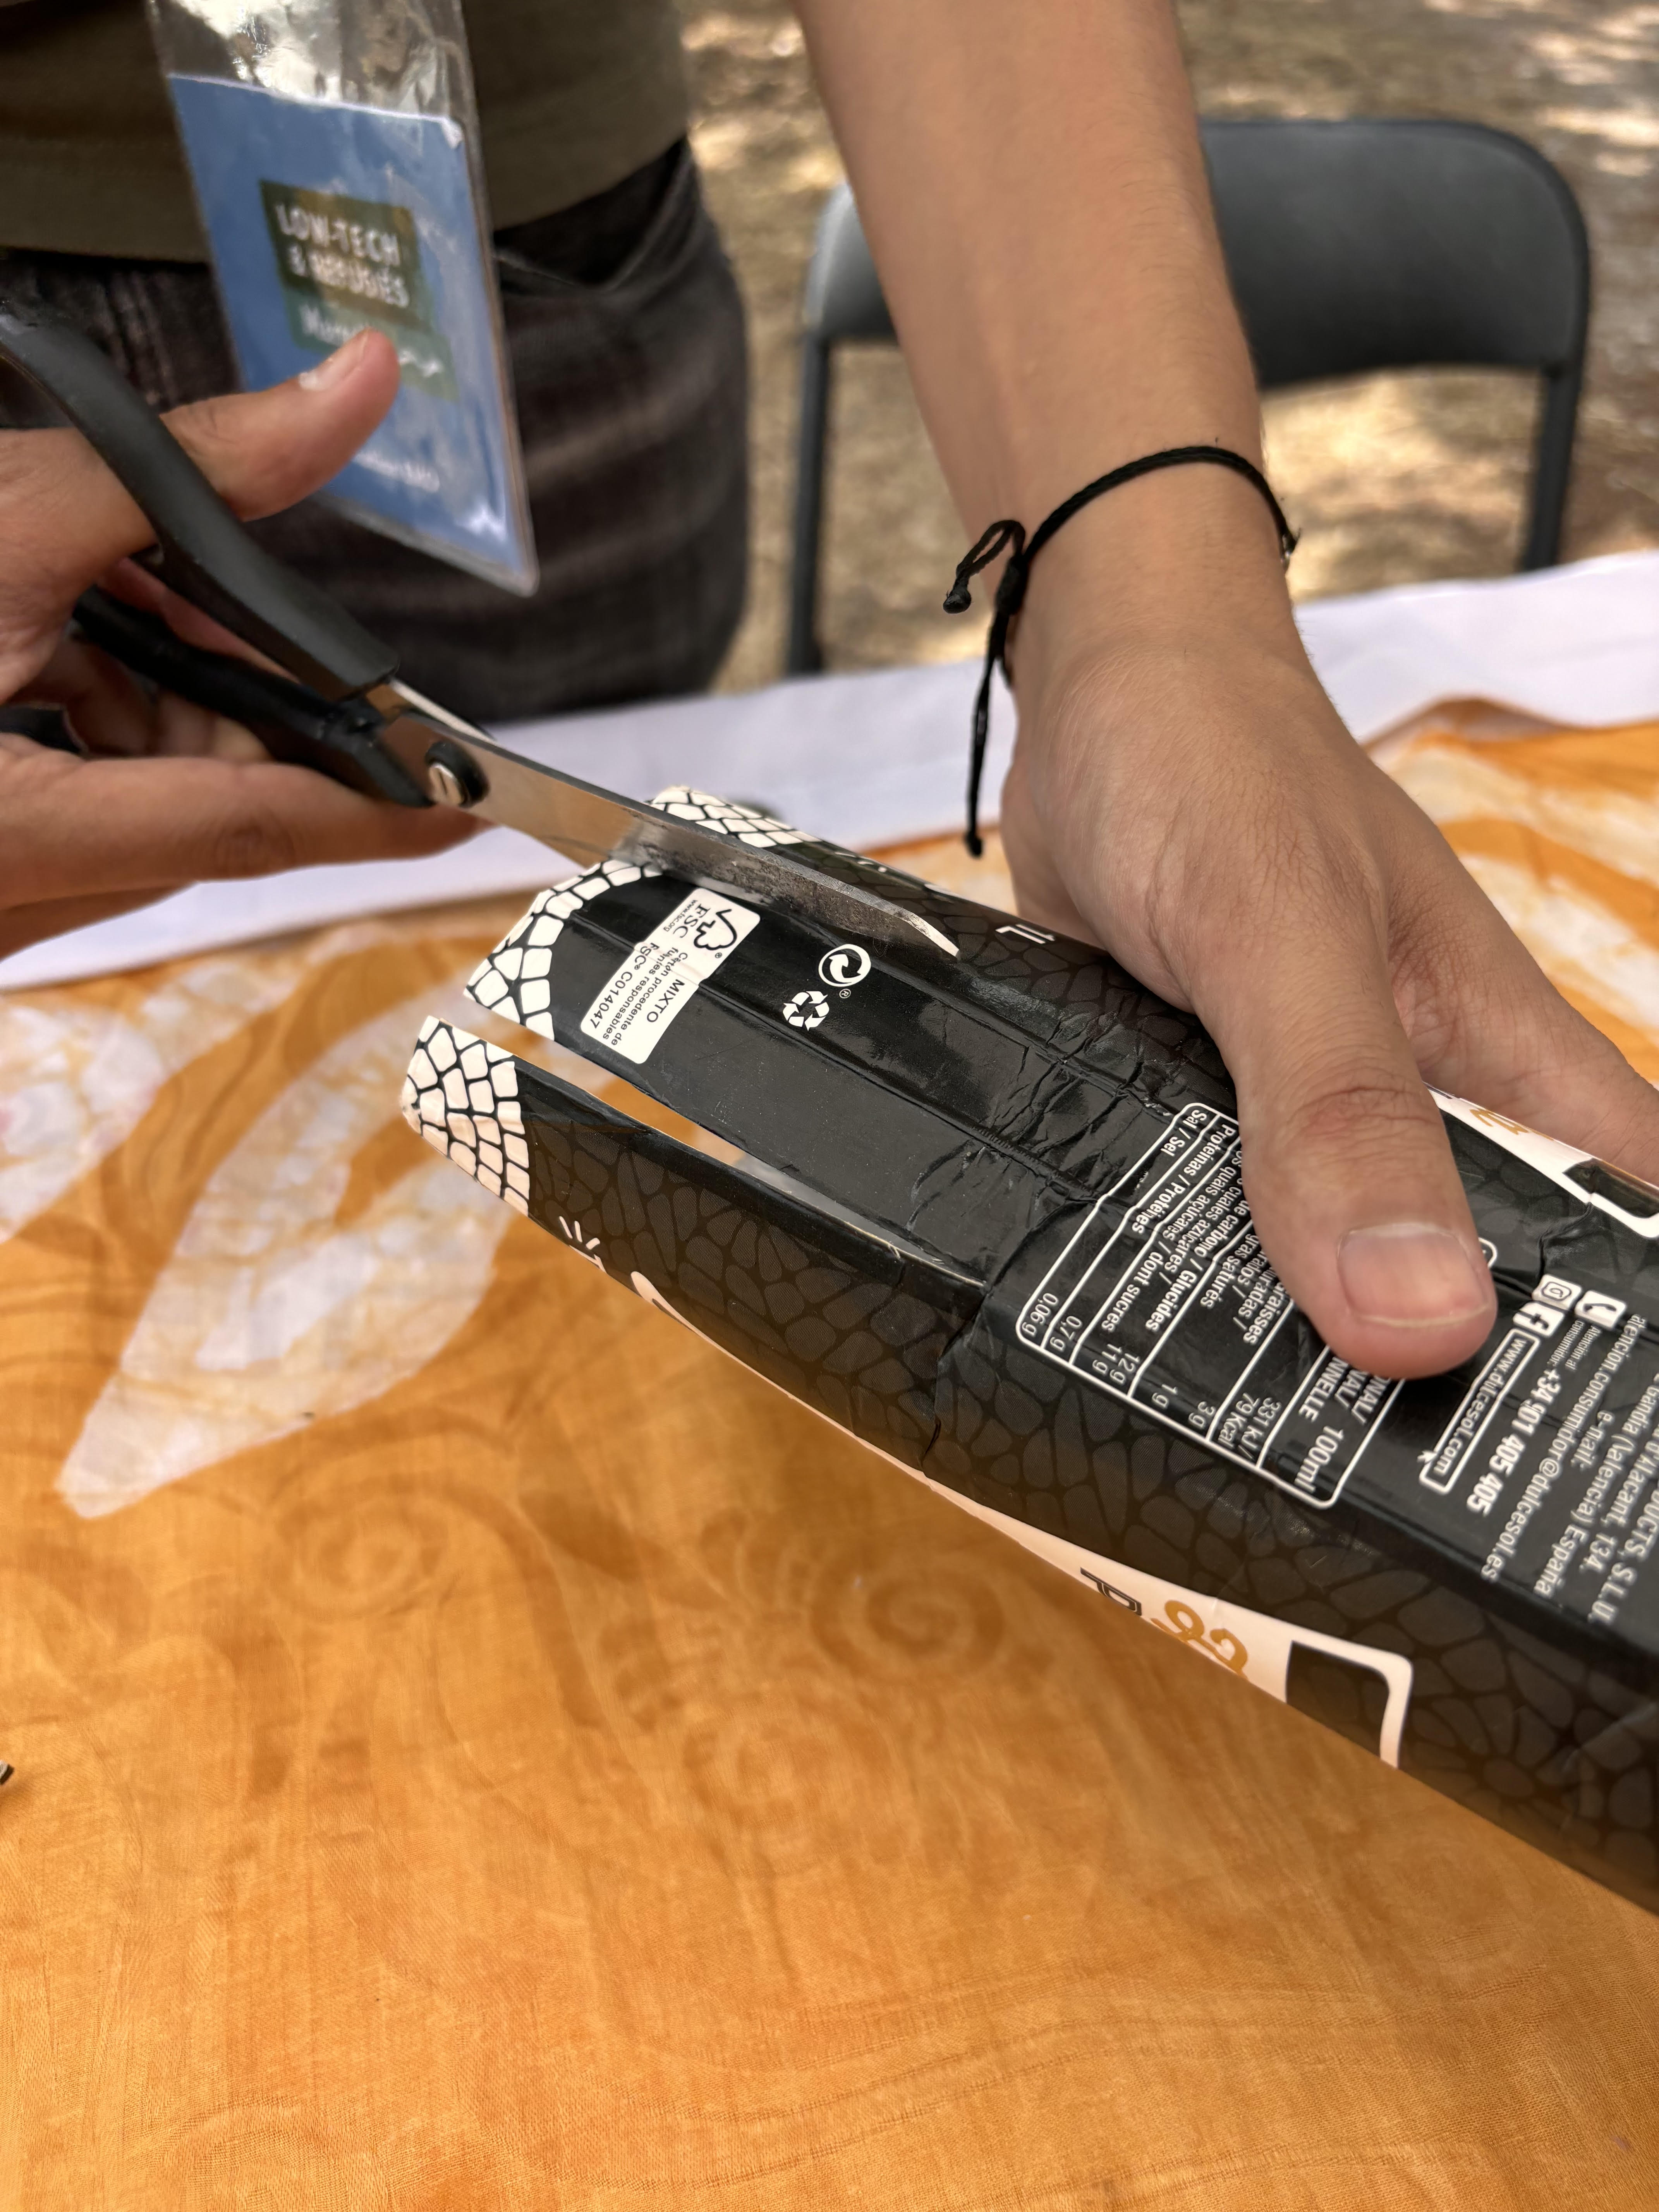
Cut off the top and bottom of the carton to make a cylinder. Open up the cylinder (of the carton) to obtain a flat sheet.
Marking the folds
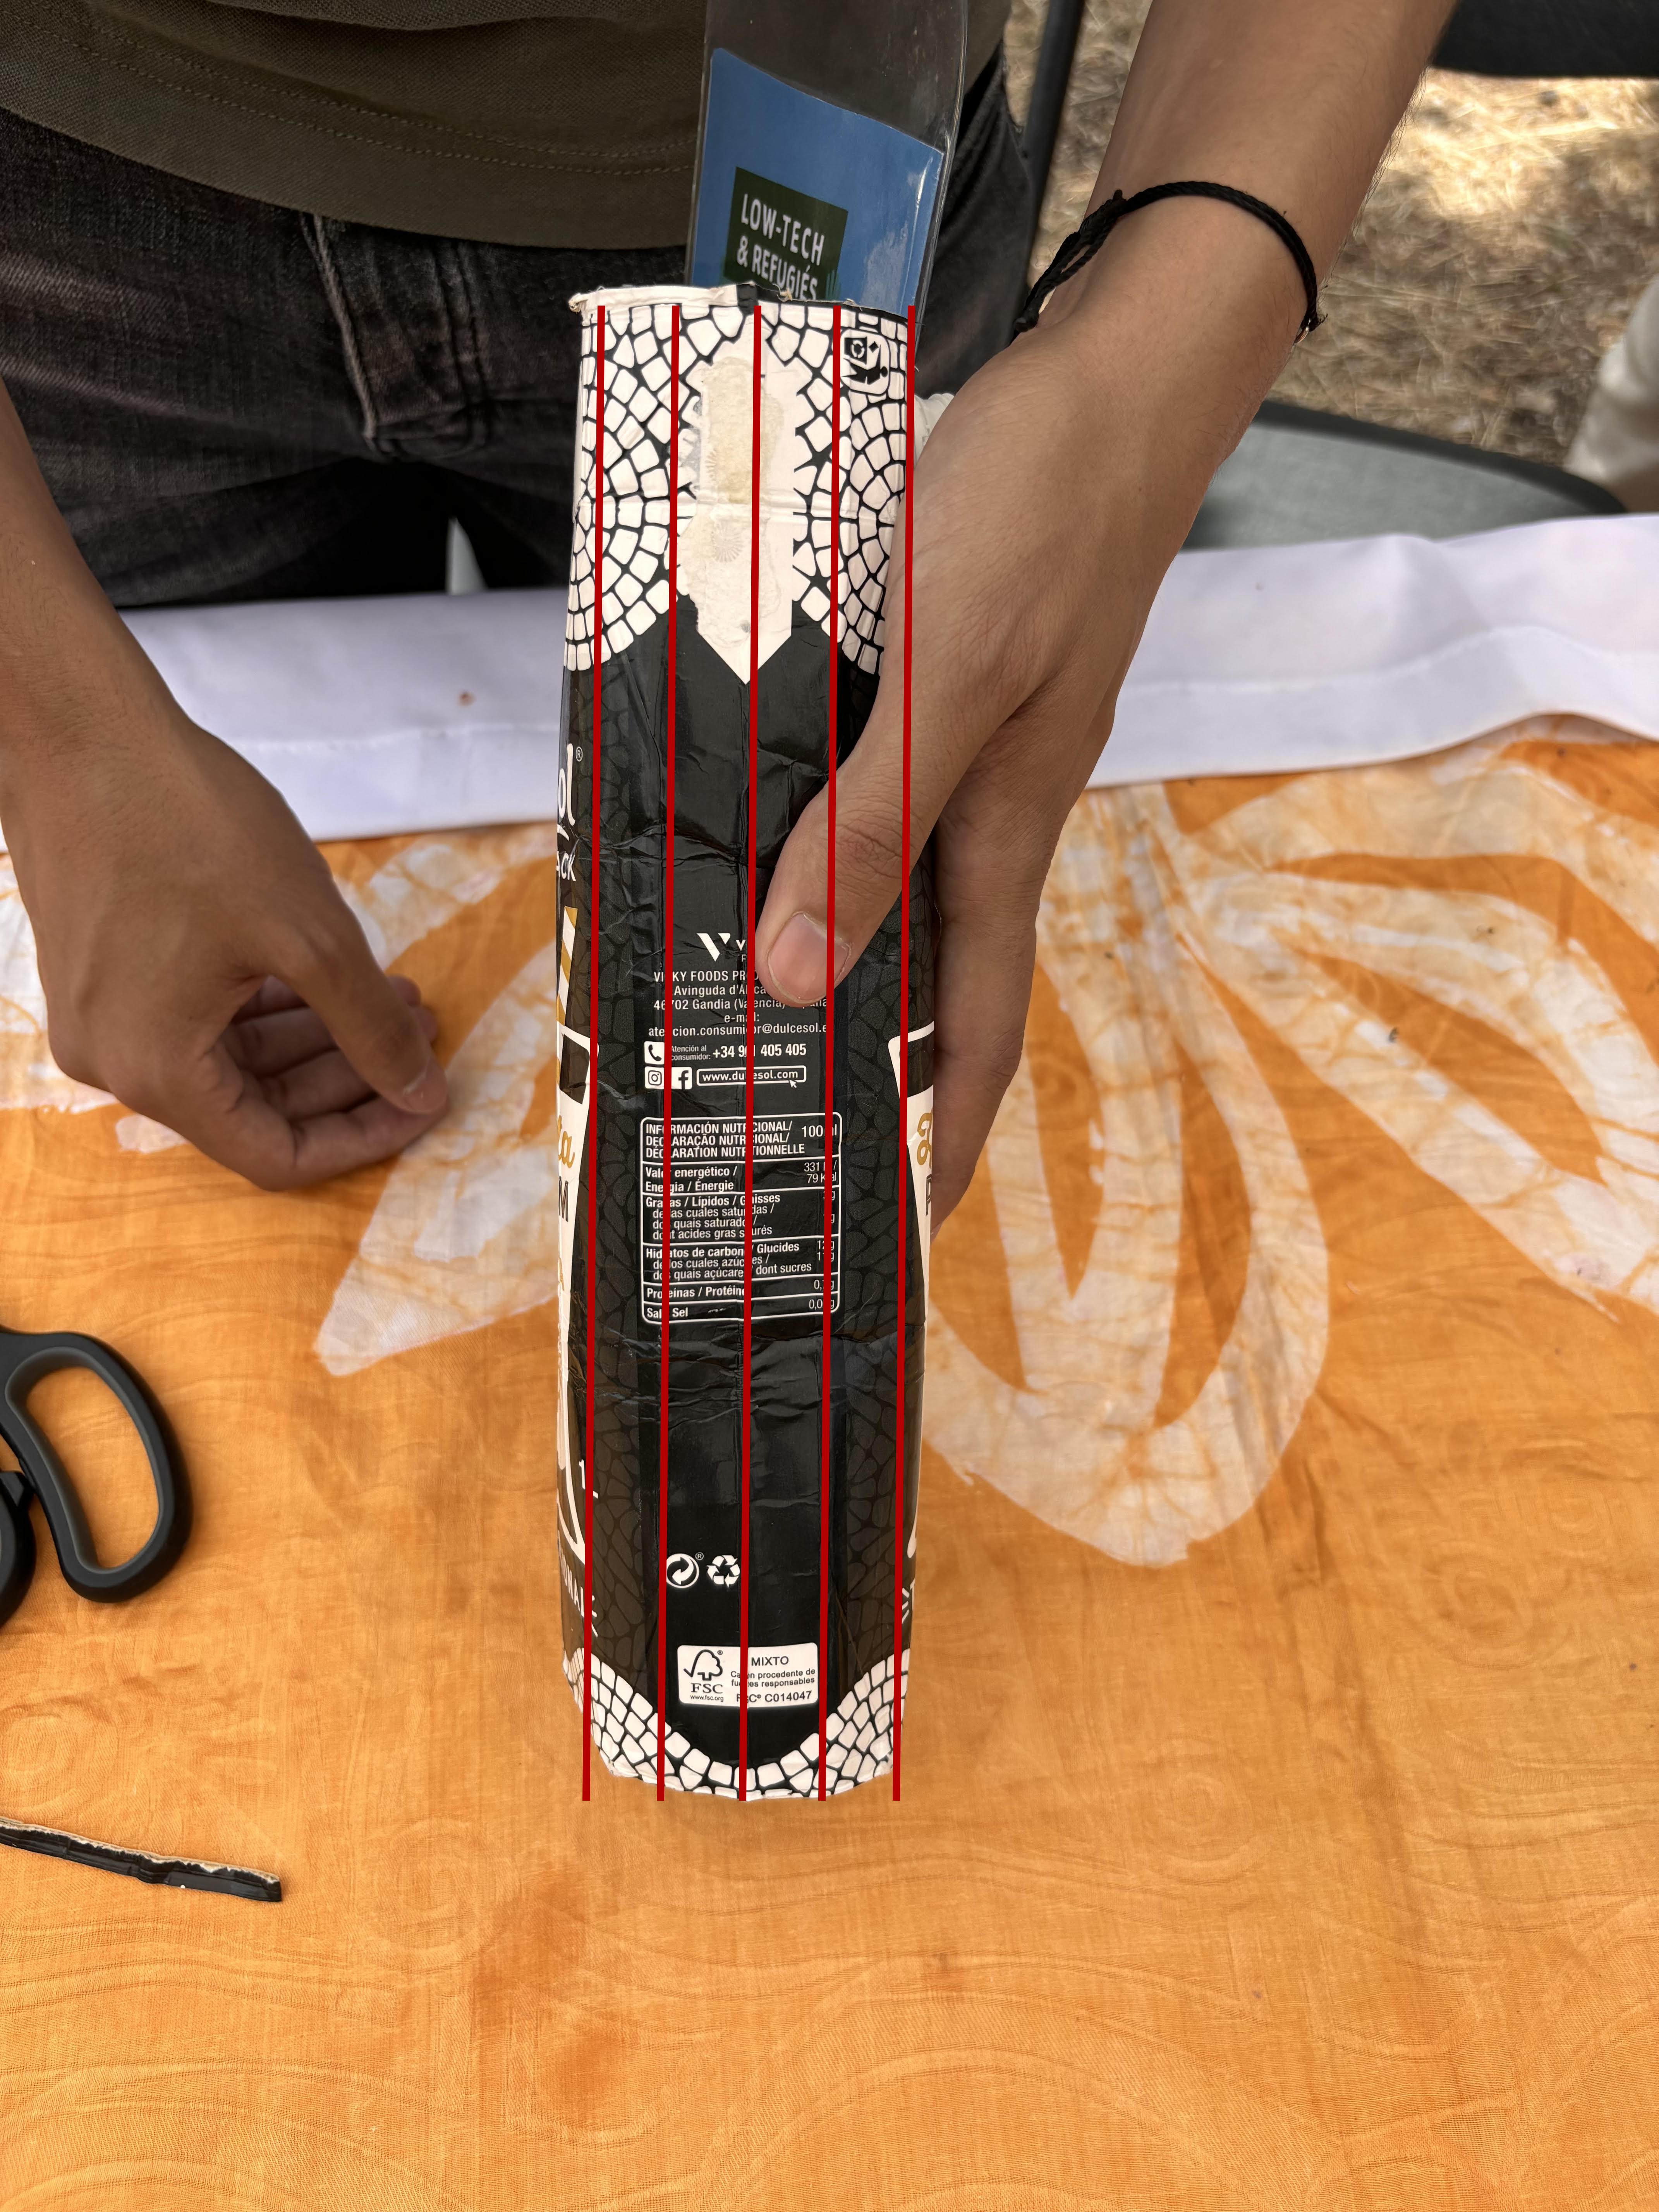
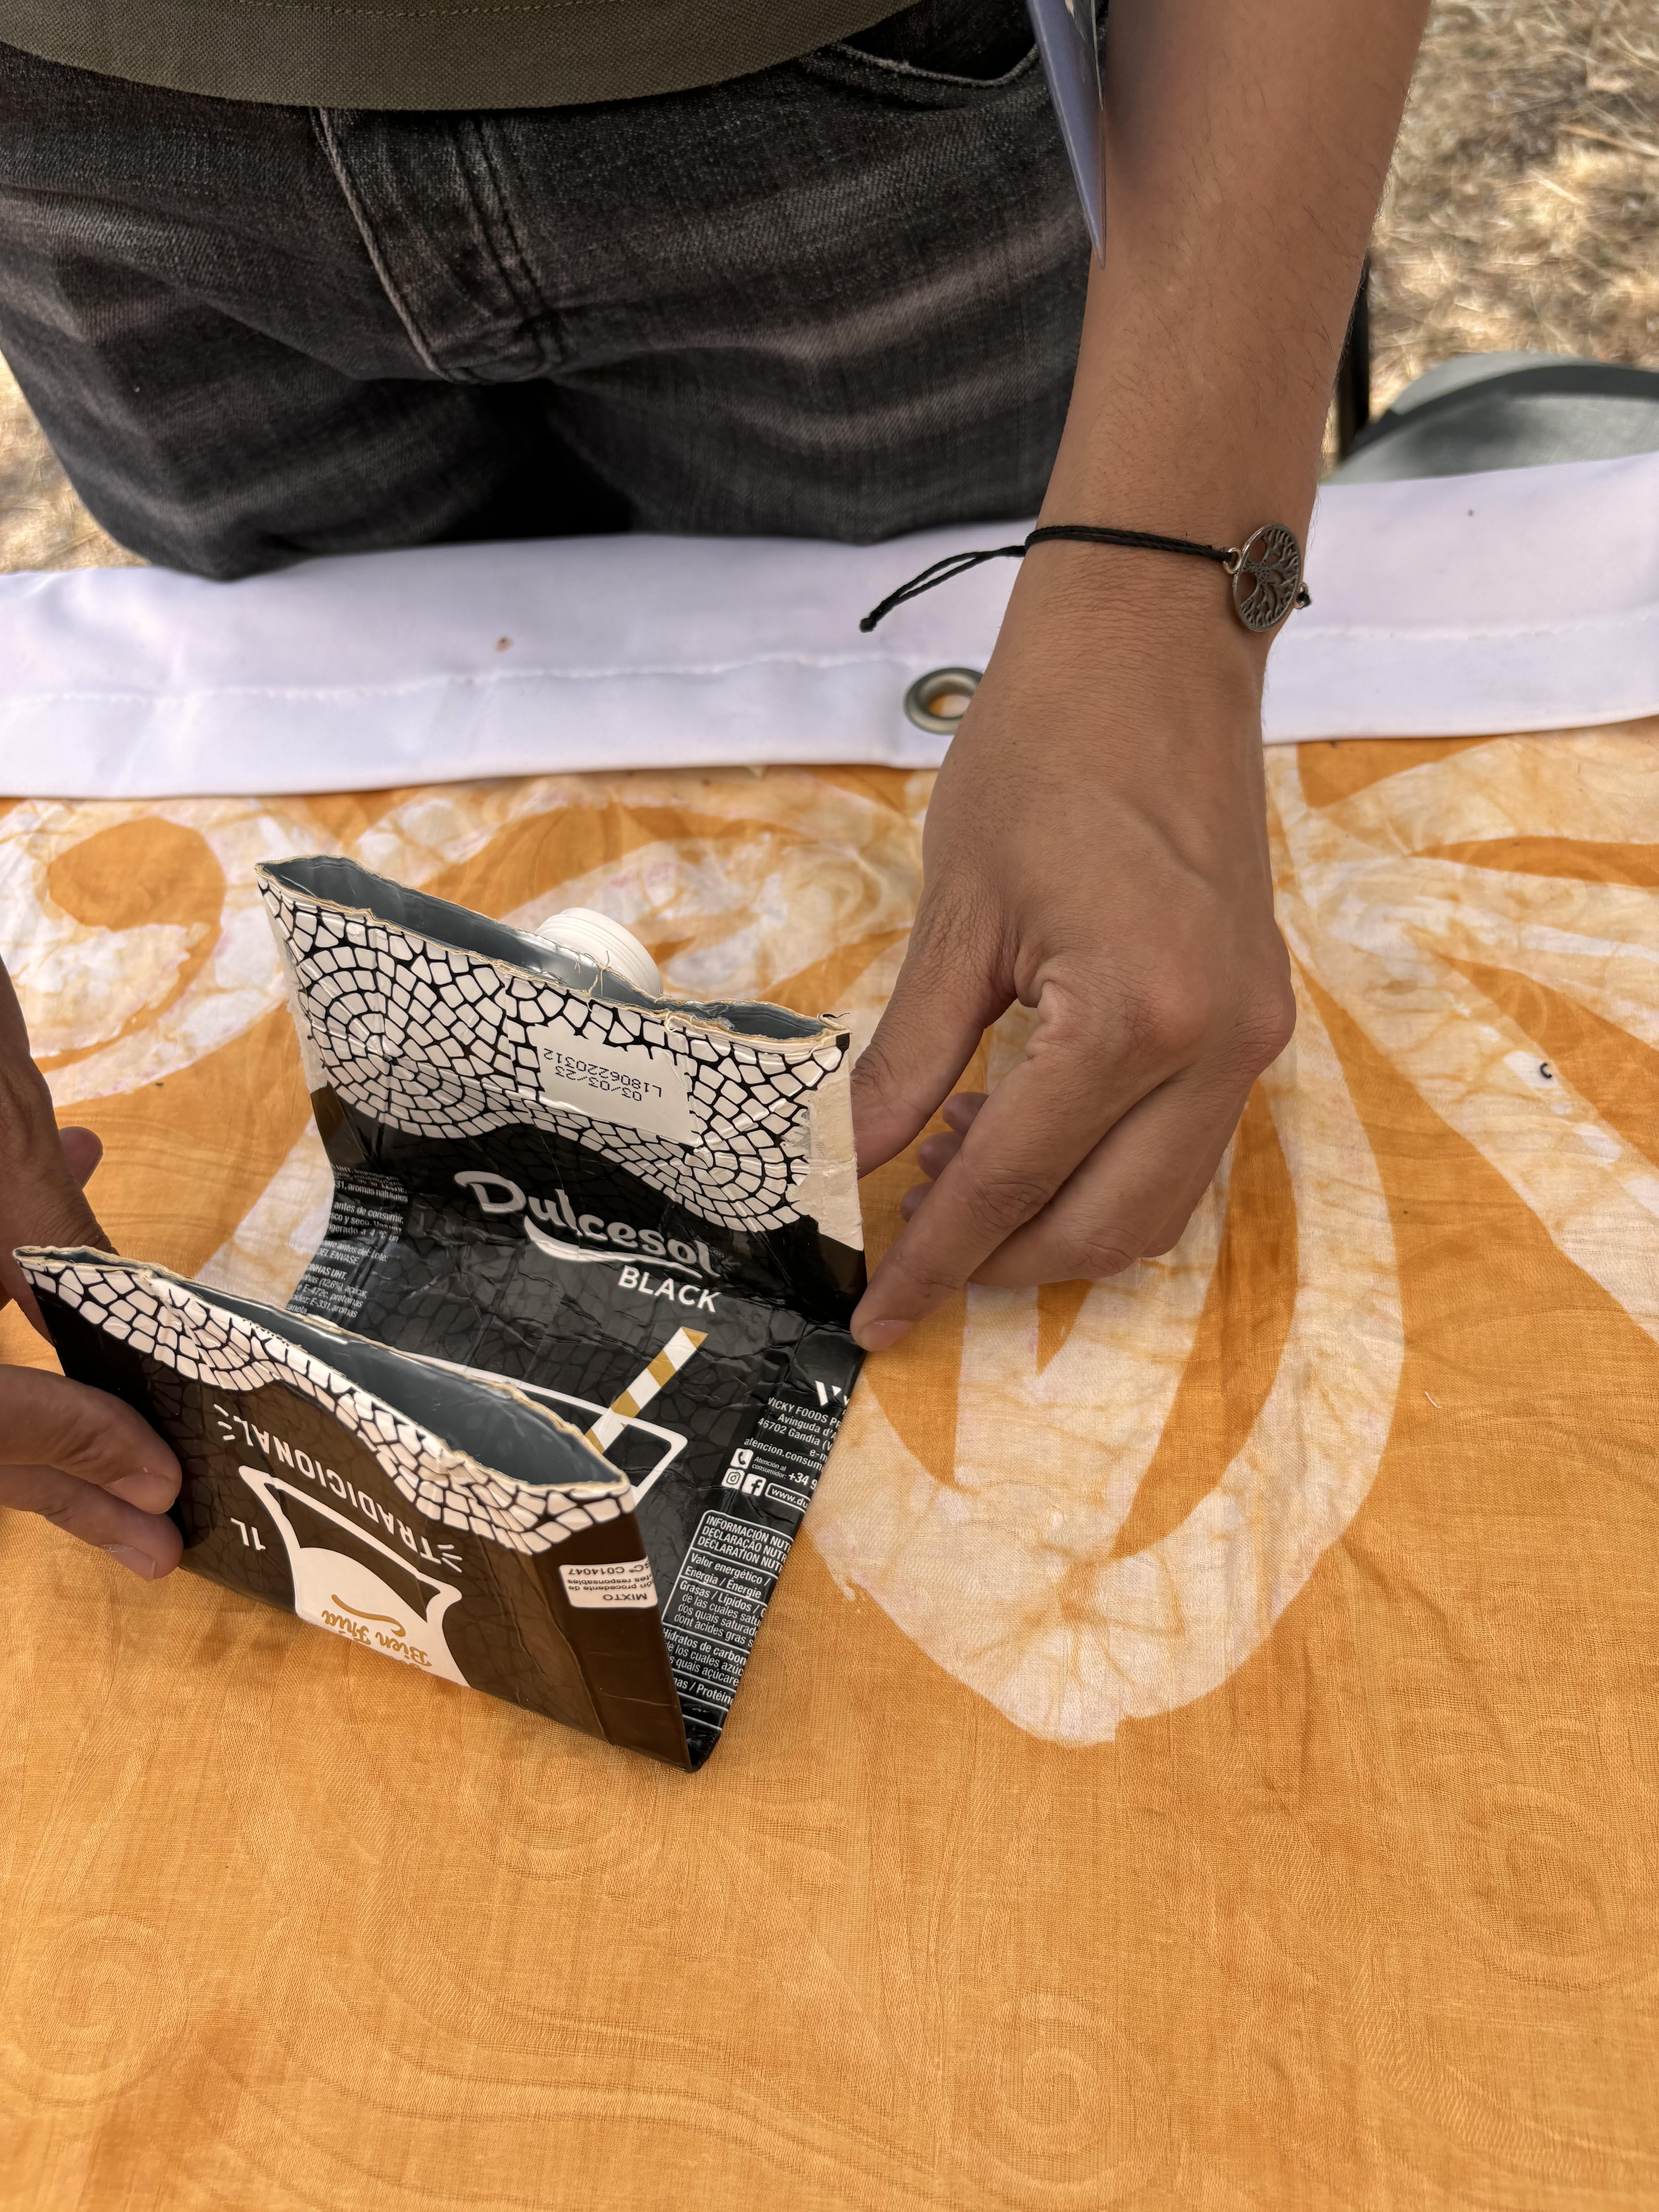
- Fold the brick at 2 equidistant points (as you would fold an A4 page before slipping it into an envelope) to obtain 3 identical lengths. - Make sure the folds are well marked by pressing firmly on them. - Fold each part in 2 so that there are 4 parts in each area (see photo 4). - Now fold the whole cardboard in 3 so that only the bottom tabs stick out. Press down hard on the fold. (see photo 5)
Cutting out the bottom section
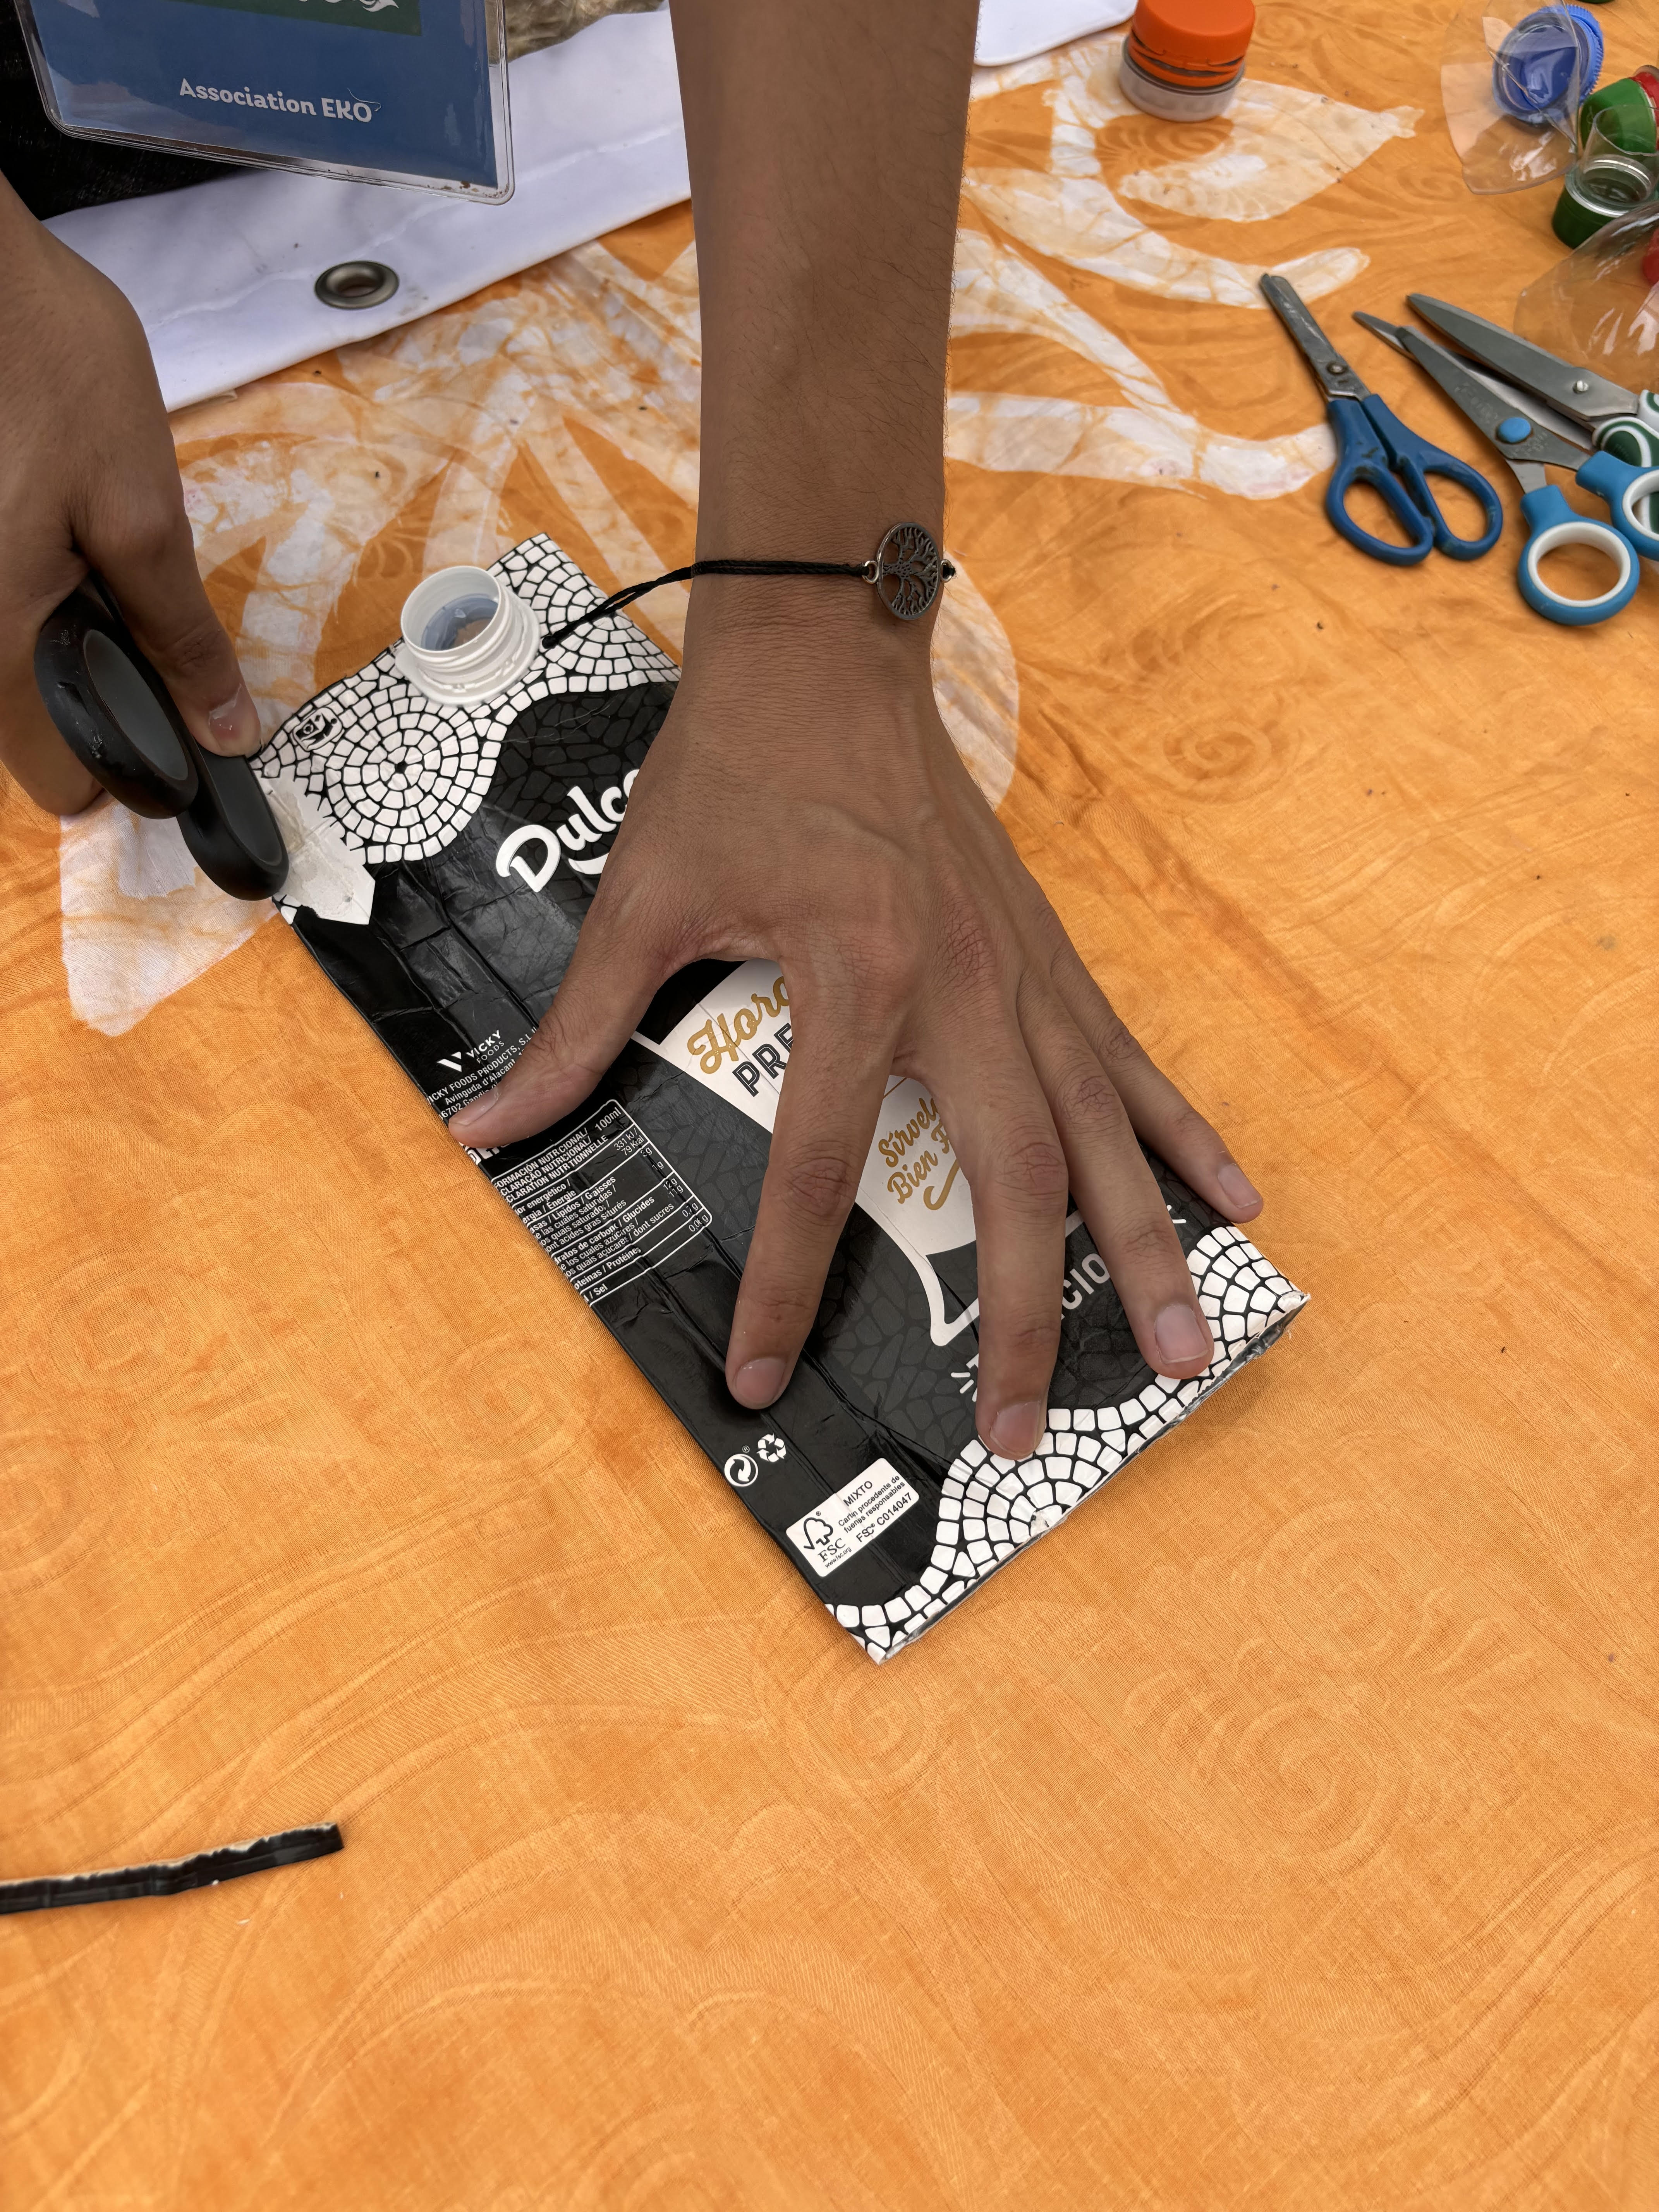
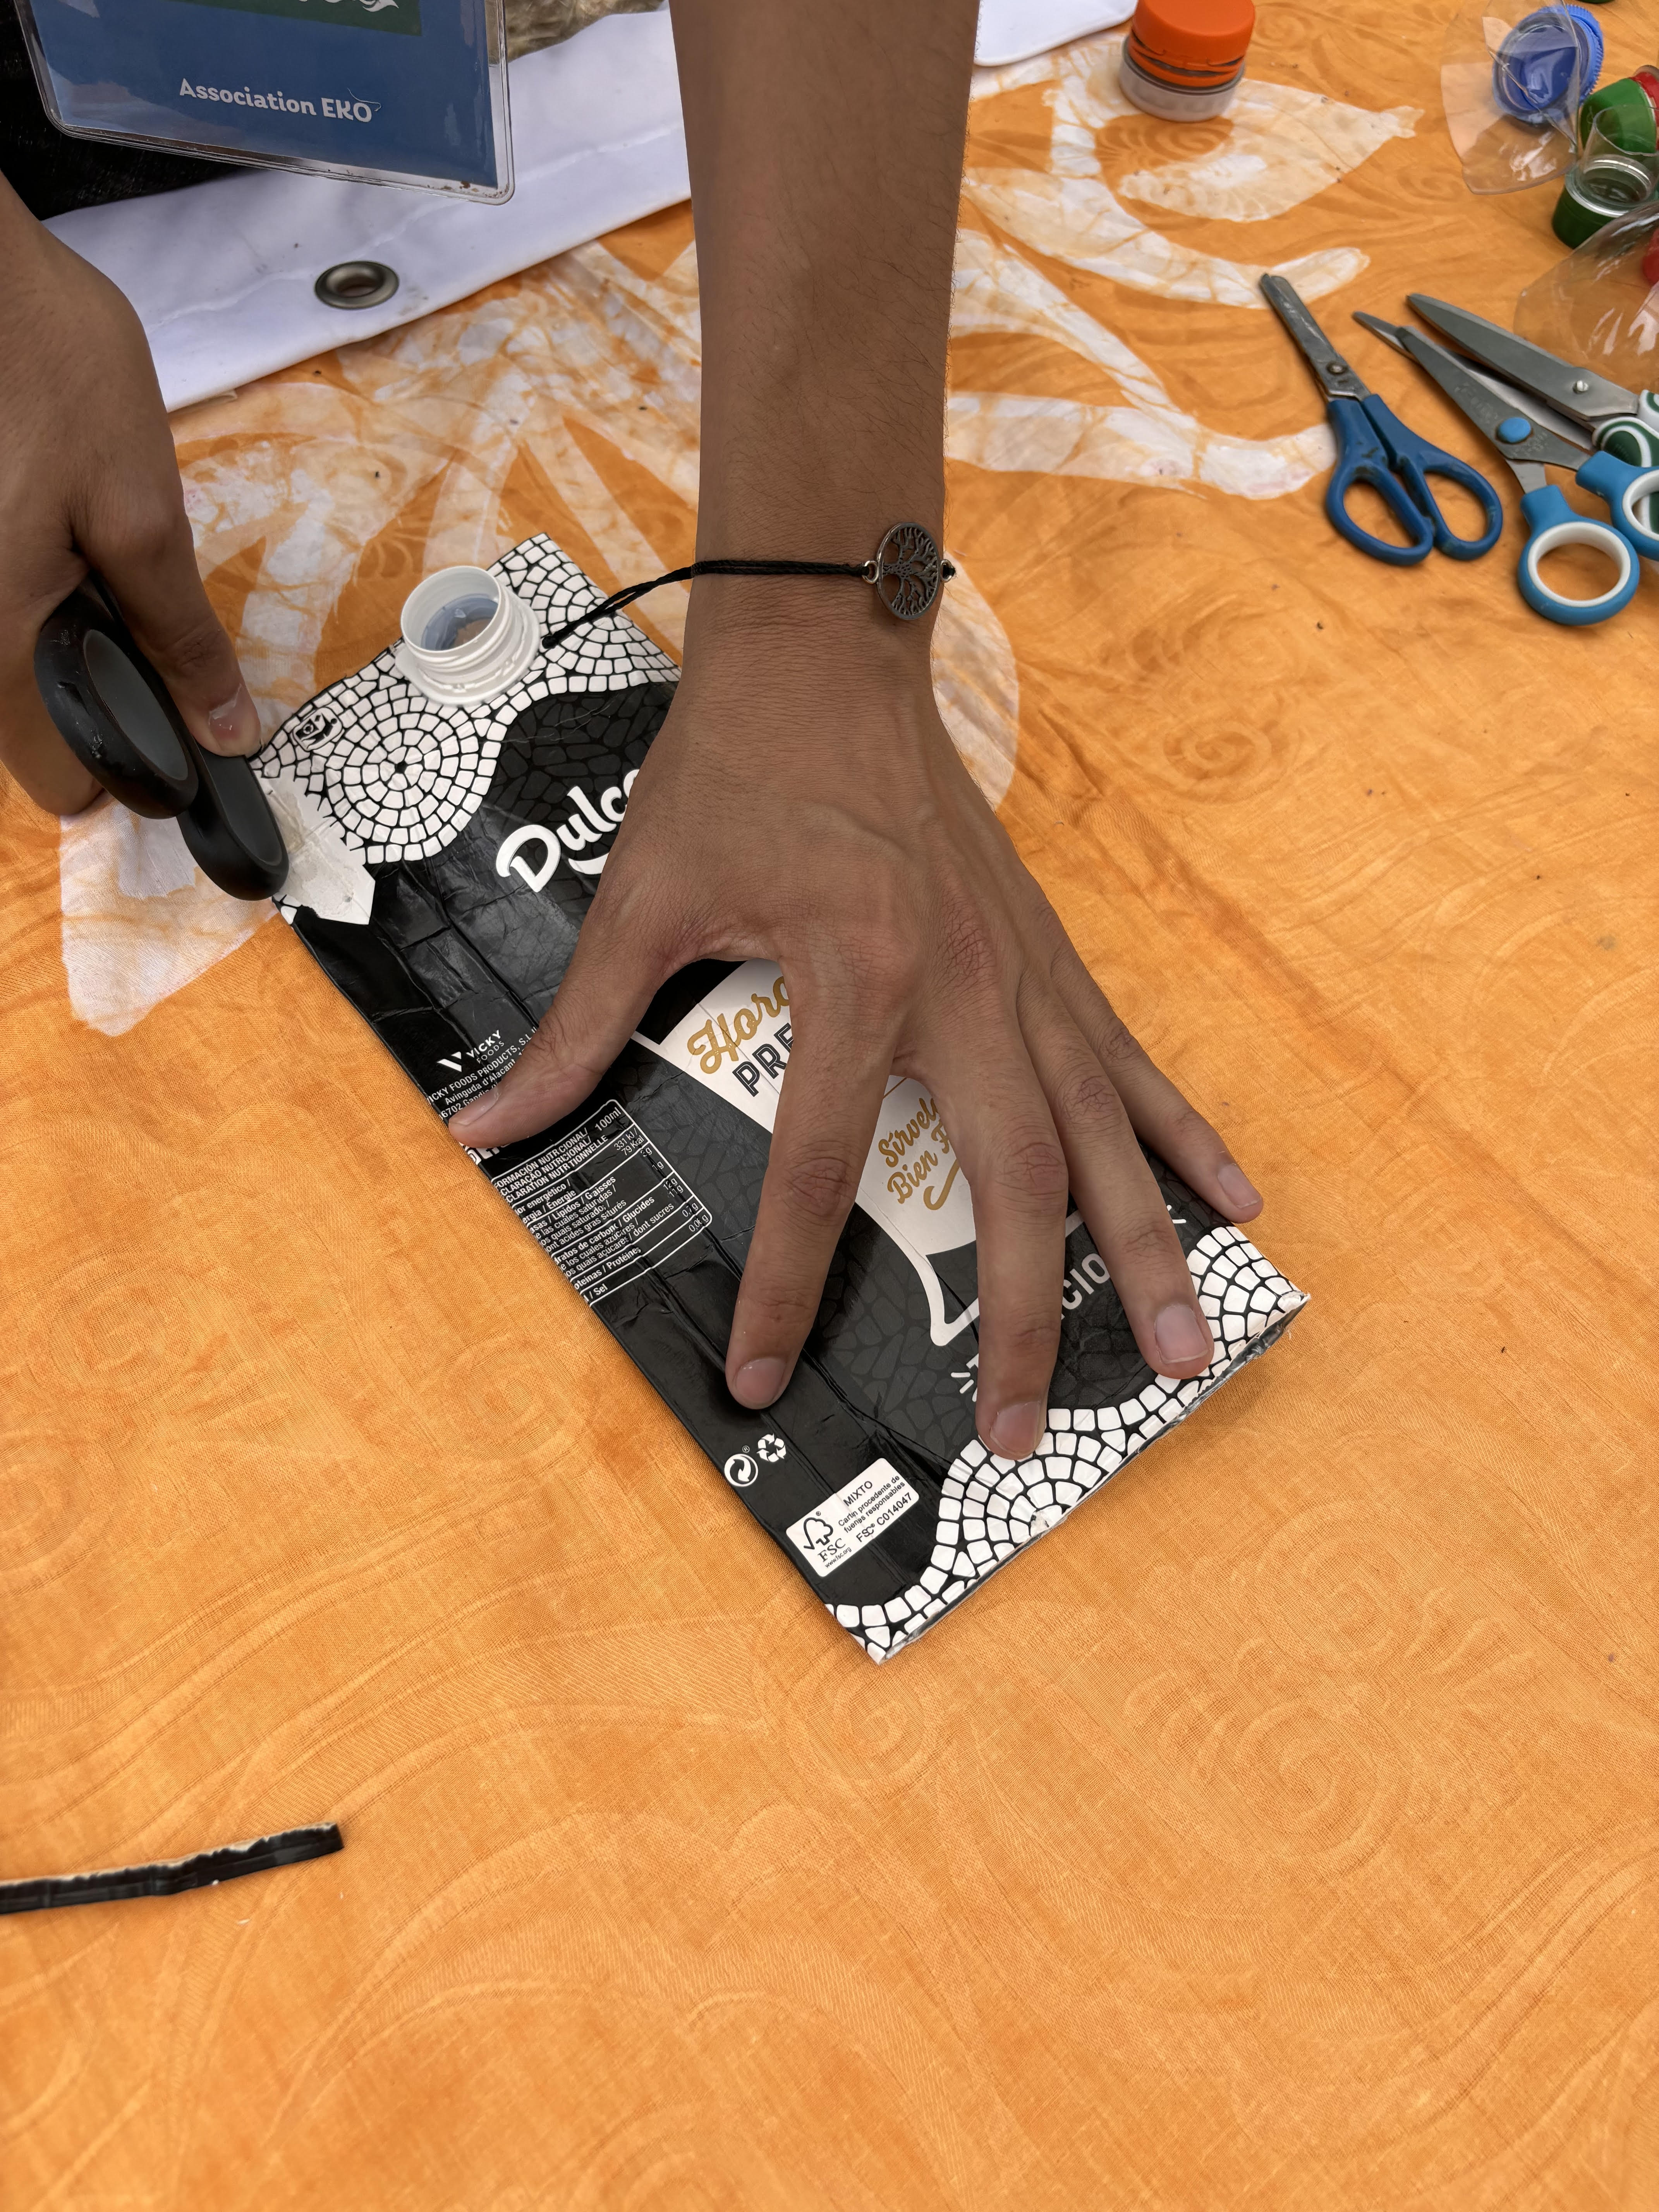
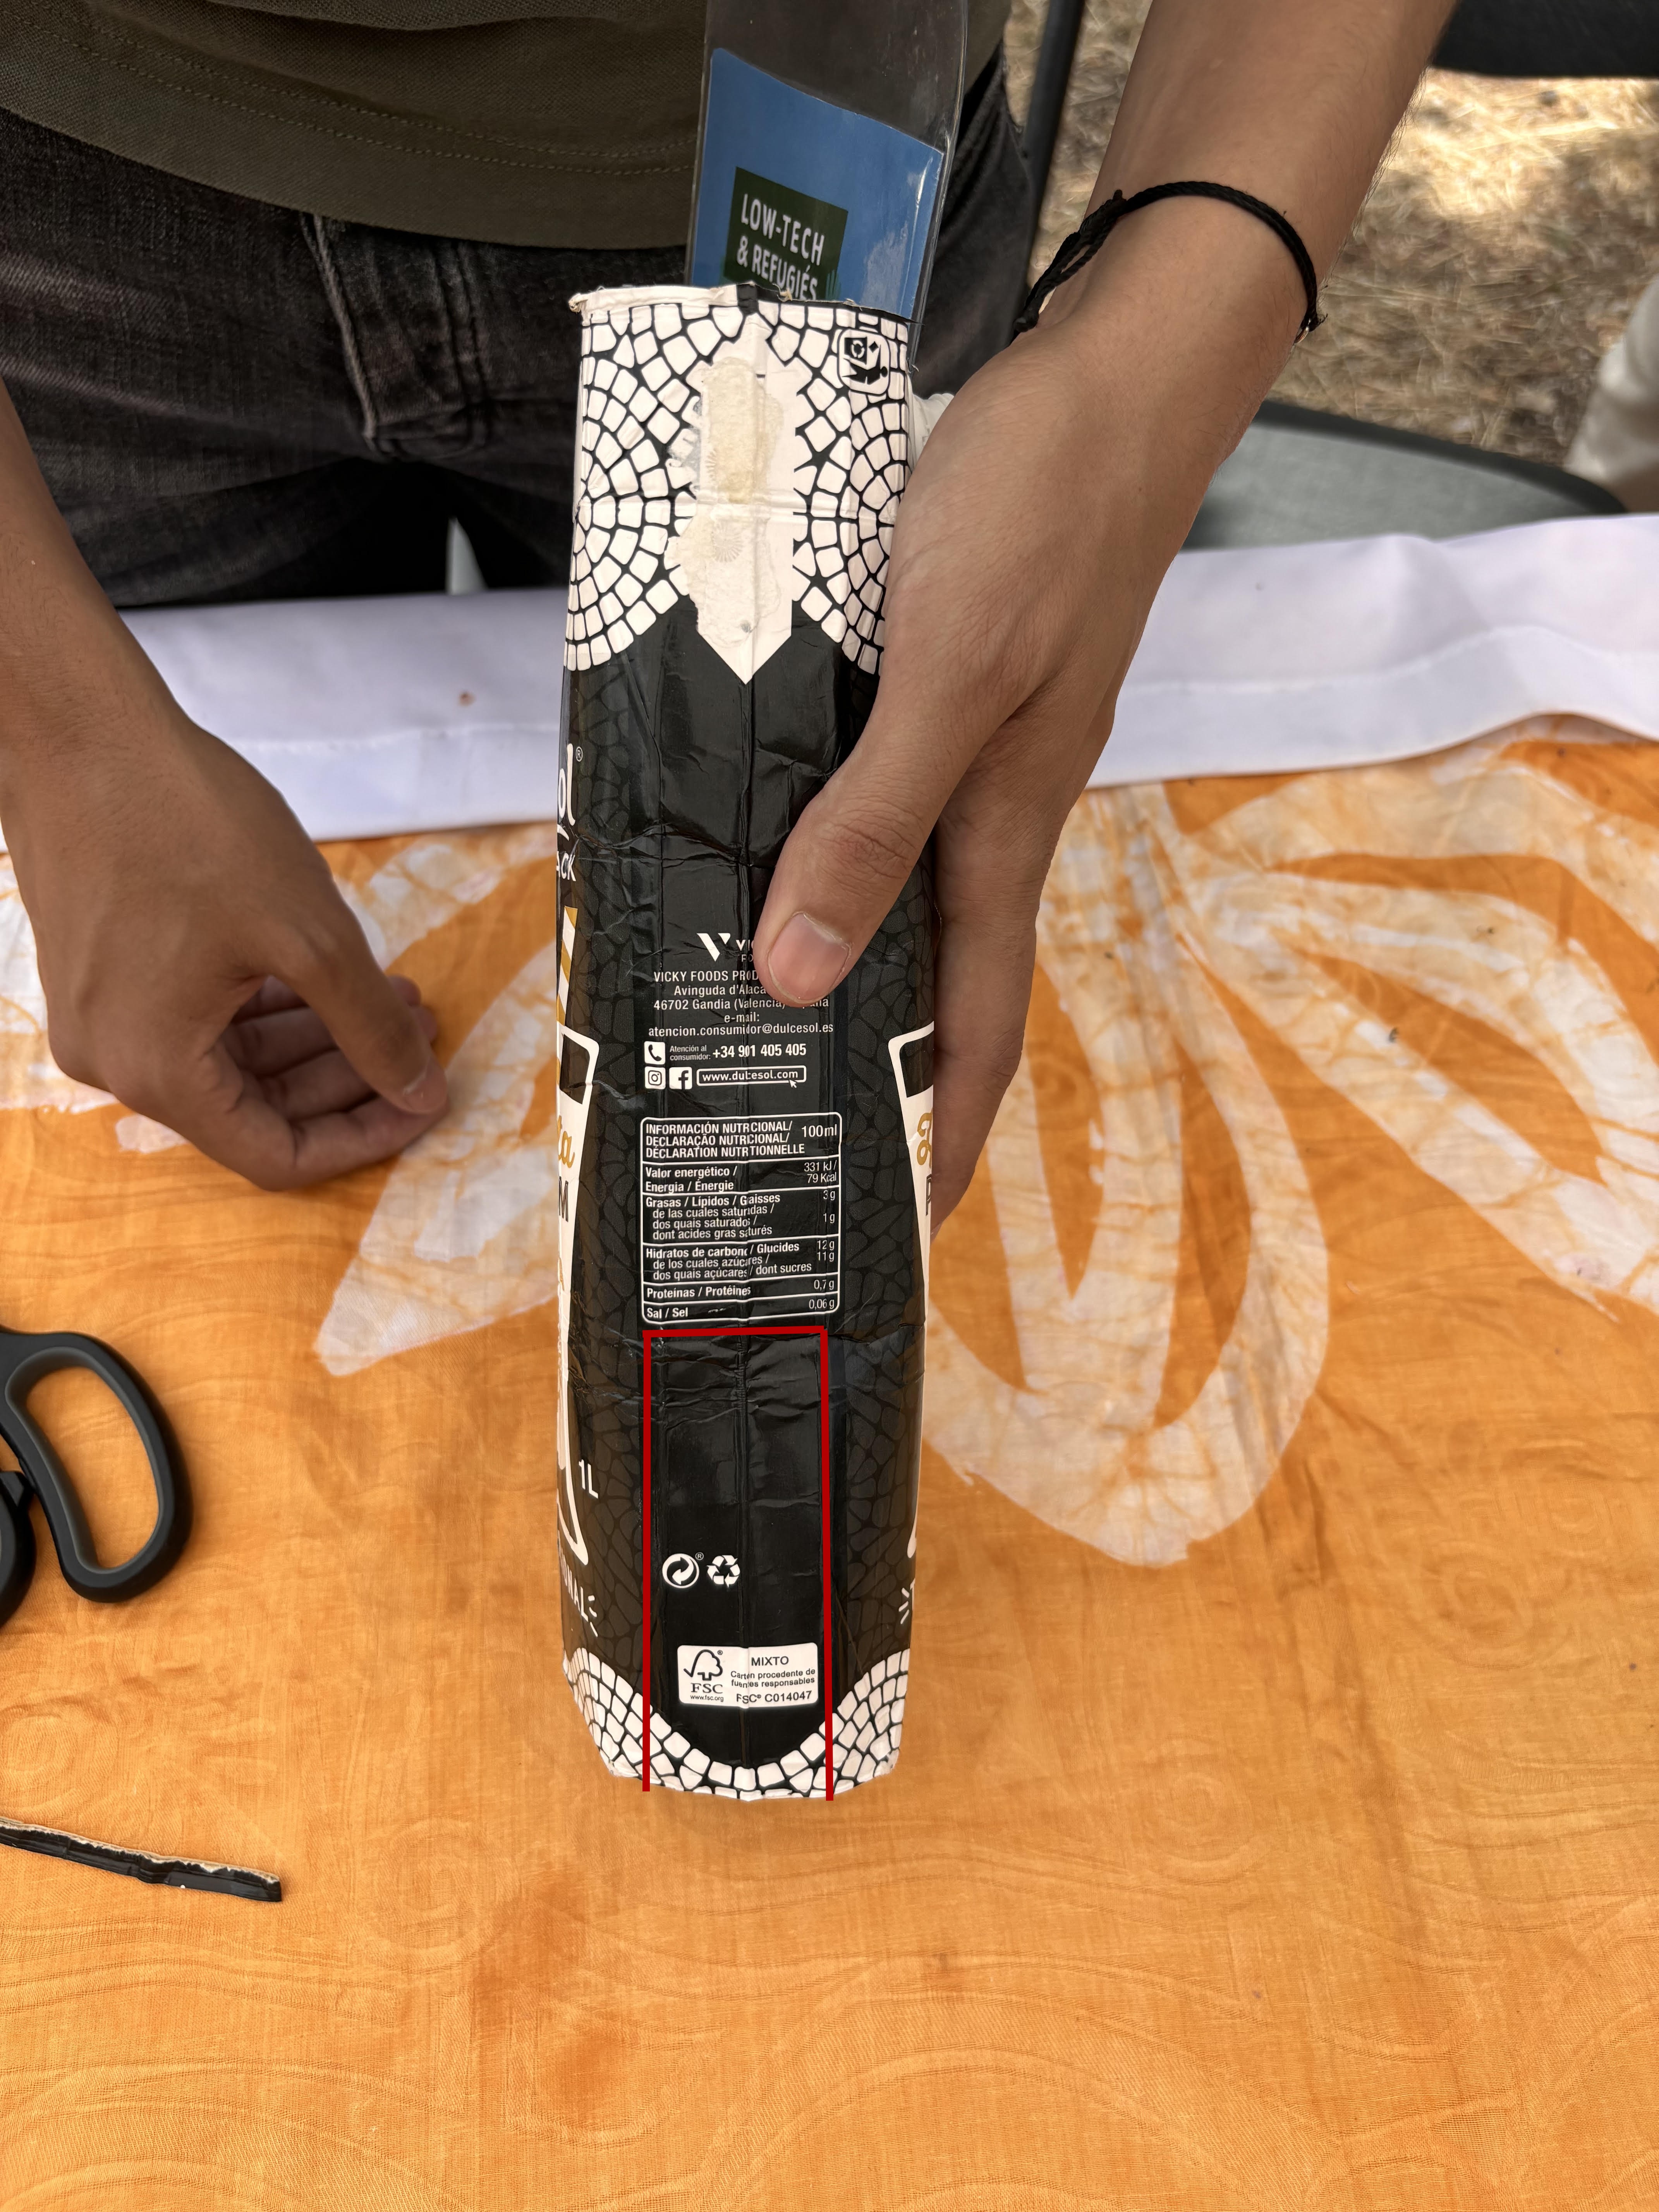
Cut out the 2 bottom side parts of the carton - see photo.
Cutting out the last parts of the carton
Cut out the two sides of the carton base - see photo.
Insert the cut section
Insert the prepared piece into the top third of the carton. This creates a double inner pocket (the wallet is taking shape!)
Fold the sides of the carton
Fold the box on both sides, so that the centre line (in blue) folds inside the box and the two side lines (in red) fold outwards. (see photo 1)
Make an impression on the inside of the flap
Remove the cap from the carton, fold back the lid and press the carton against the plastic closure to create a round indent inside the carton.
Make a hole in the wallet seal
Use scissors or a knife to cut a hole which the carton lid can poke through.
Closing the wallet
Congratulations, your wallet is now closed! Feel free to adjust the size of the hole to make it easier to open / close.
← Retour au répertoire — Fiche originale sur wiki.lowtechlab.org ↗