Ceinture en pneu de vélo/en
Tuto — Difficulté : Moyen — Durée : 30 minute(s) — Coût : 0.50 EUR — Mise à jour : 15 novembre 2024 — 21 révision(s) — Licence : Attribution (CC BY)
Aires : Habitat Outils — Contributeurs : FuzzyBot, EKO!
Fiche reformulée à partir du wiki Low-tech Lab : voir la fiche originale ↗
Versions de cette fiche : EN FR
Introduction
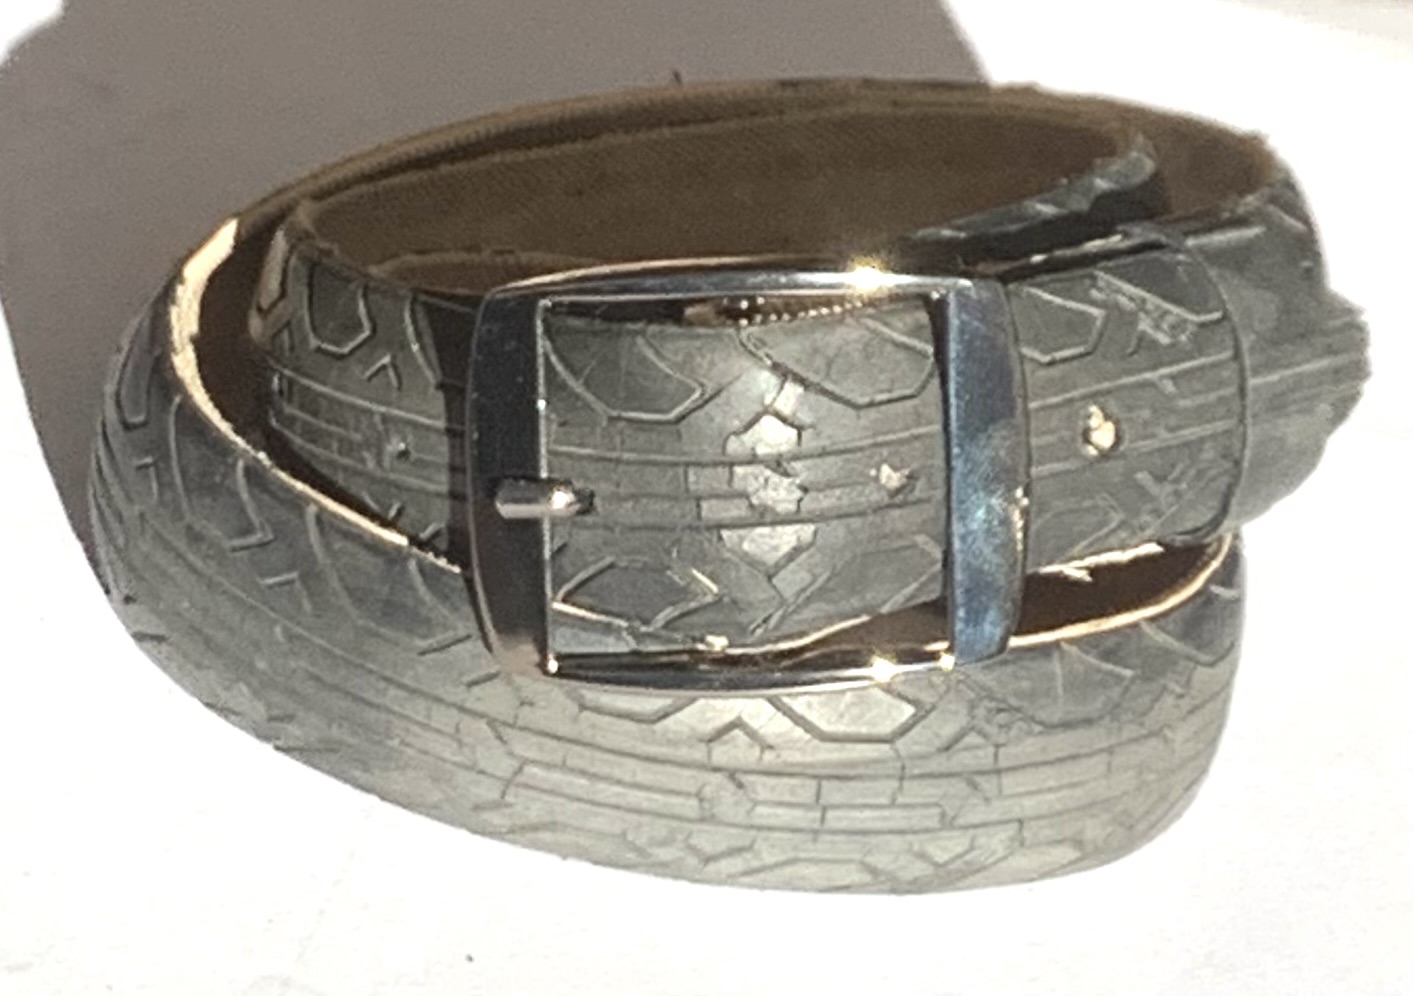
In this DIY, we will explain how to creat a belt made from an old bike tire.
Description
DIY bike tire belt
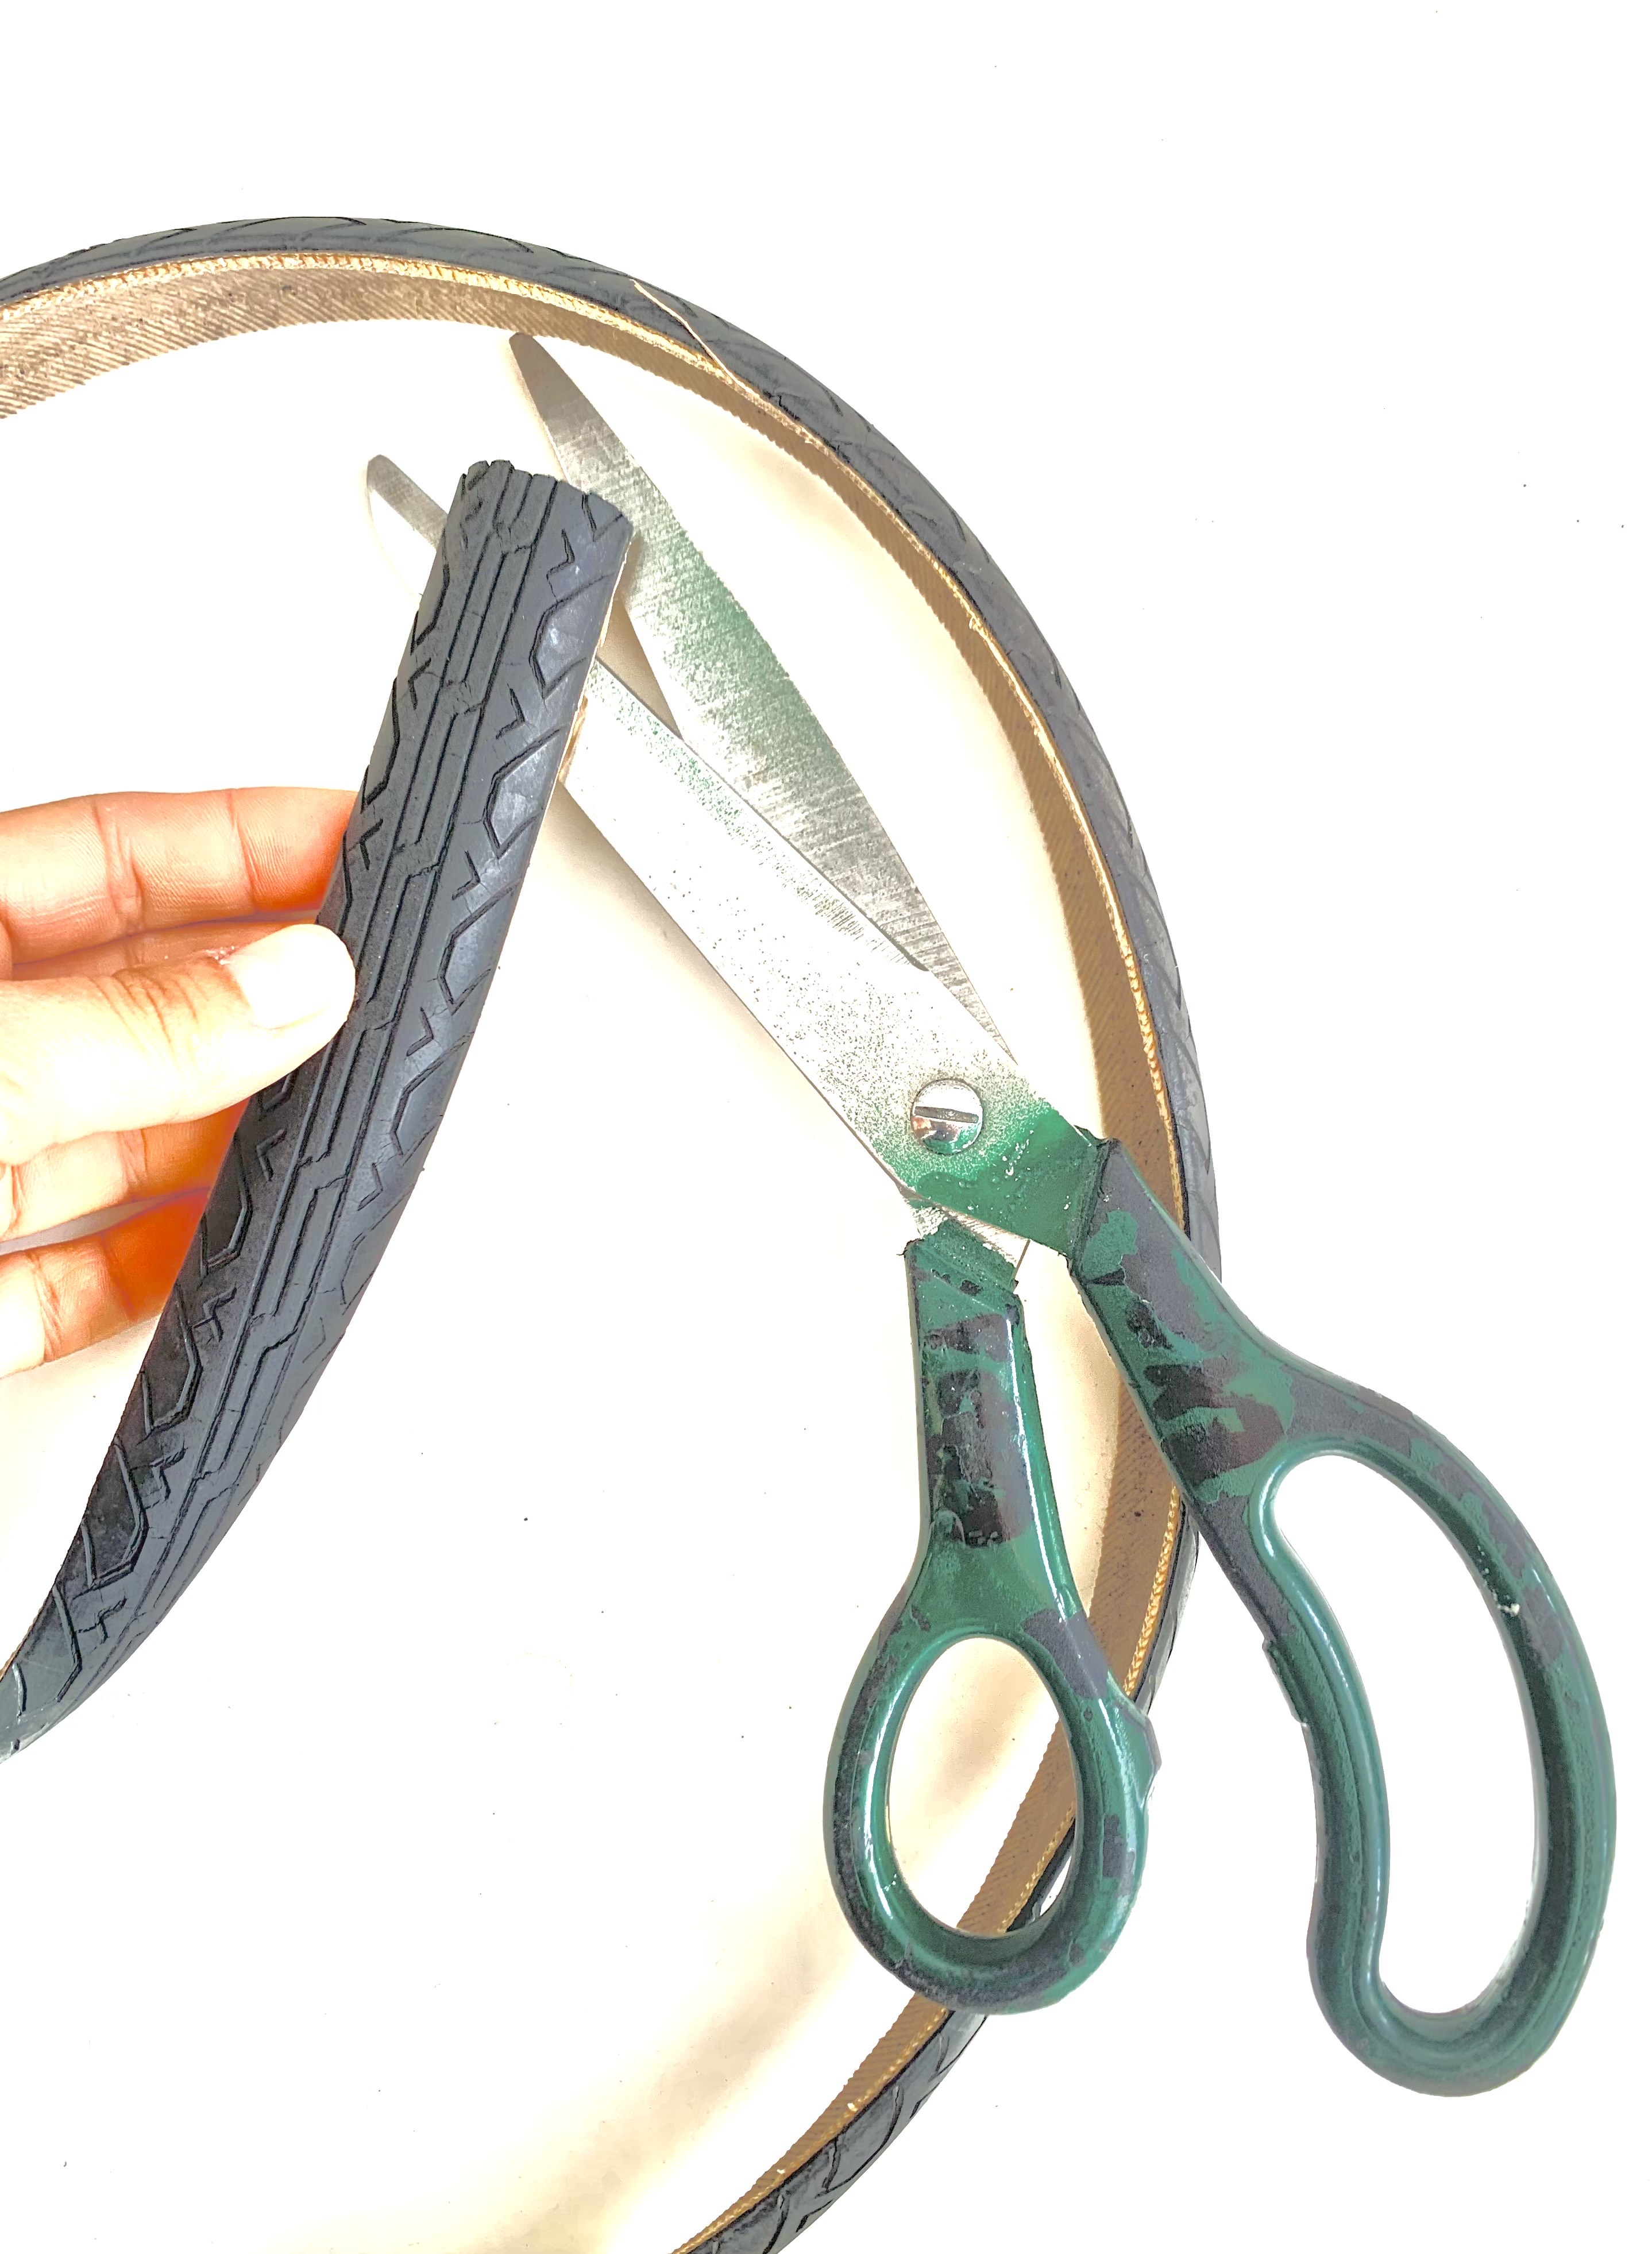
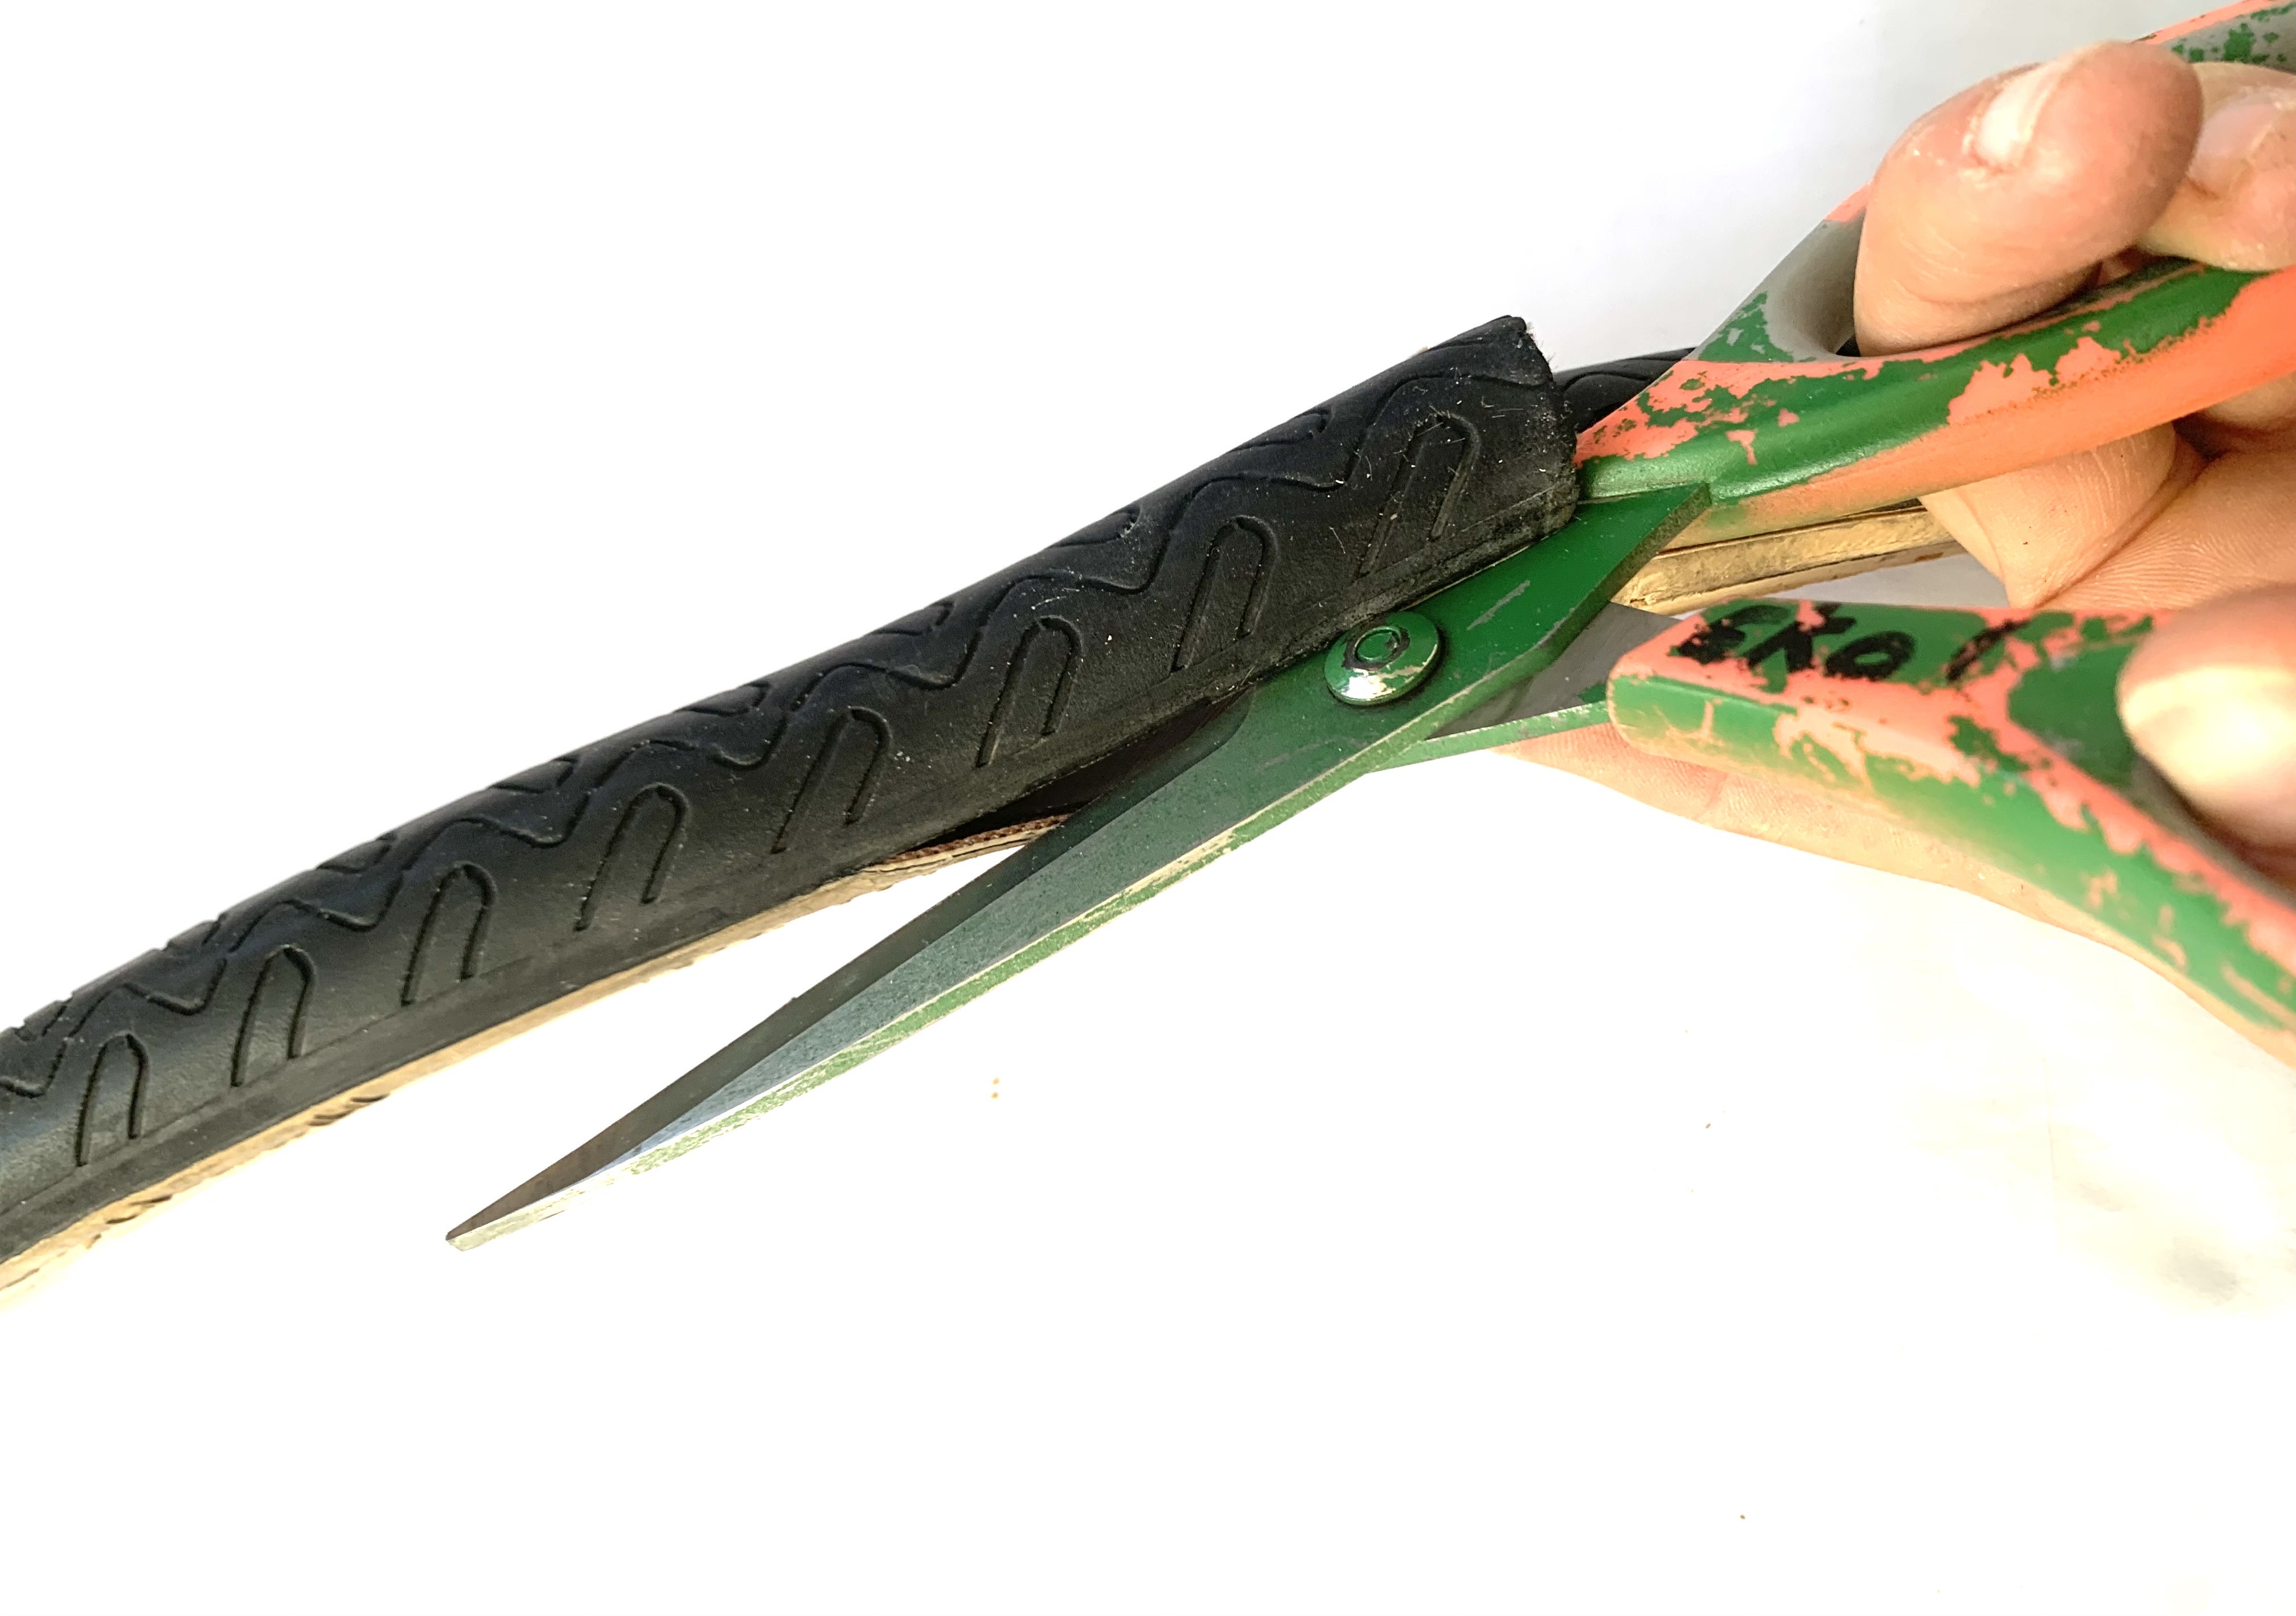
Creat the belt strap
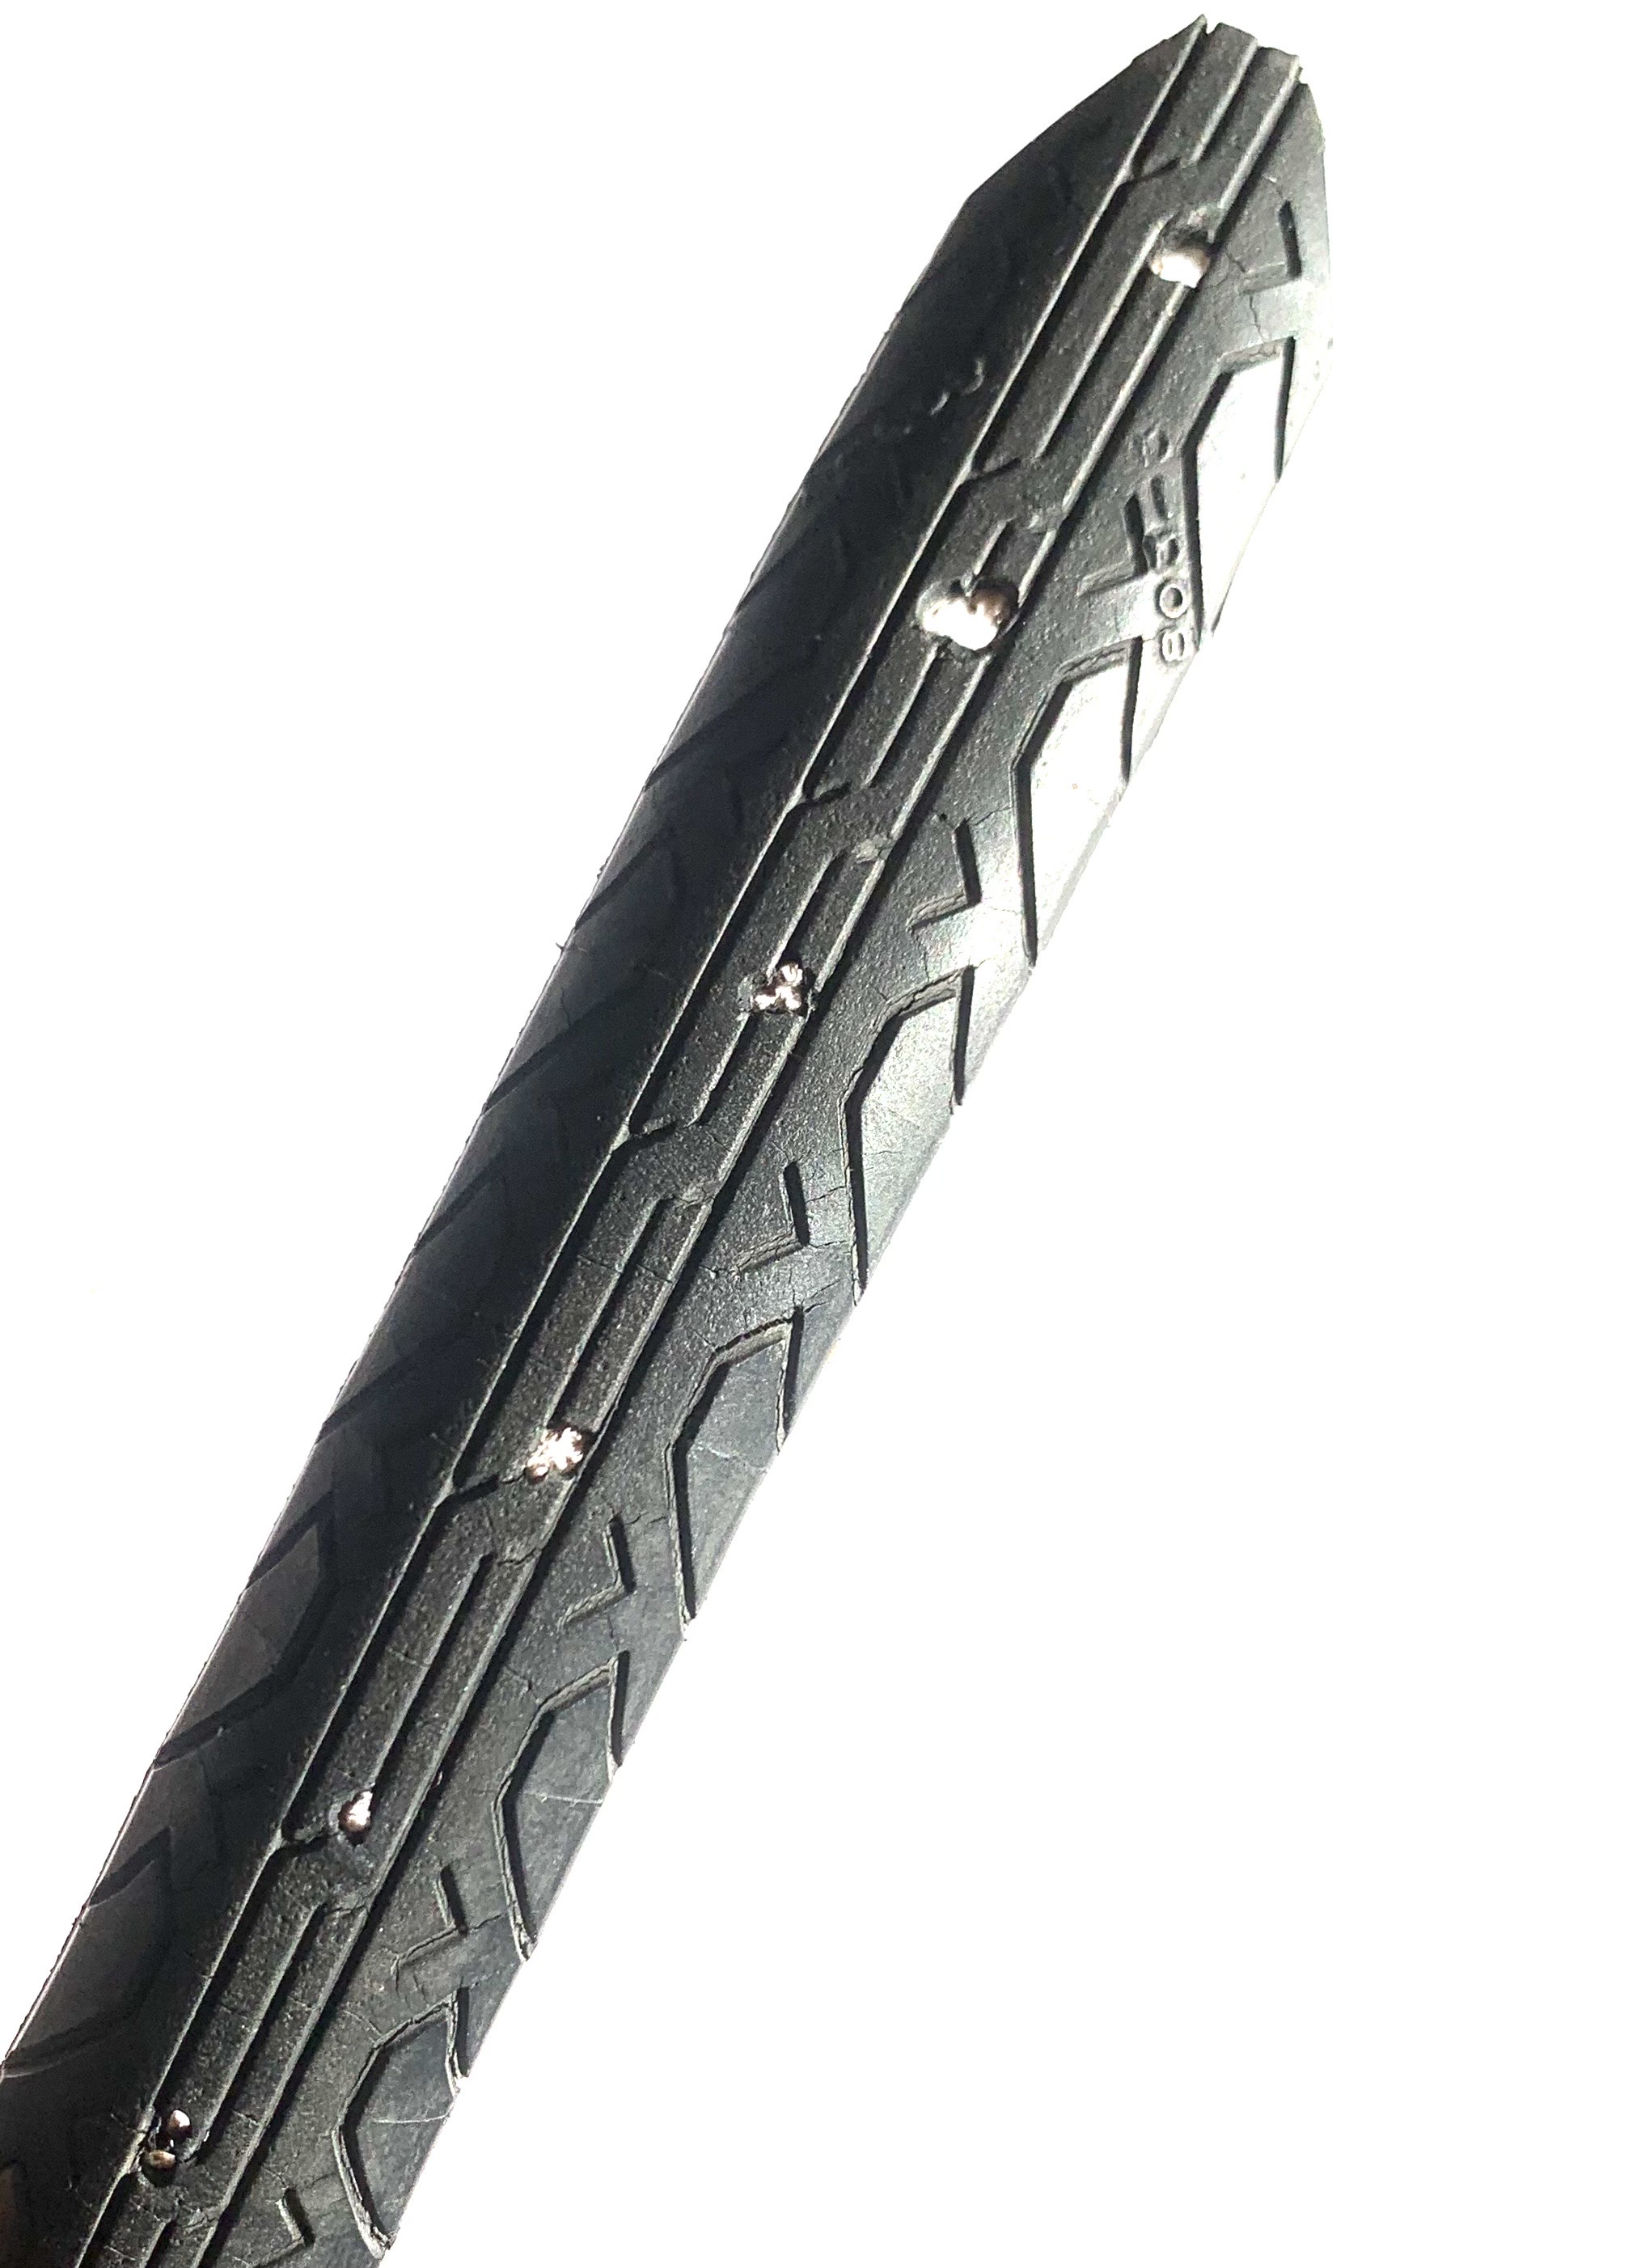
Cut the part of the tire which will constitute the belt,to the desired length, taking a model from an old belt or taking its waist measurement and adding approximately 15 cm.
Creat the belt buckle
Re-use a buckle from an old belt. or Create the buckle and pin of the belt from a metal rod using metal pliers. If the buckle is not welded, the rod junction point must not be centered, otherwise the barb will come out.
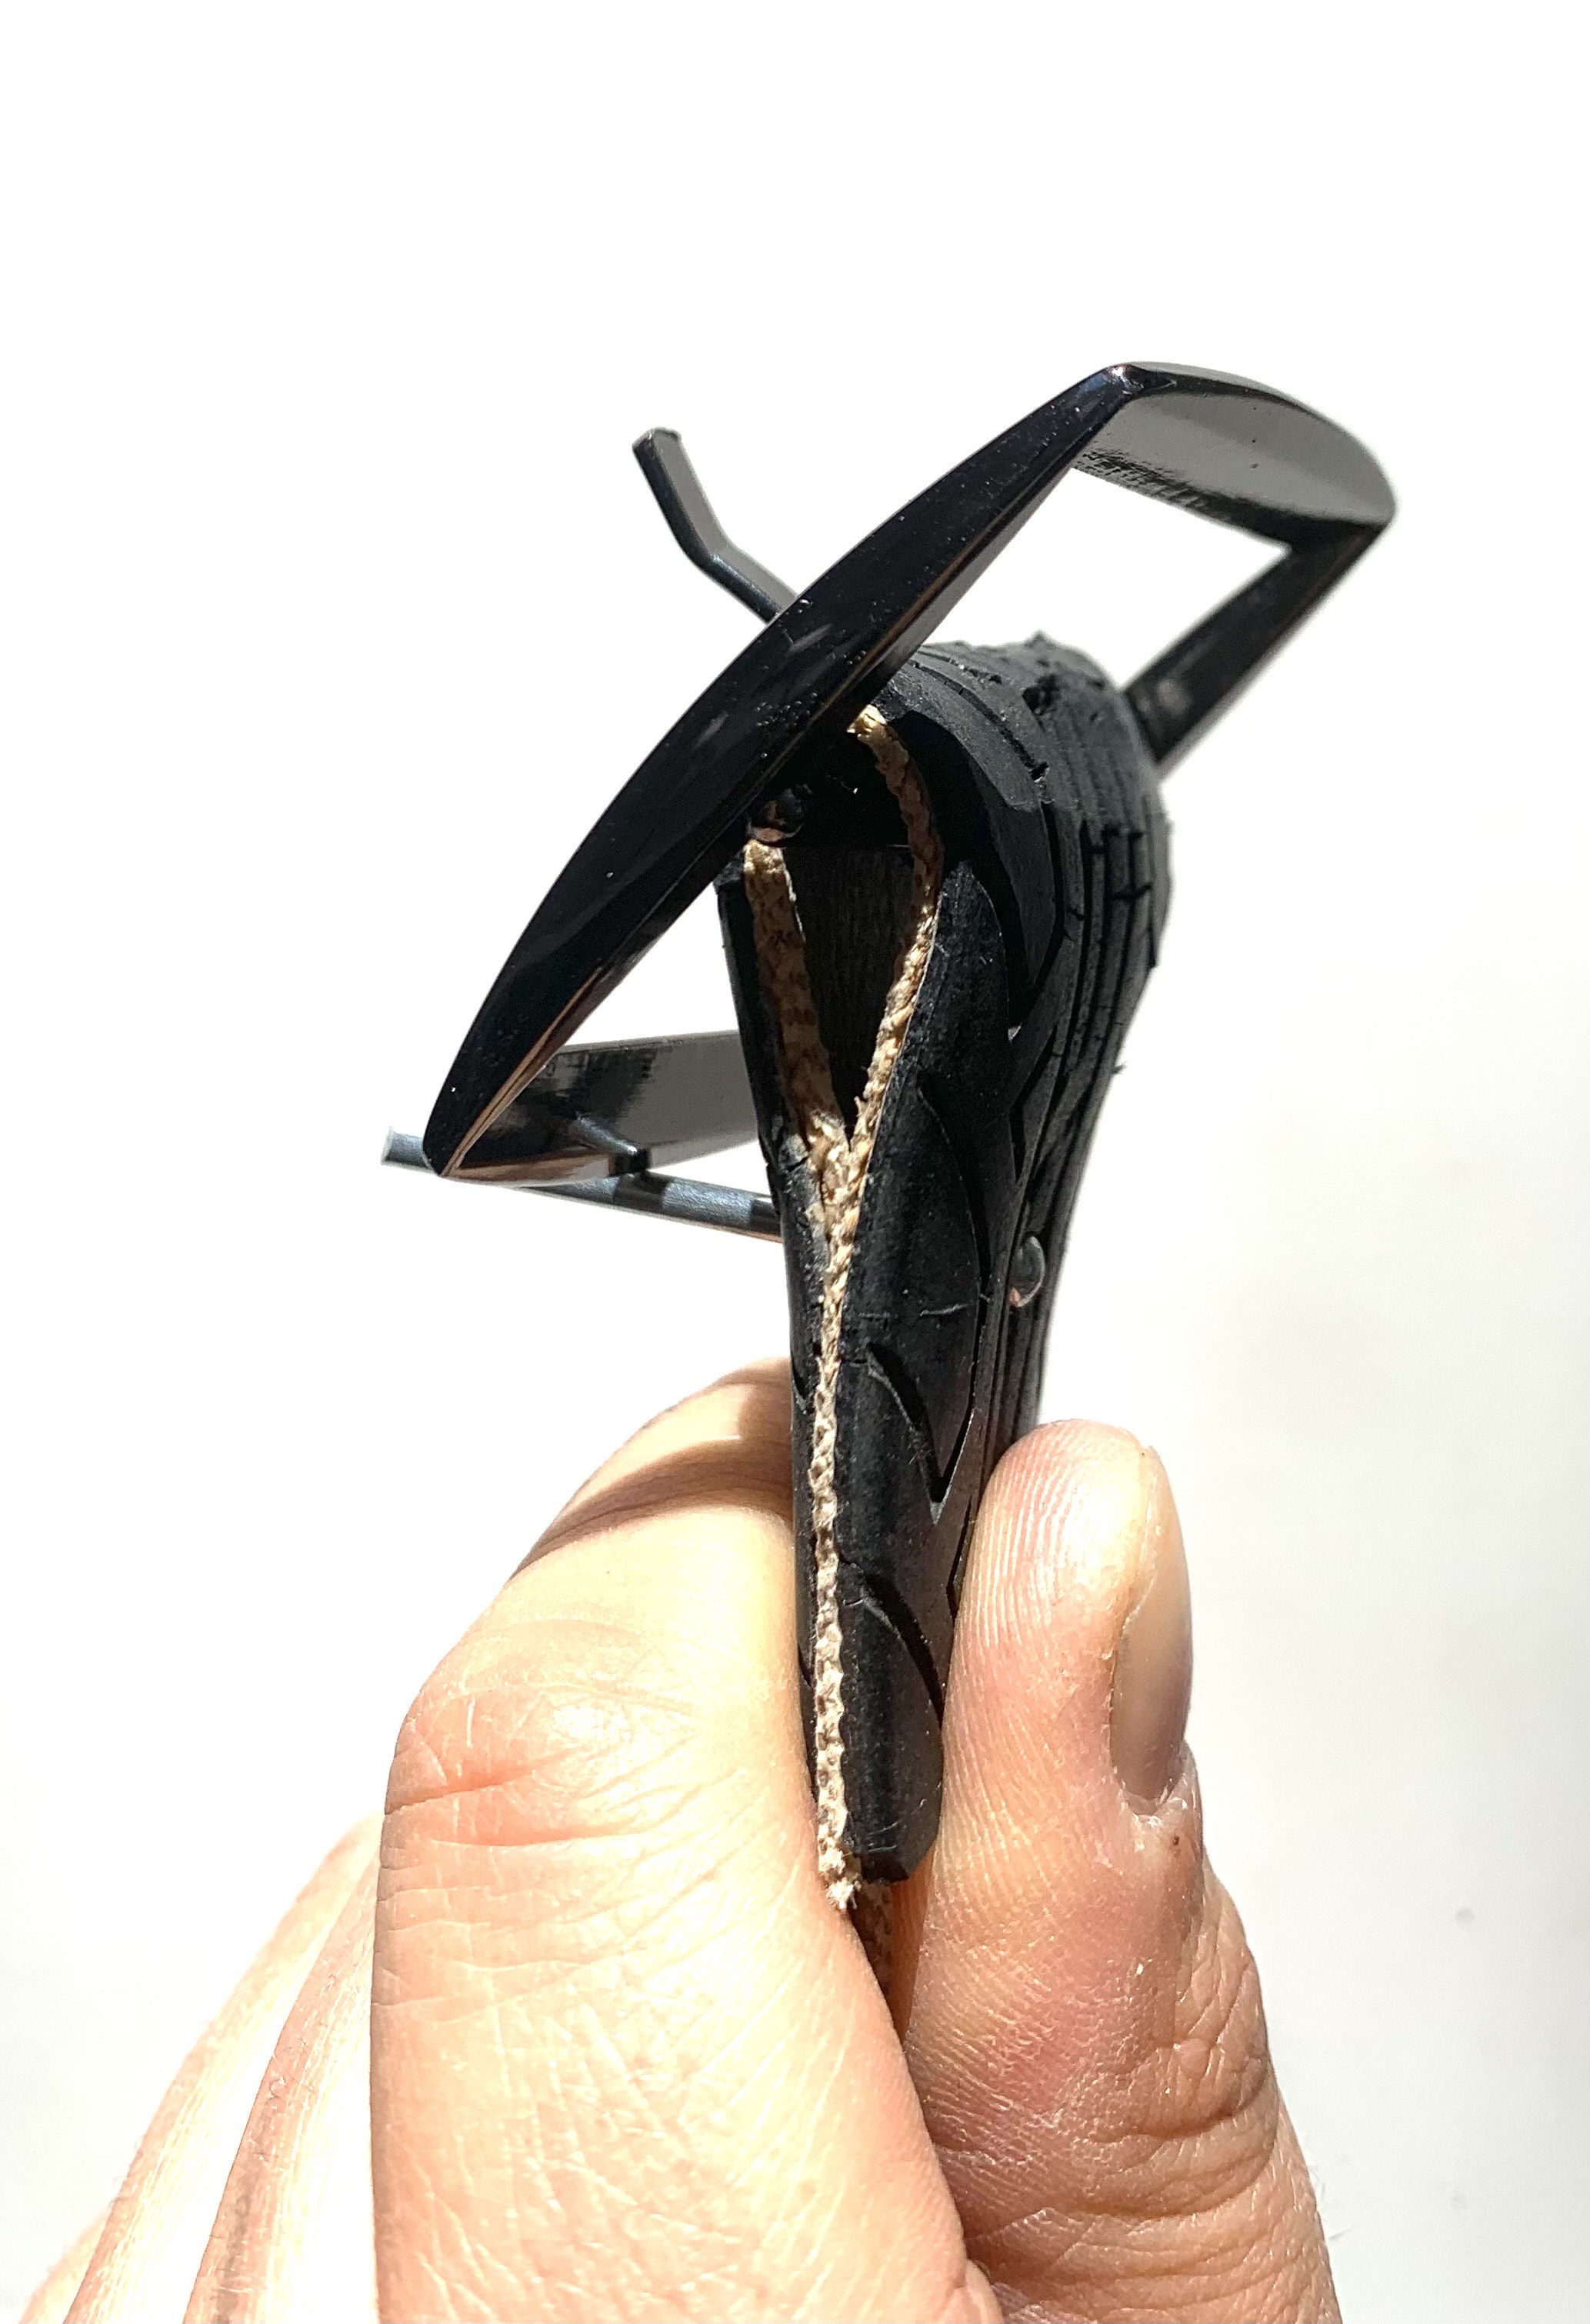
Install and secure the belt buckle on the strap.
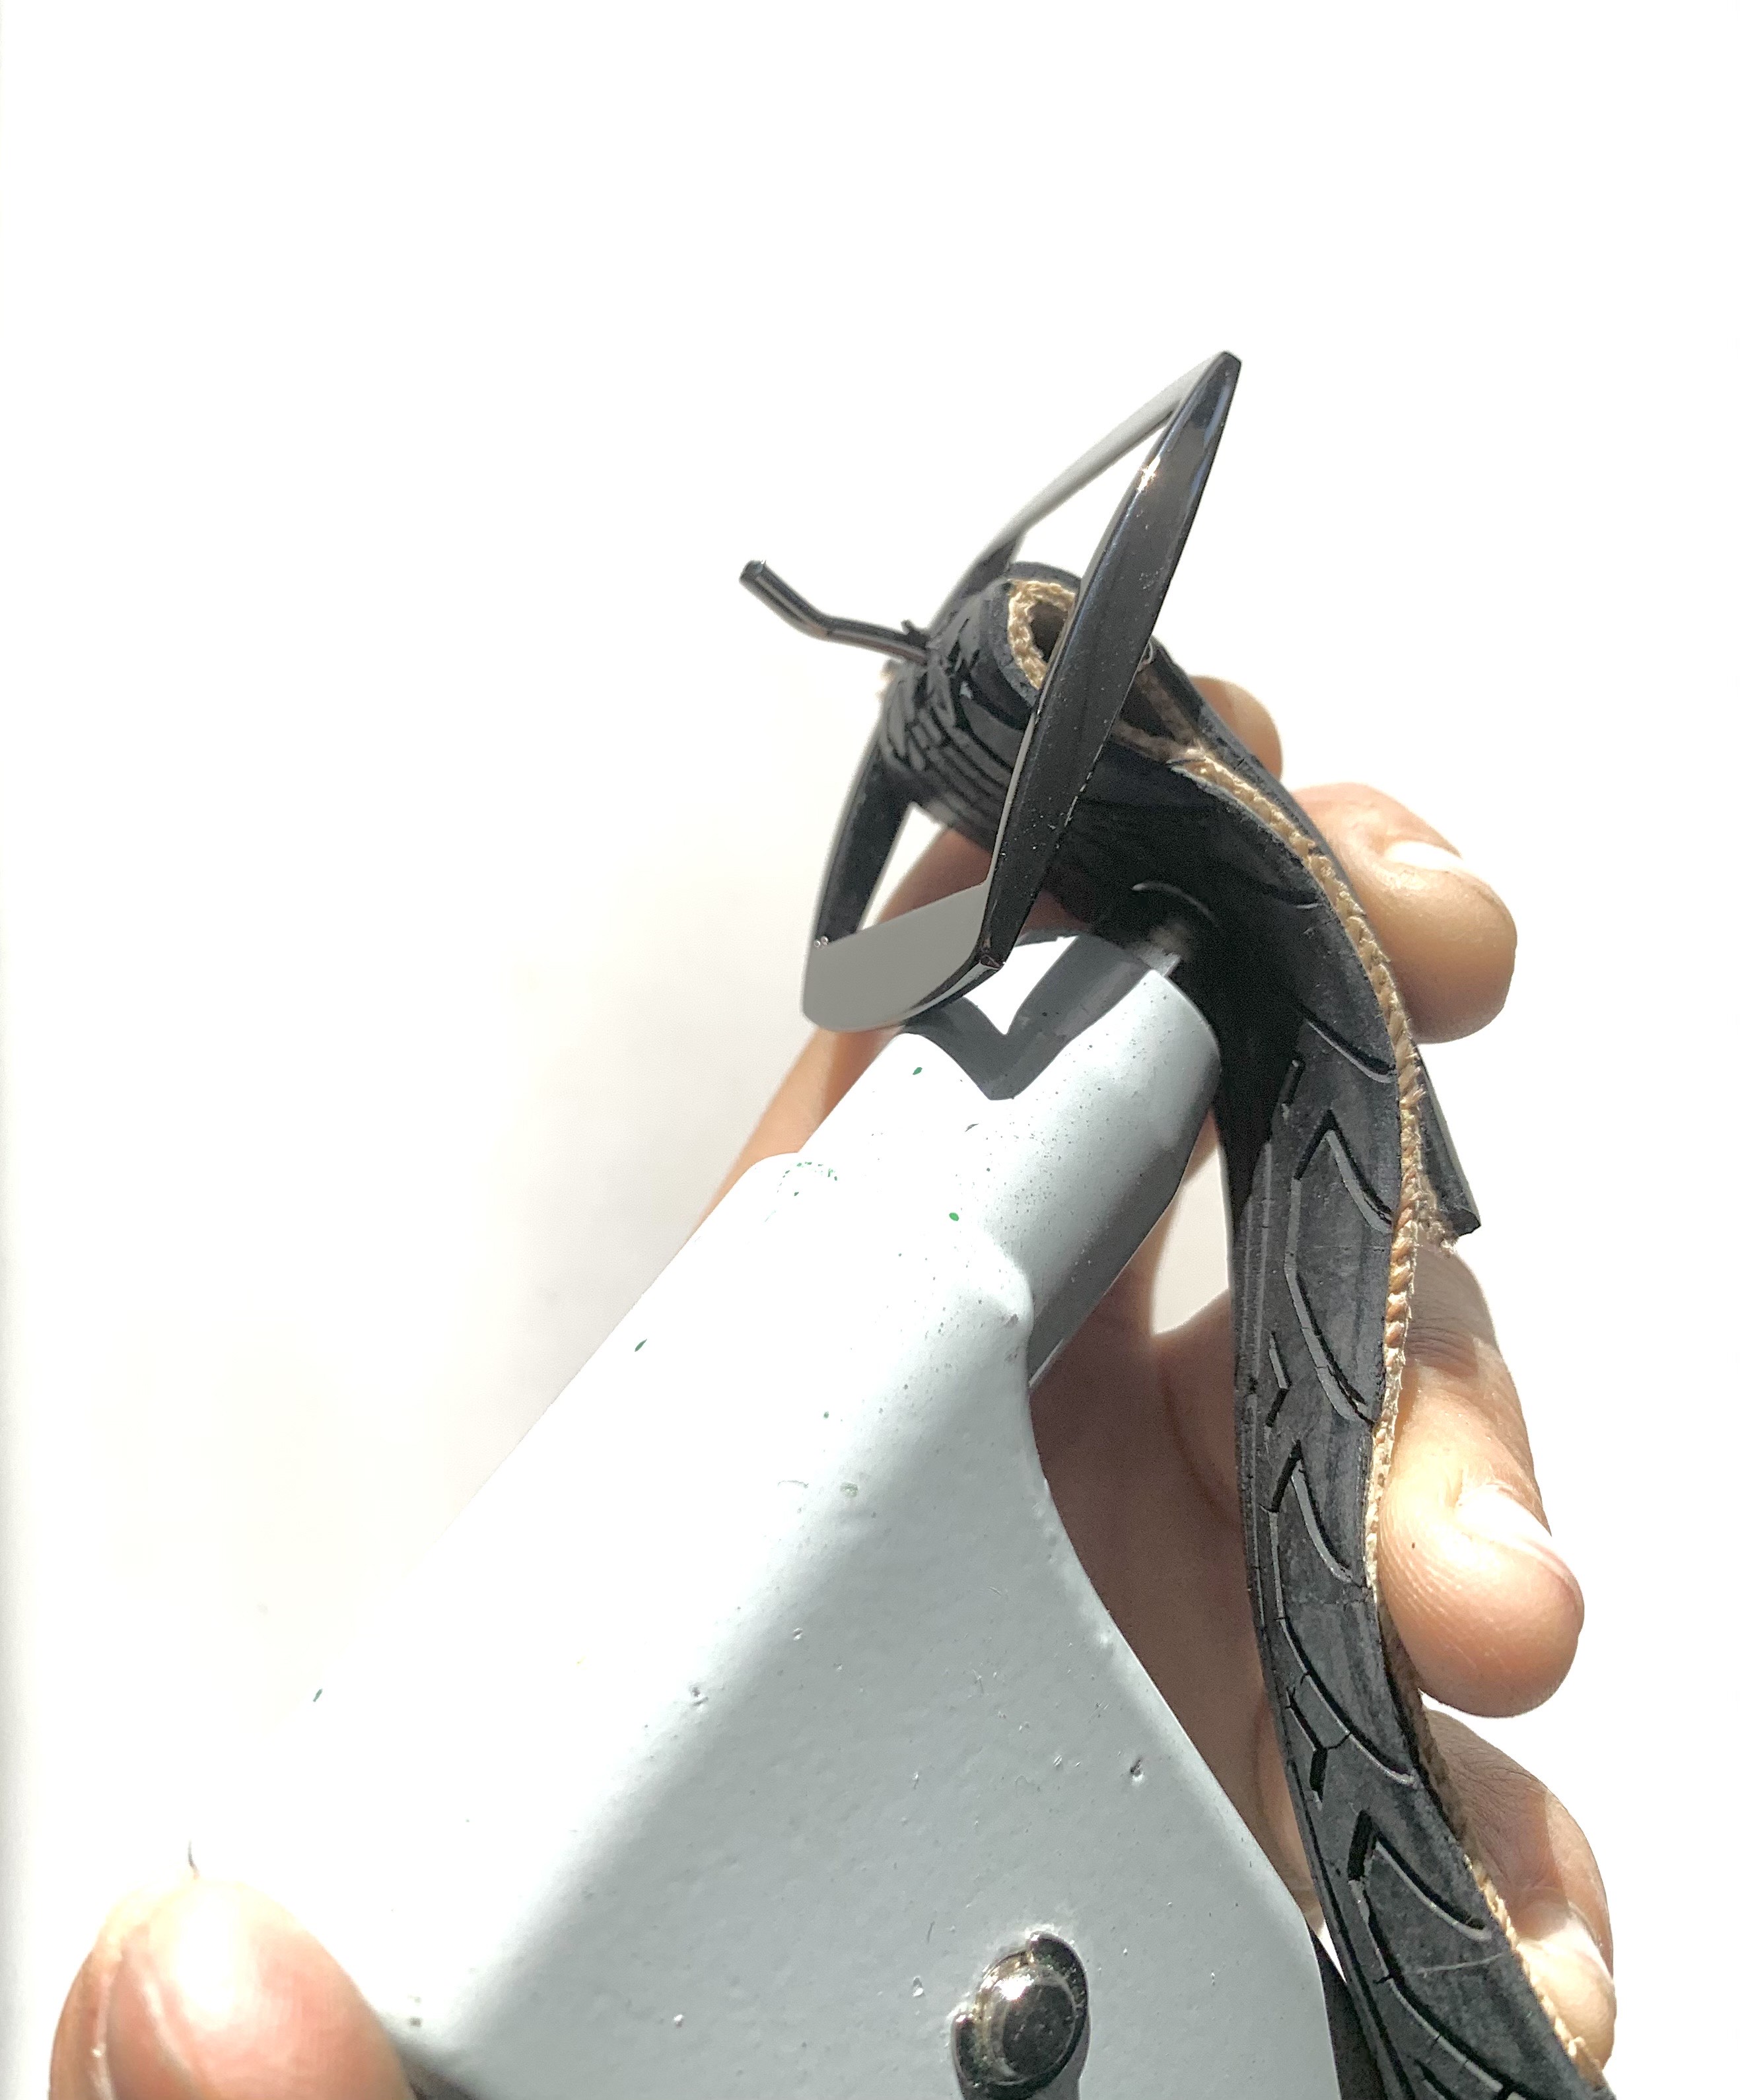
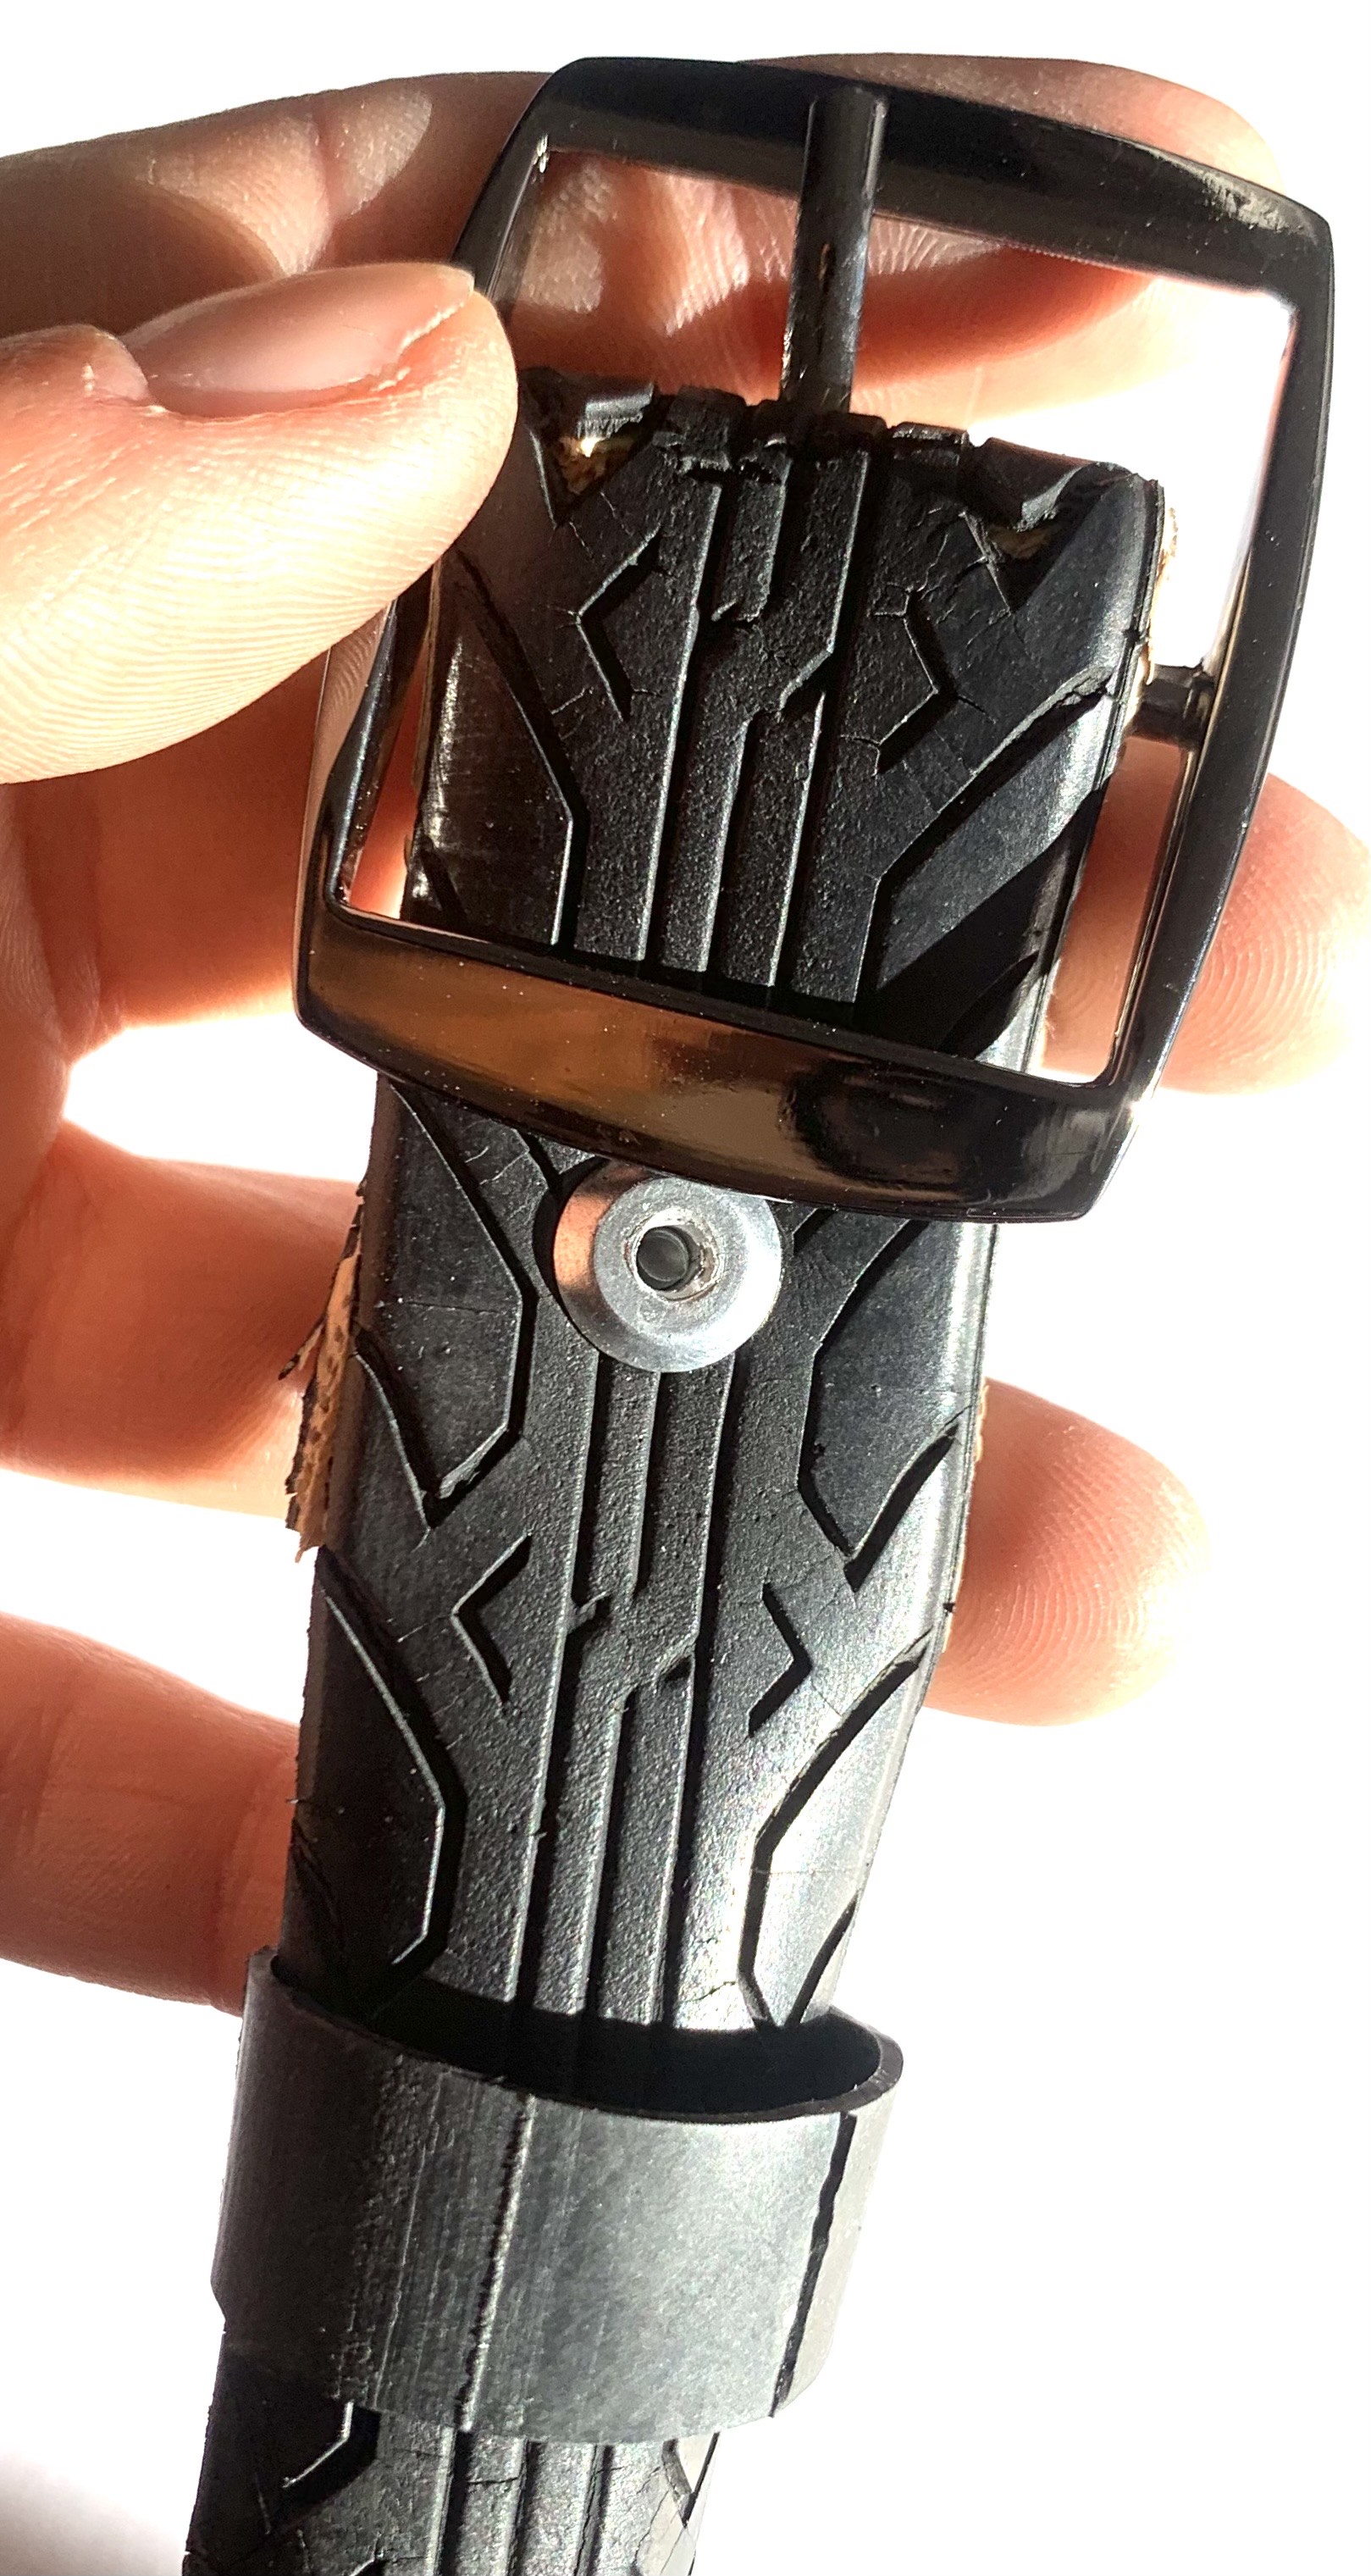
At 10 cm from the edge, fold one end of the strap and drill a hole in the middle. This hole will allow the tongue to pass through. Install the buckle and pass the rod through the hole. Fold the tire around the buckle To hold the buckle in place, create a hole about one centimeter from the buckle in the middle, then rivet, adding a washer to hold the rivet (or use a pop rivet). If the tire is thick, drill two holes on either side of the strap.
Install and secure the belt loop
Install the inner tube loop, by sliding it along the strap. To possibly fix the loop, put a last screw rivet (or pop rivet) after the buckle to hold it securely.
Create the belt notches
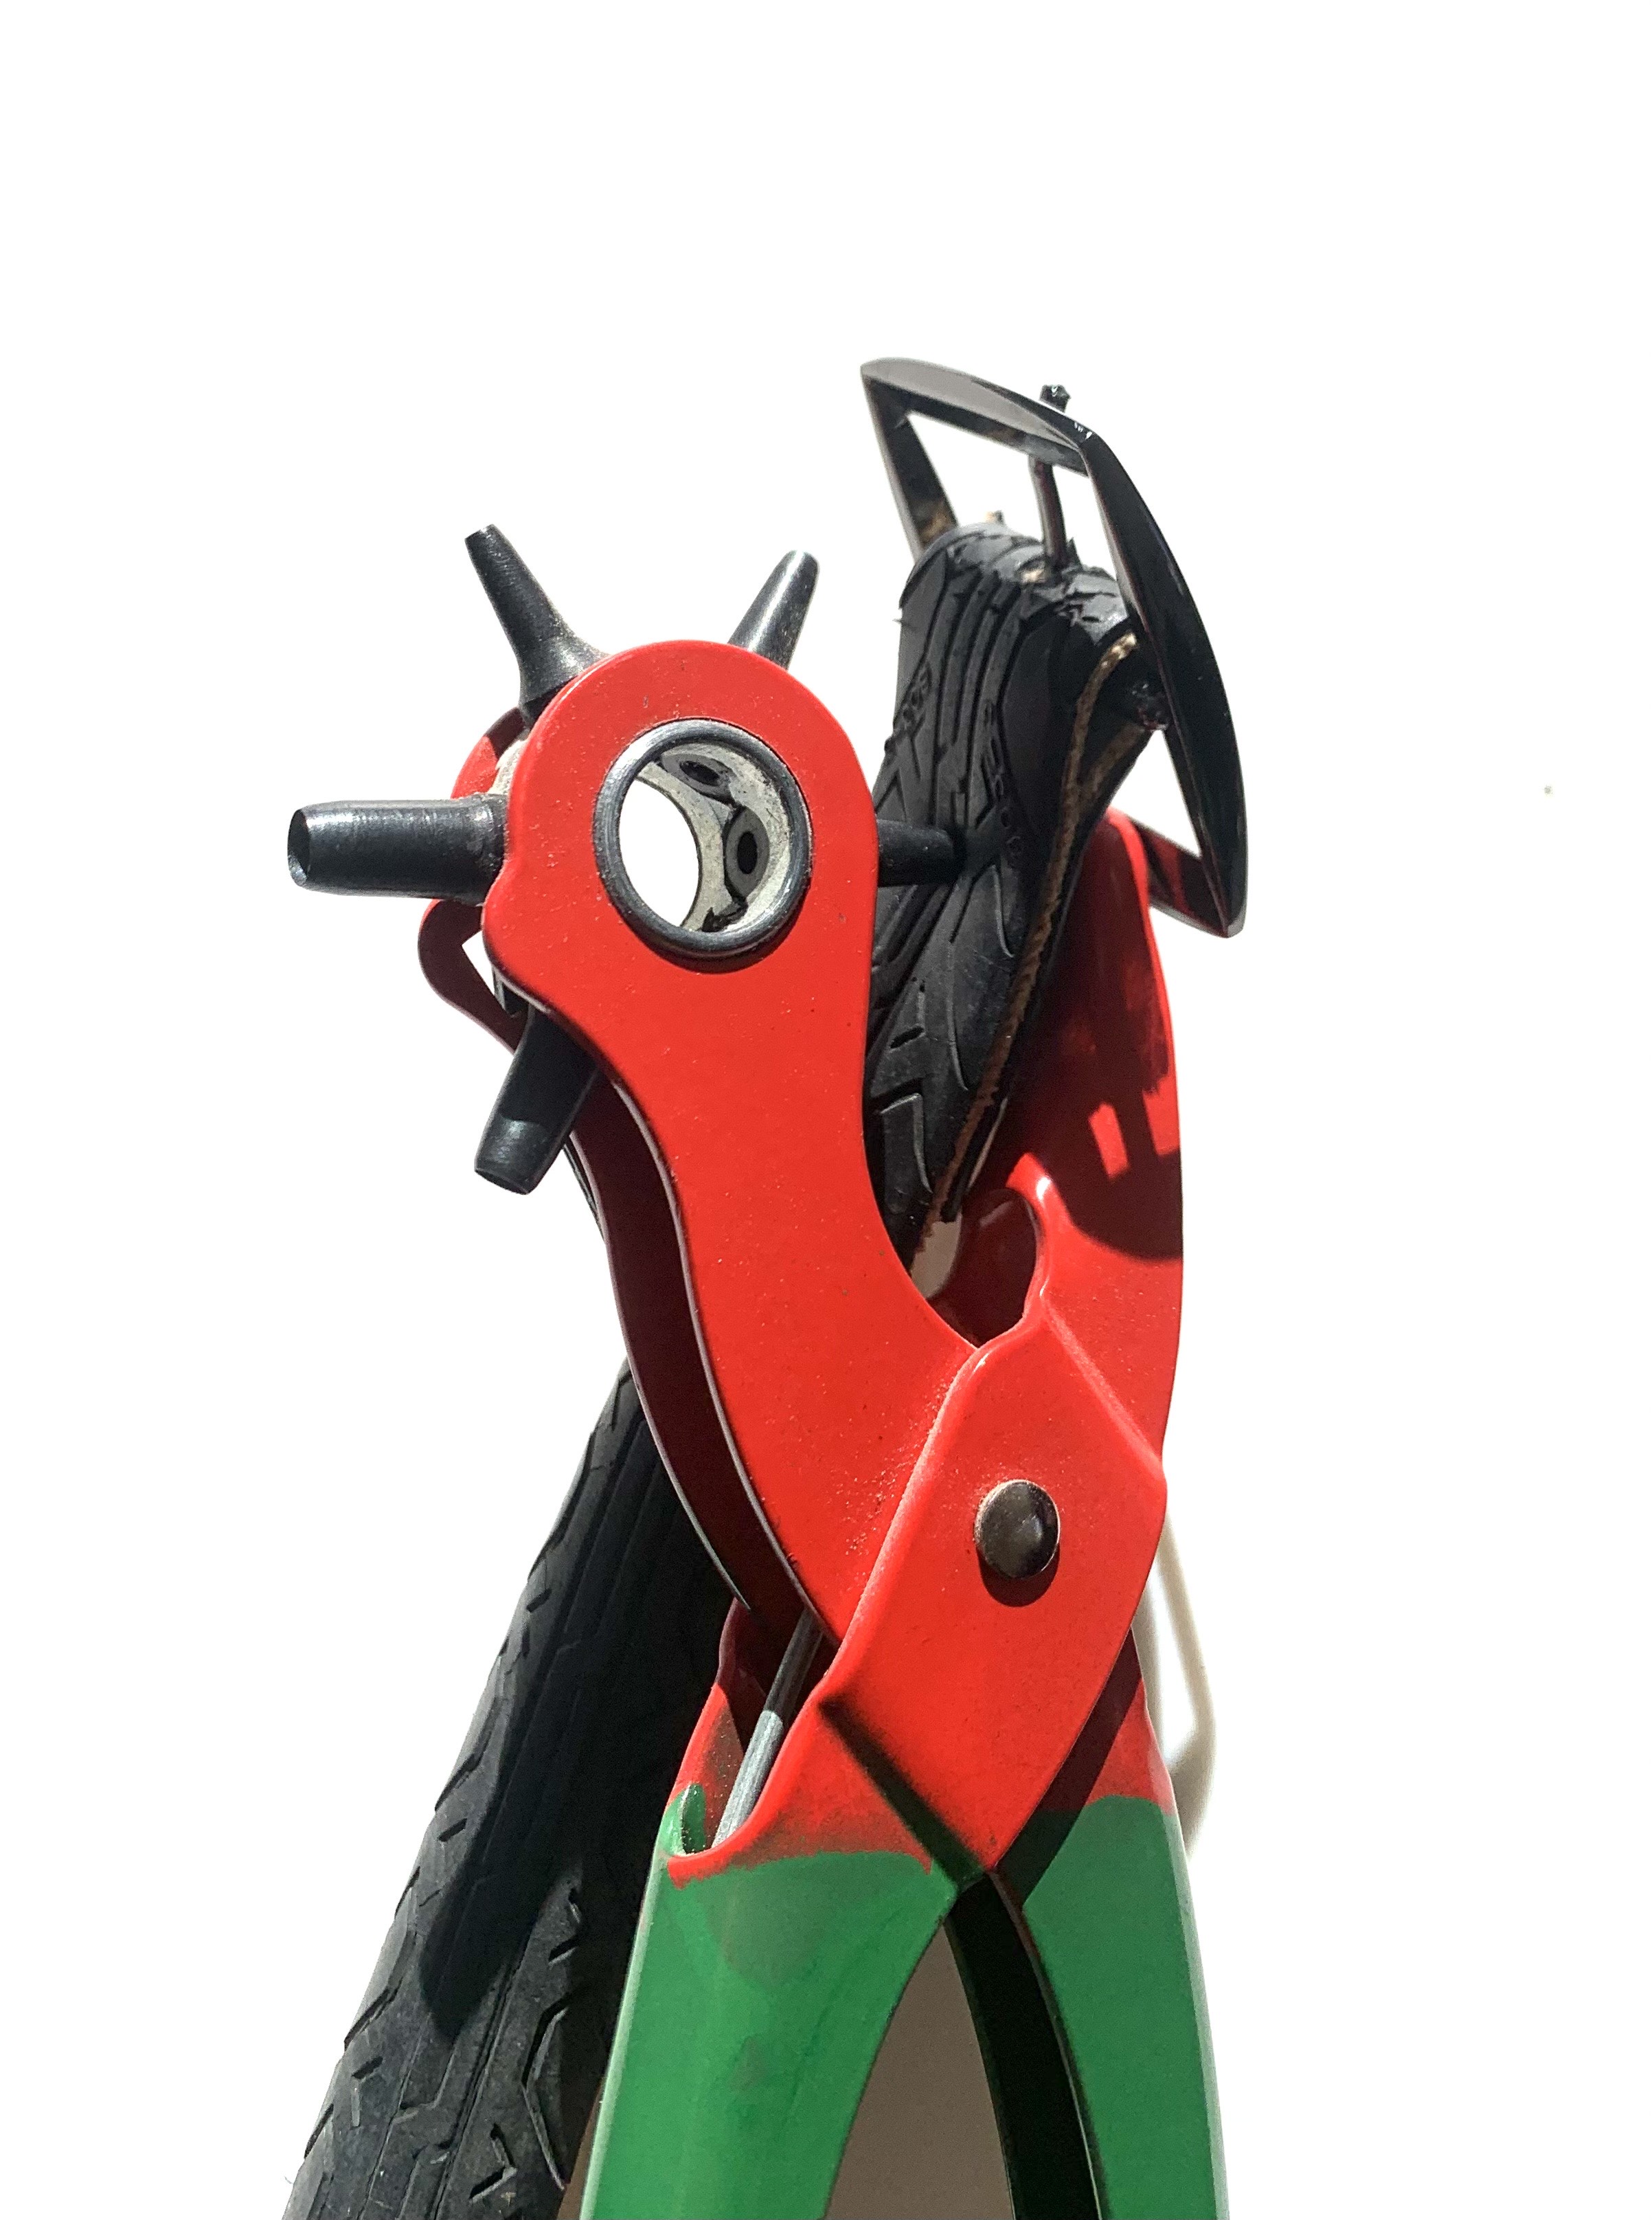
Take measurment to choose where to put the belt notches. Make holes with the hole punch pliers to form the notches of the belt. The belt is ready!!
← Retour au répertoire — Fiche originale sur wiki.lowtechlab.org ↗