Marmite Norvégienne Tissu Super Efficace/en
Tuto — Difficulté : Facile — Durée : 1 day(s) — Coût : 30 EUR — Mise à jour : 9 juillet 2024 — 73 révision(s) — Licence : Attribution (CC BY)
Aires : Alimentation — Contributeurs : EKO!
Fiche reformulée à partir du wiki Low-tech Lab : voir la fiche originale ↗
Versions de cette fiche : AR EN FR
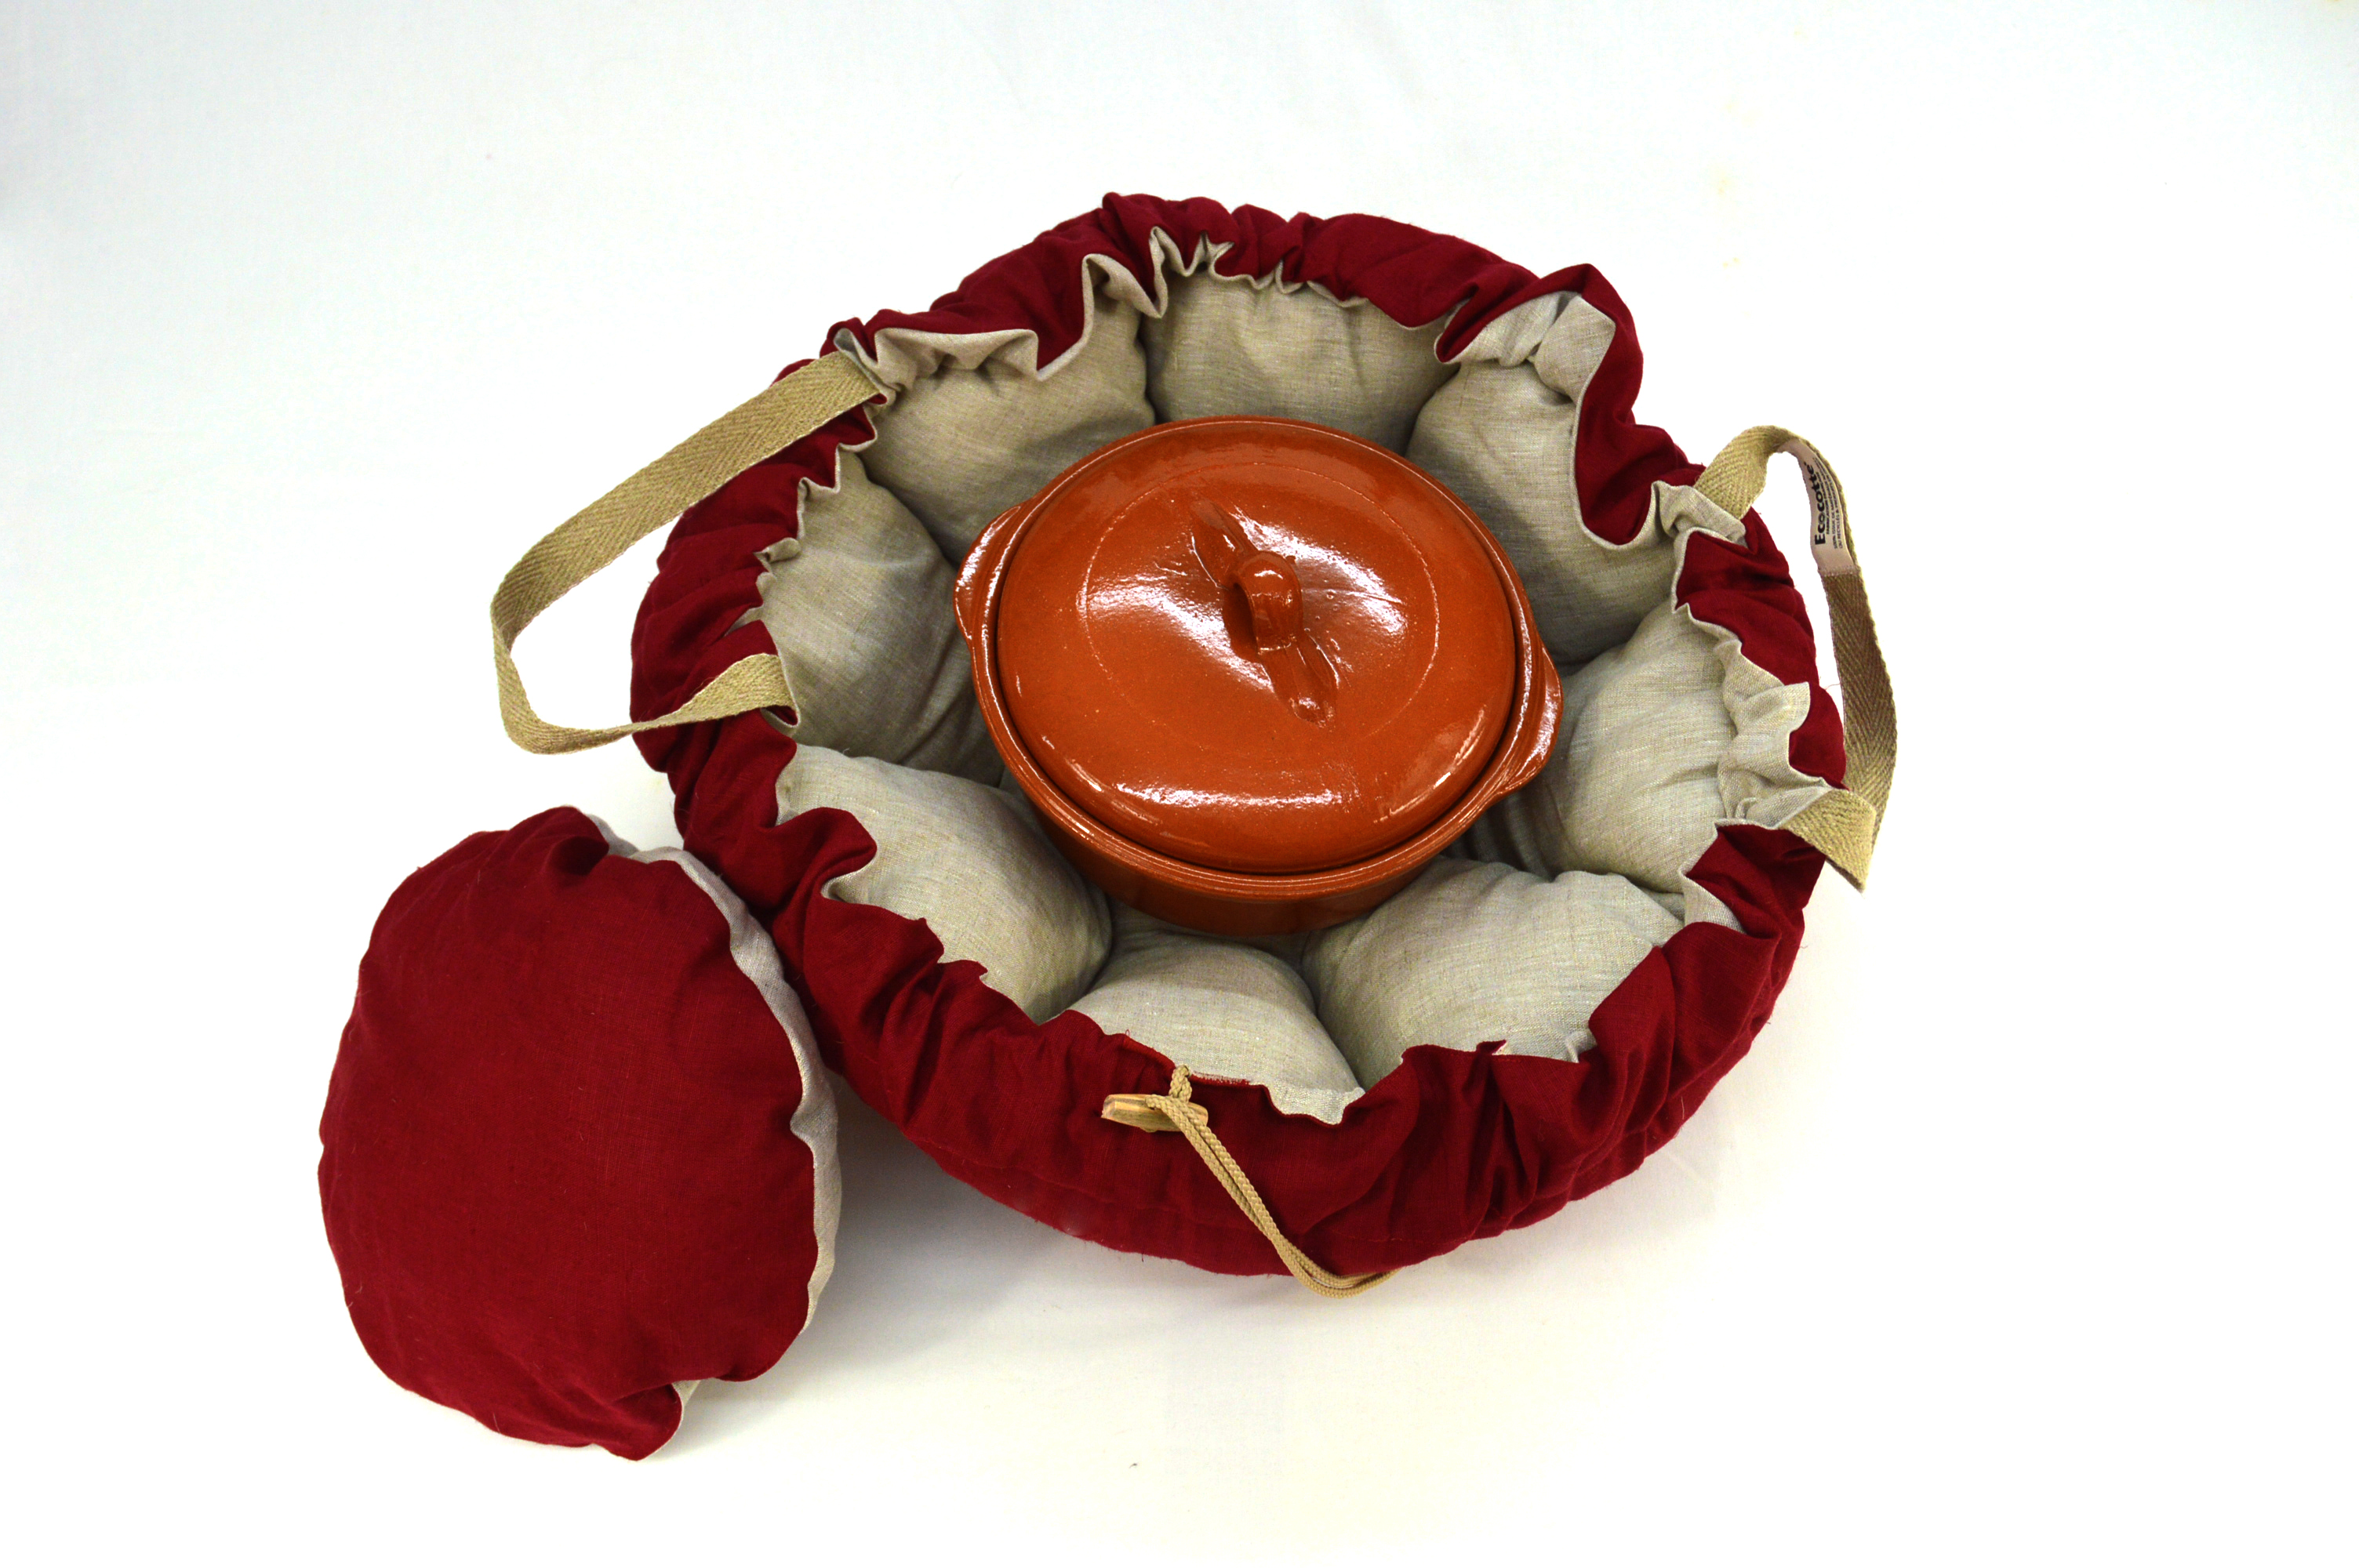
Introduction
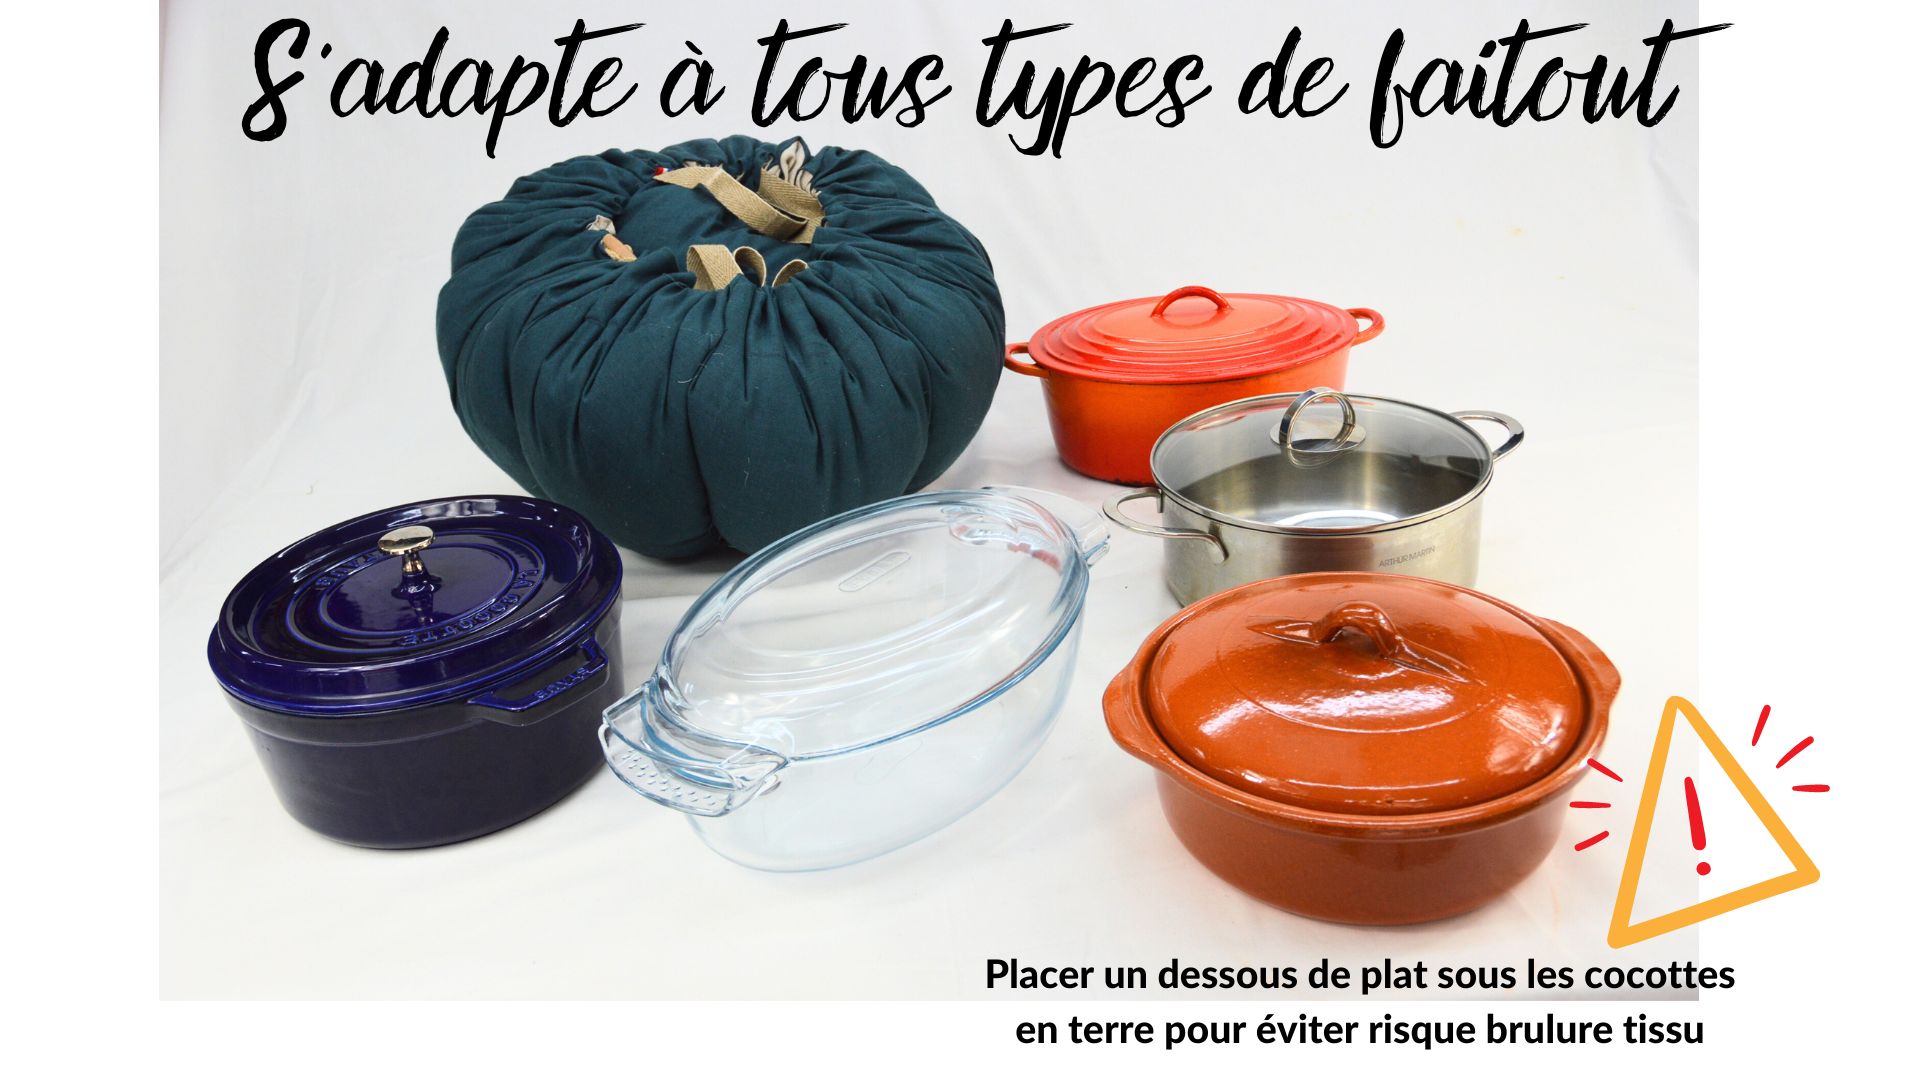
The Norwegian pot is a great tool for finishing low-temperature cooking using only the energy needed to heat the food. It not only makes cooking healthy and tasty, but also saves a considerable amount of energy if it is used often (up to 80% savings per cooking). This shared experience will enable you to guarantee that the temperature will be maintained above 60°C for more than 10 hours with an ordinary stewpot, and much longer with a cast-iron or earthenware casserole, simply by bringing the food to the boil for a few minutes. Tutorial under licence: CC BY NC
Description
A flexible, nomadic and elegant Norwegian pot that guarantees maximum thermal insulation and requires only a few basic sewing skills. For a healthy and sober end to your cooking.
Vidéos
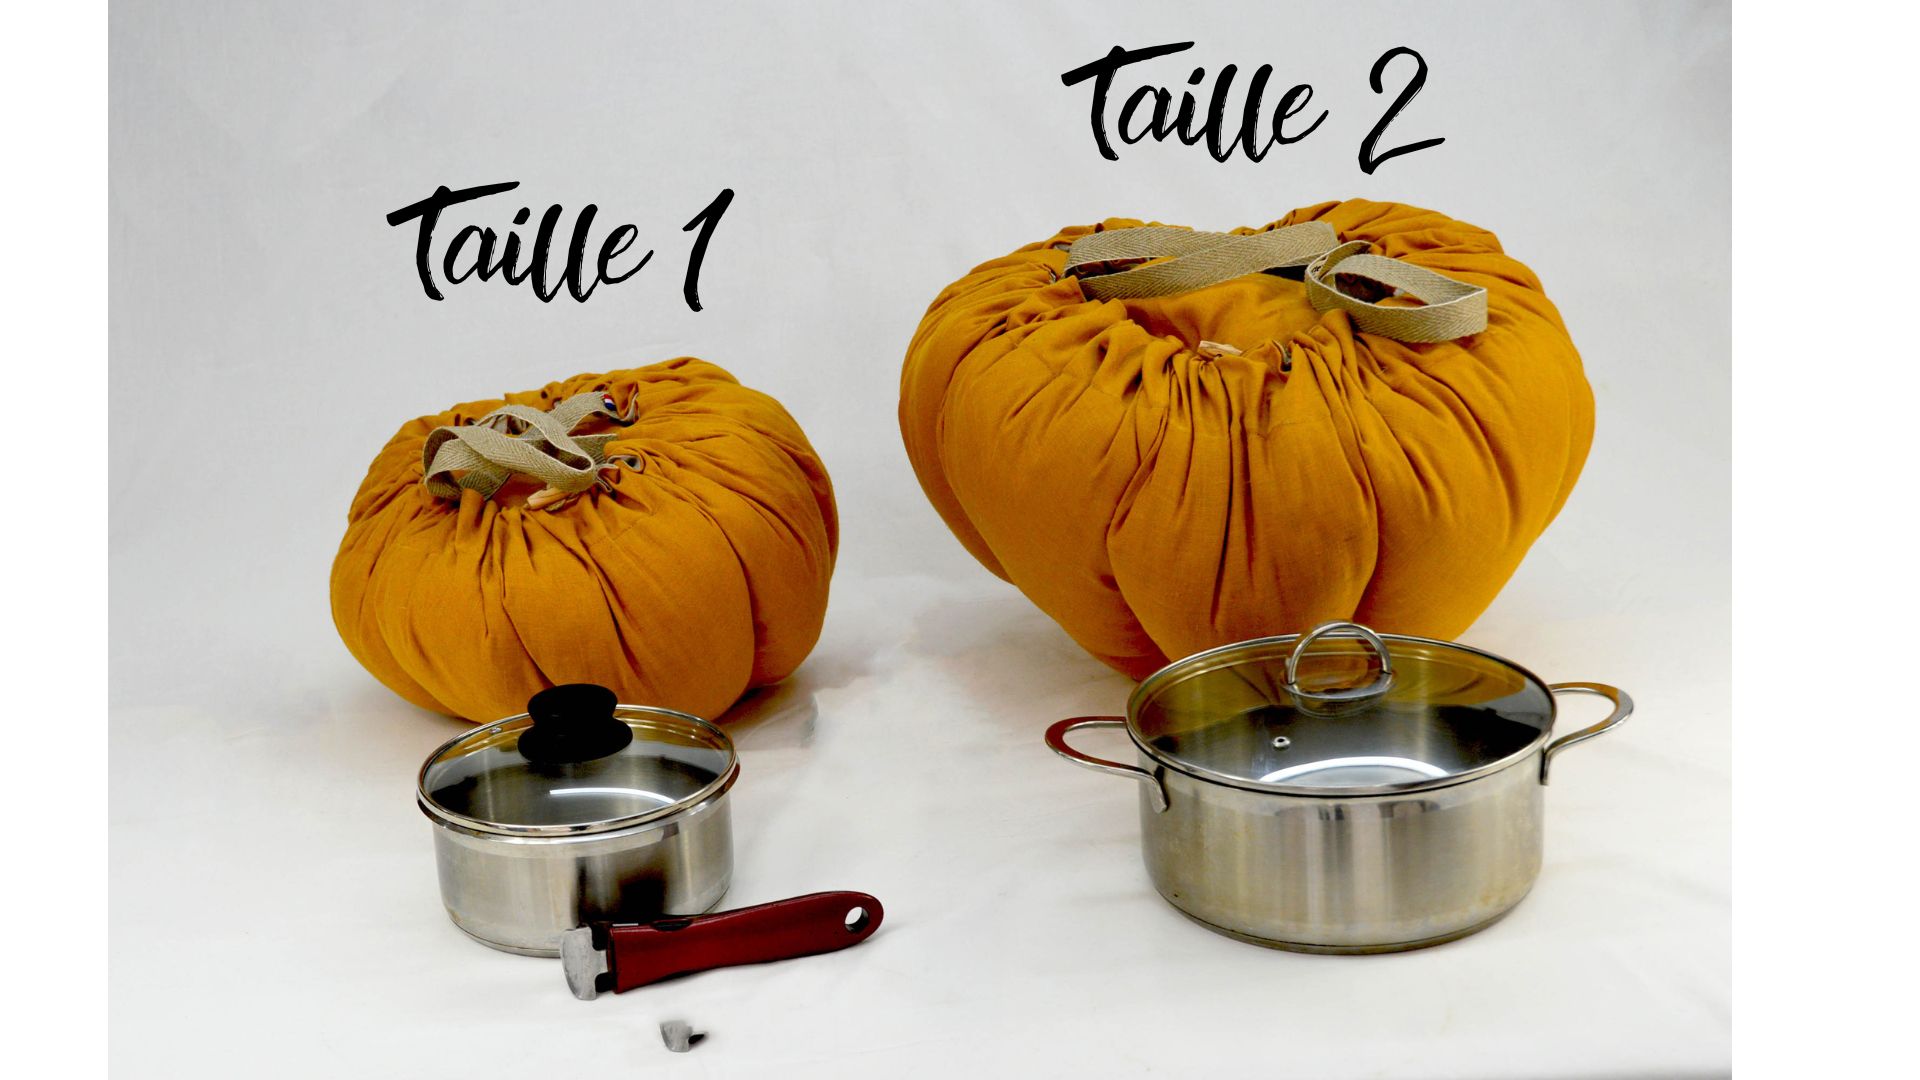
Sizing GUIDE
This type of Norwegian pot can be adapted to all shapes and sizes of stewpot, so we're talking about maximum capacity rather than size. To increase the capacity a little or to take into account a large handle (pressure cooker type), I advise you to play with the size of the lid rather than the rest. {
Cutting
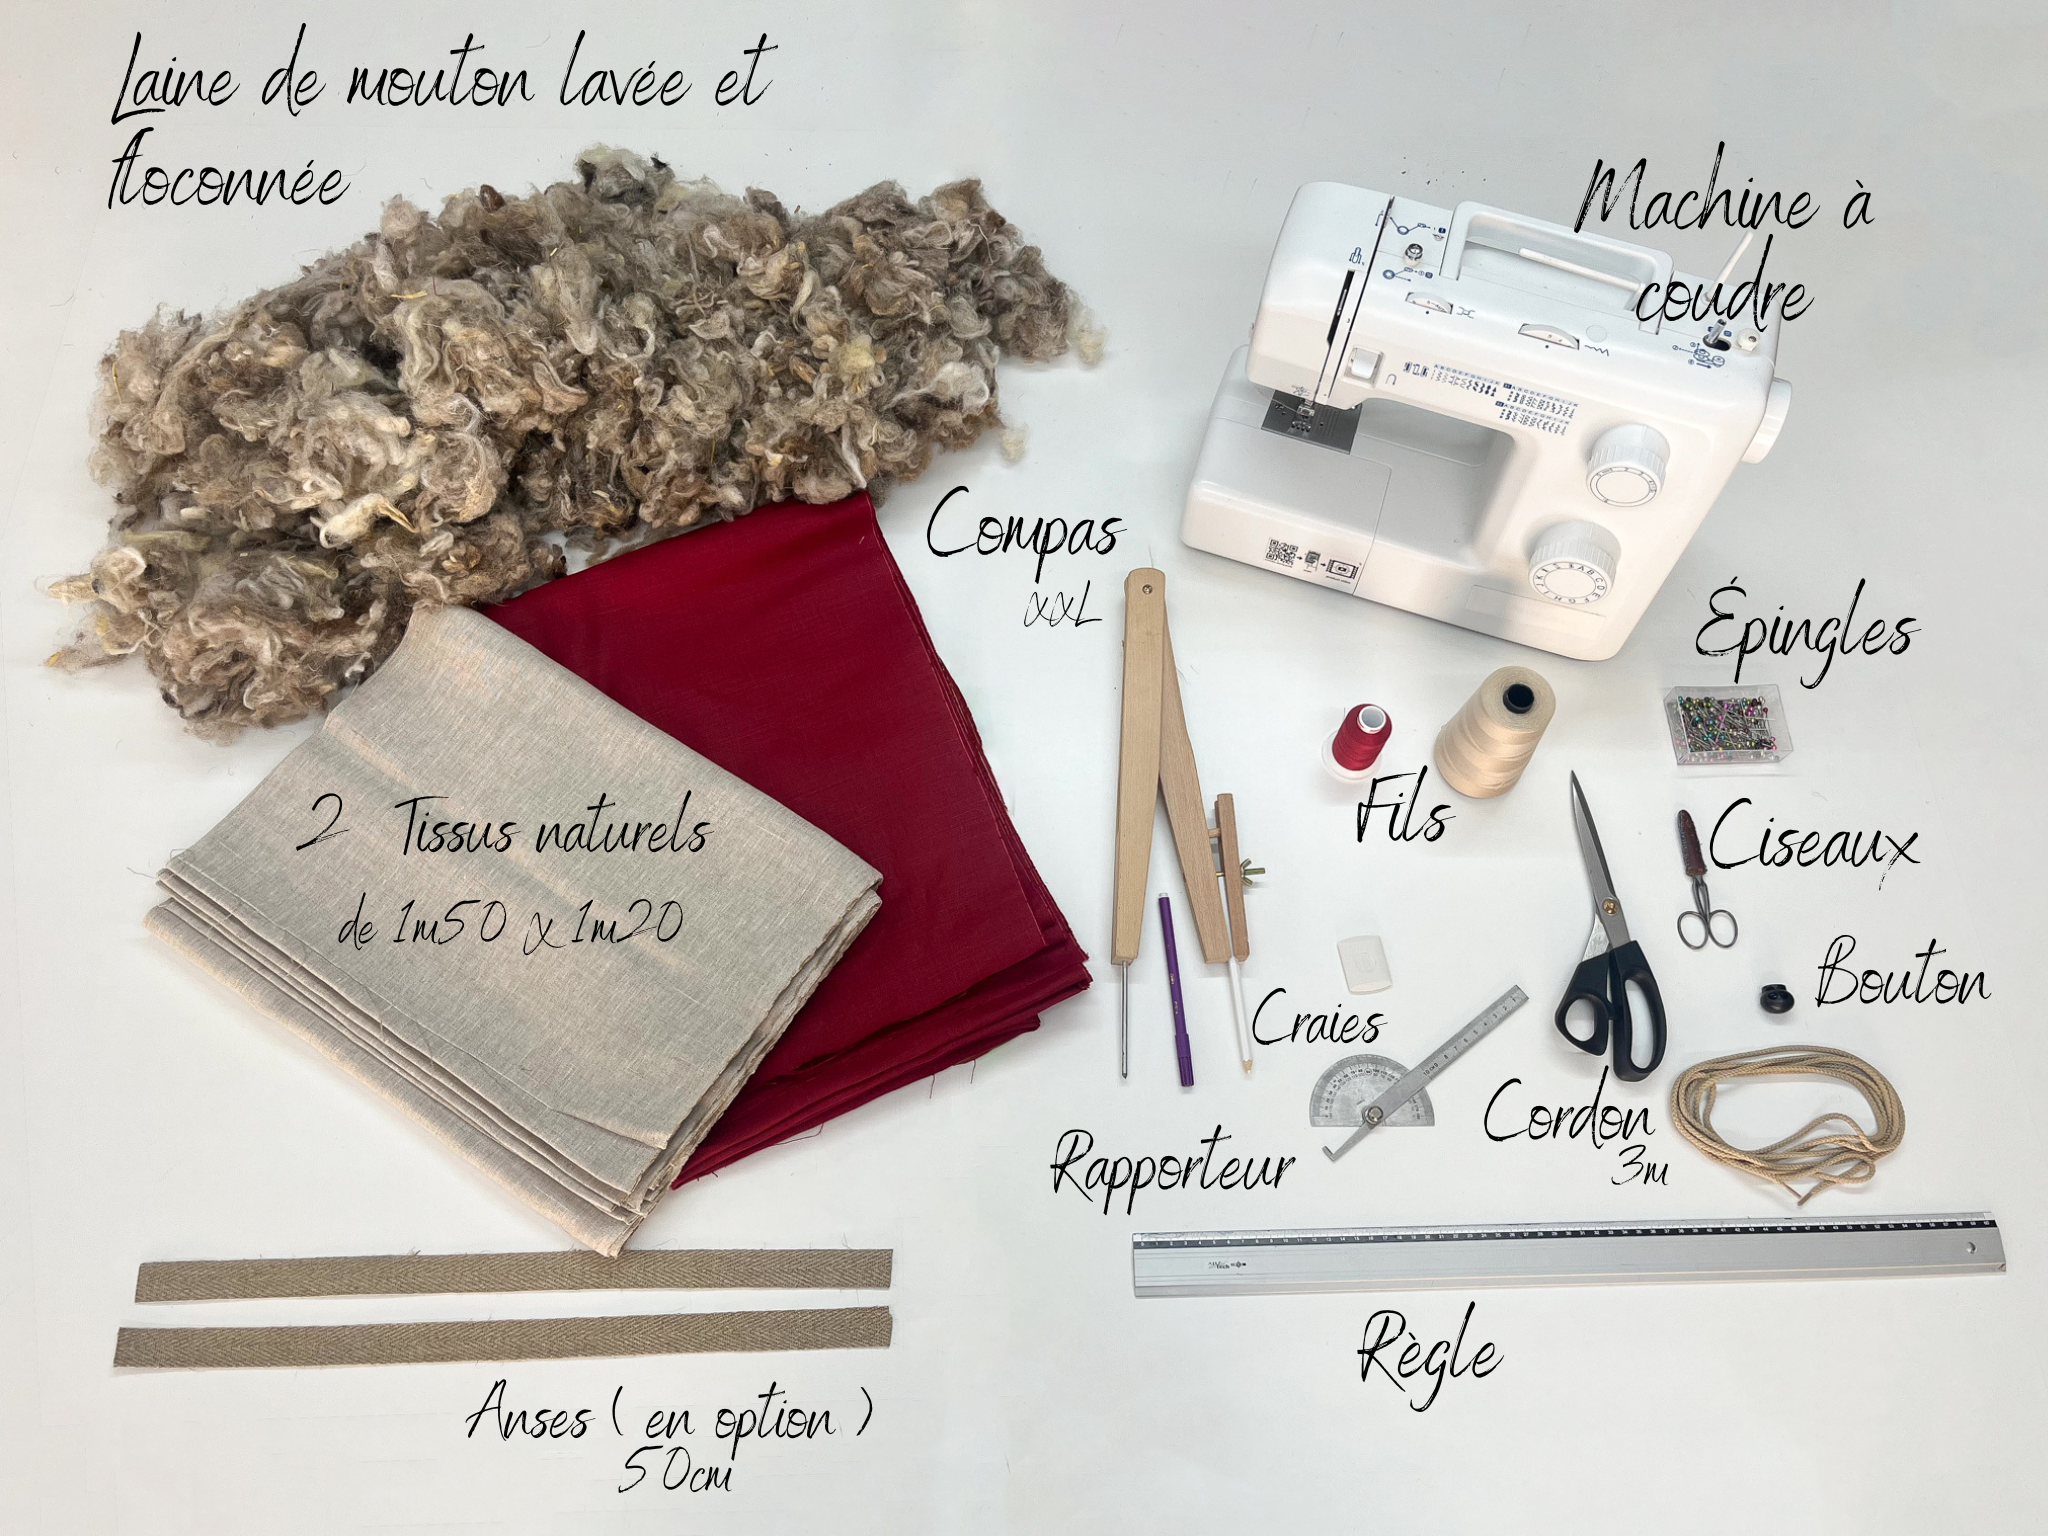
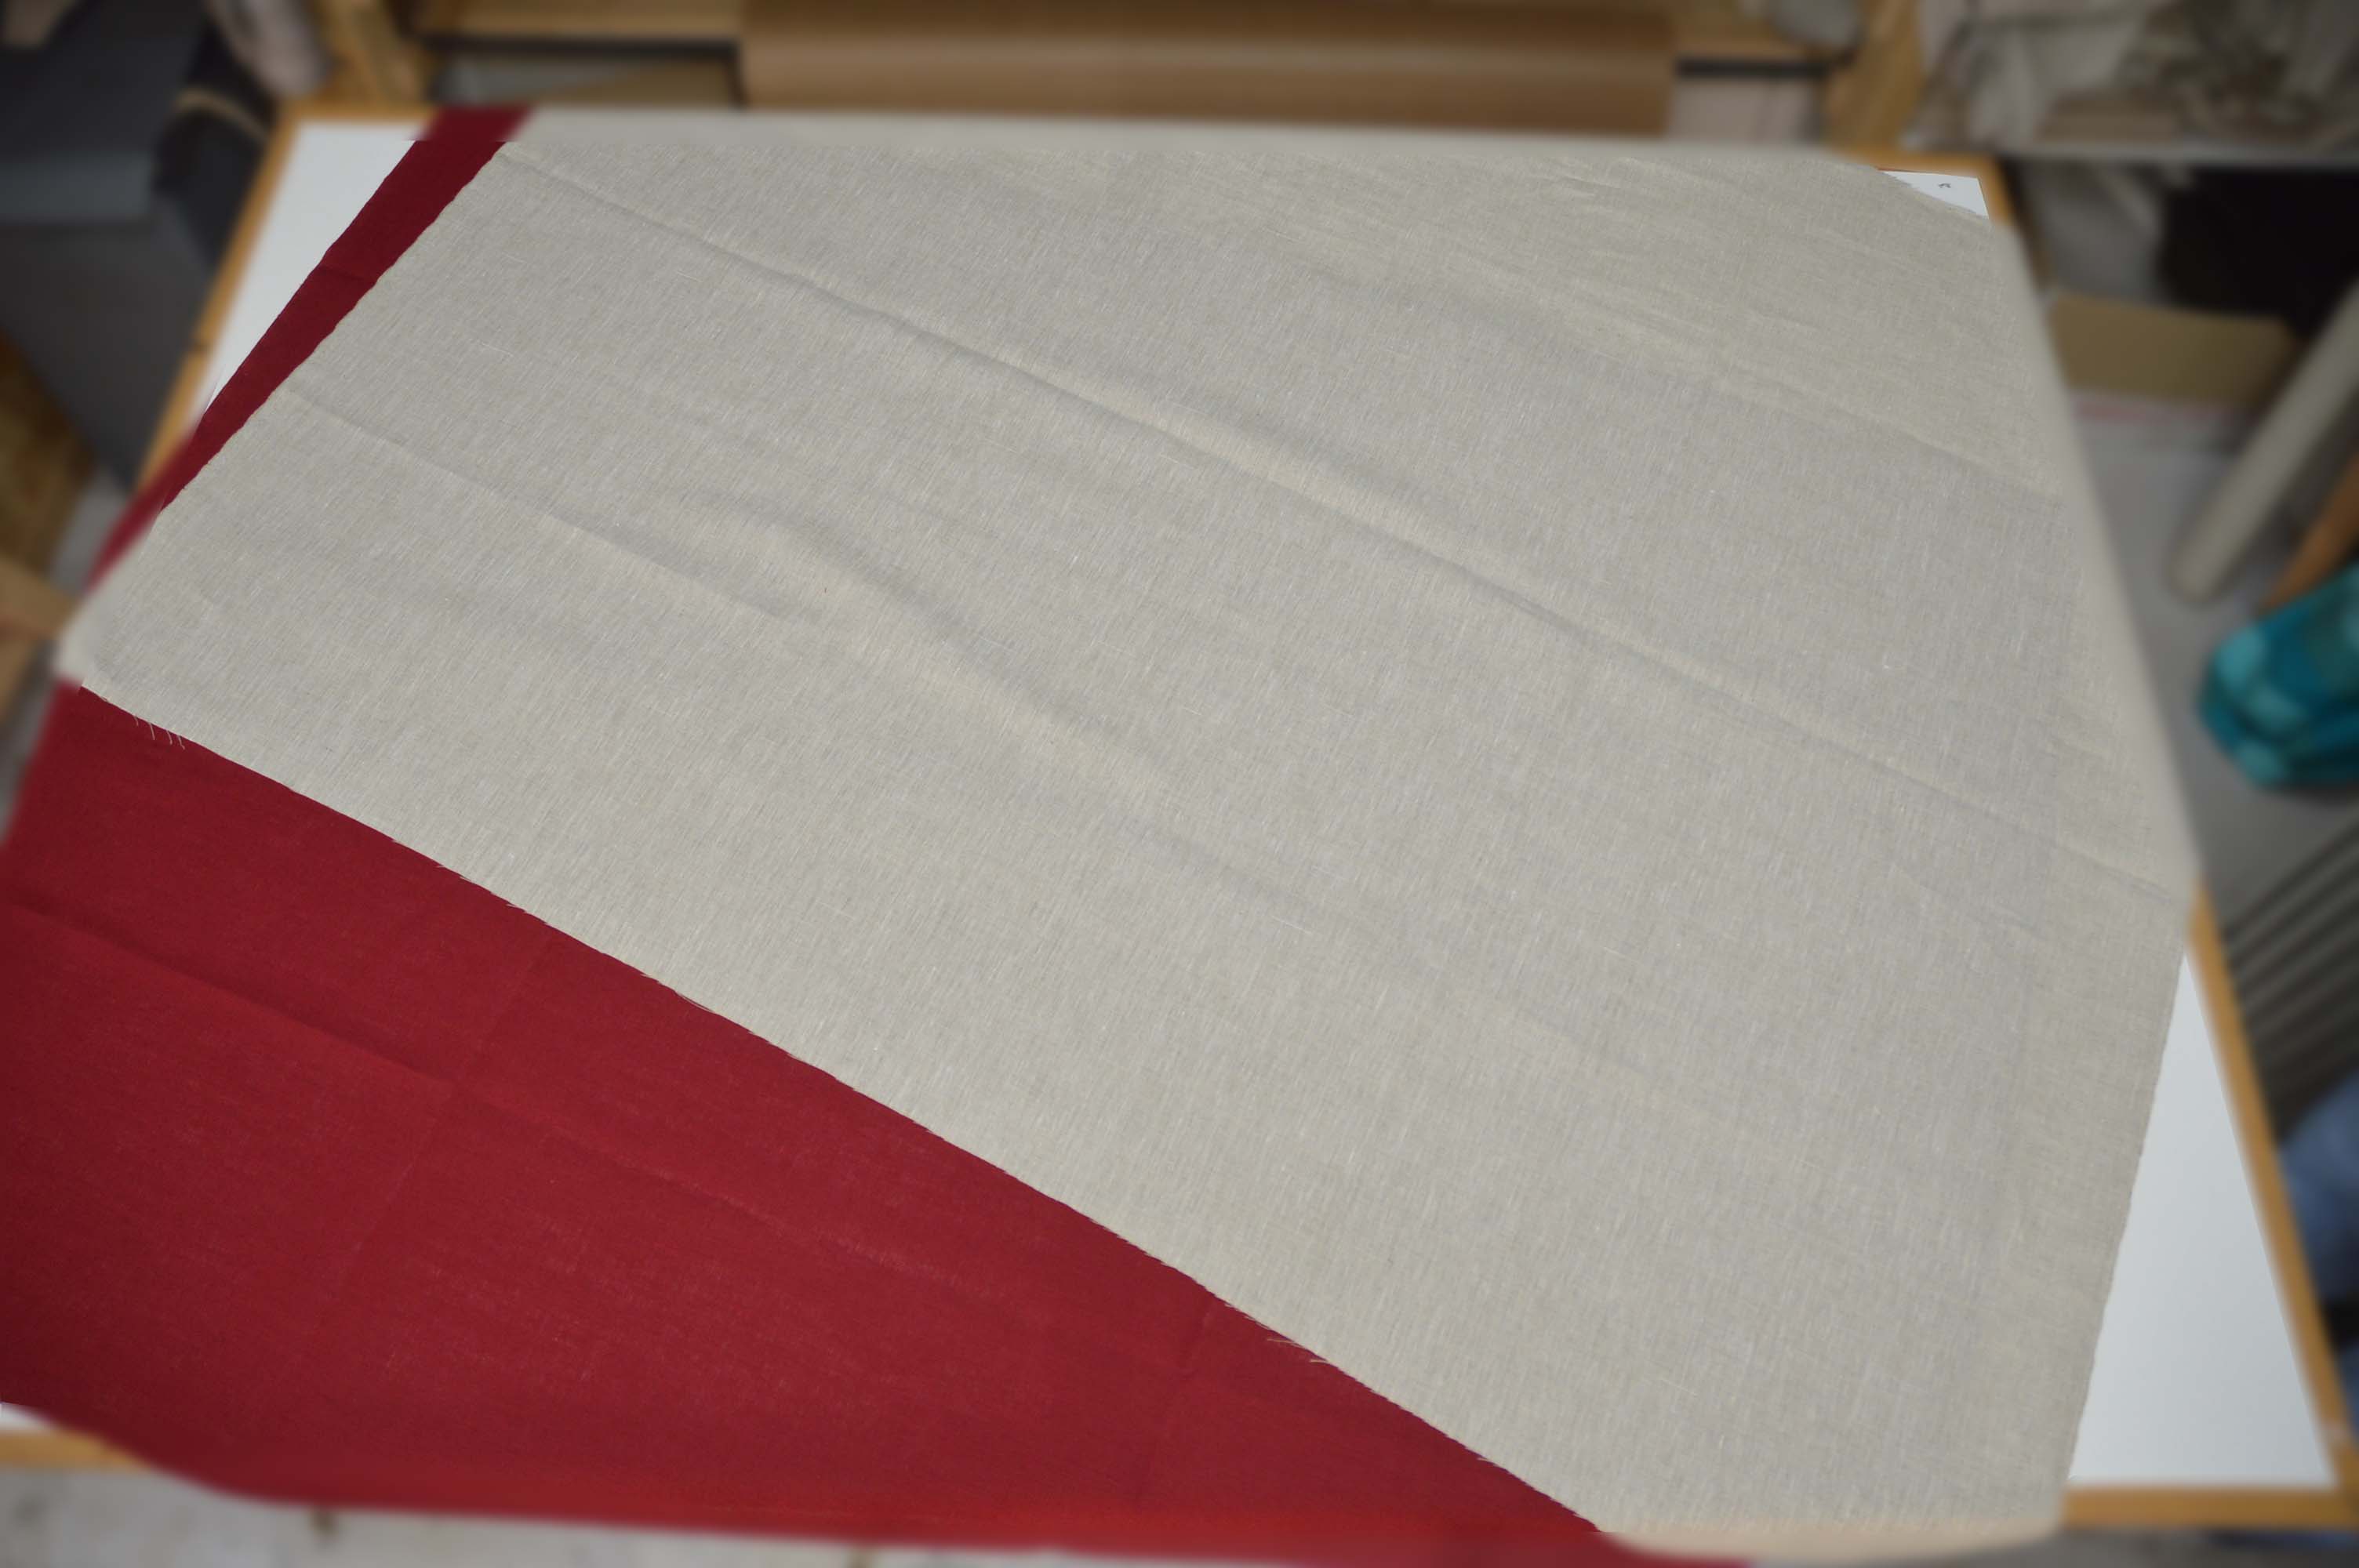
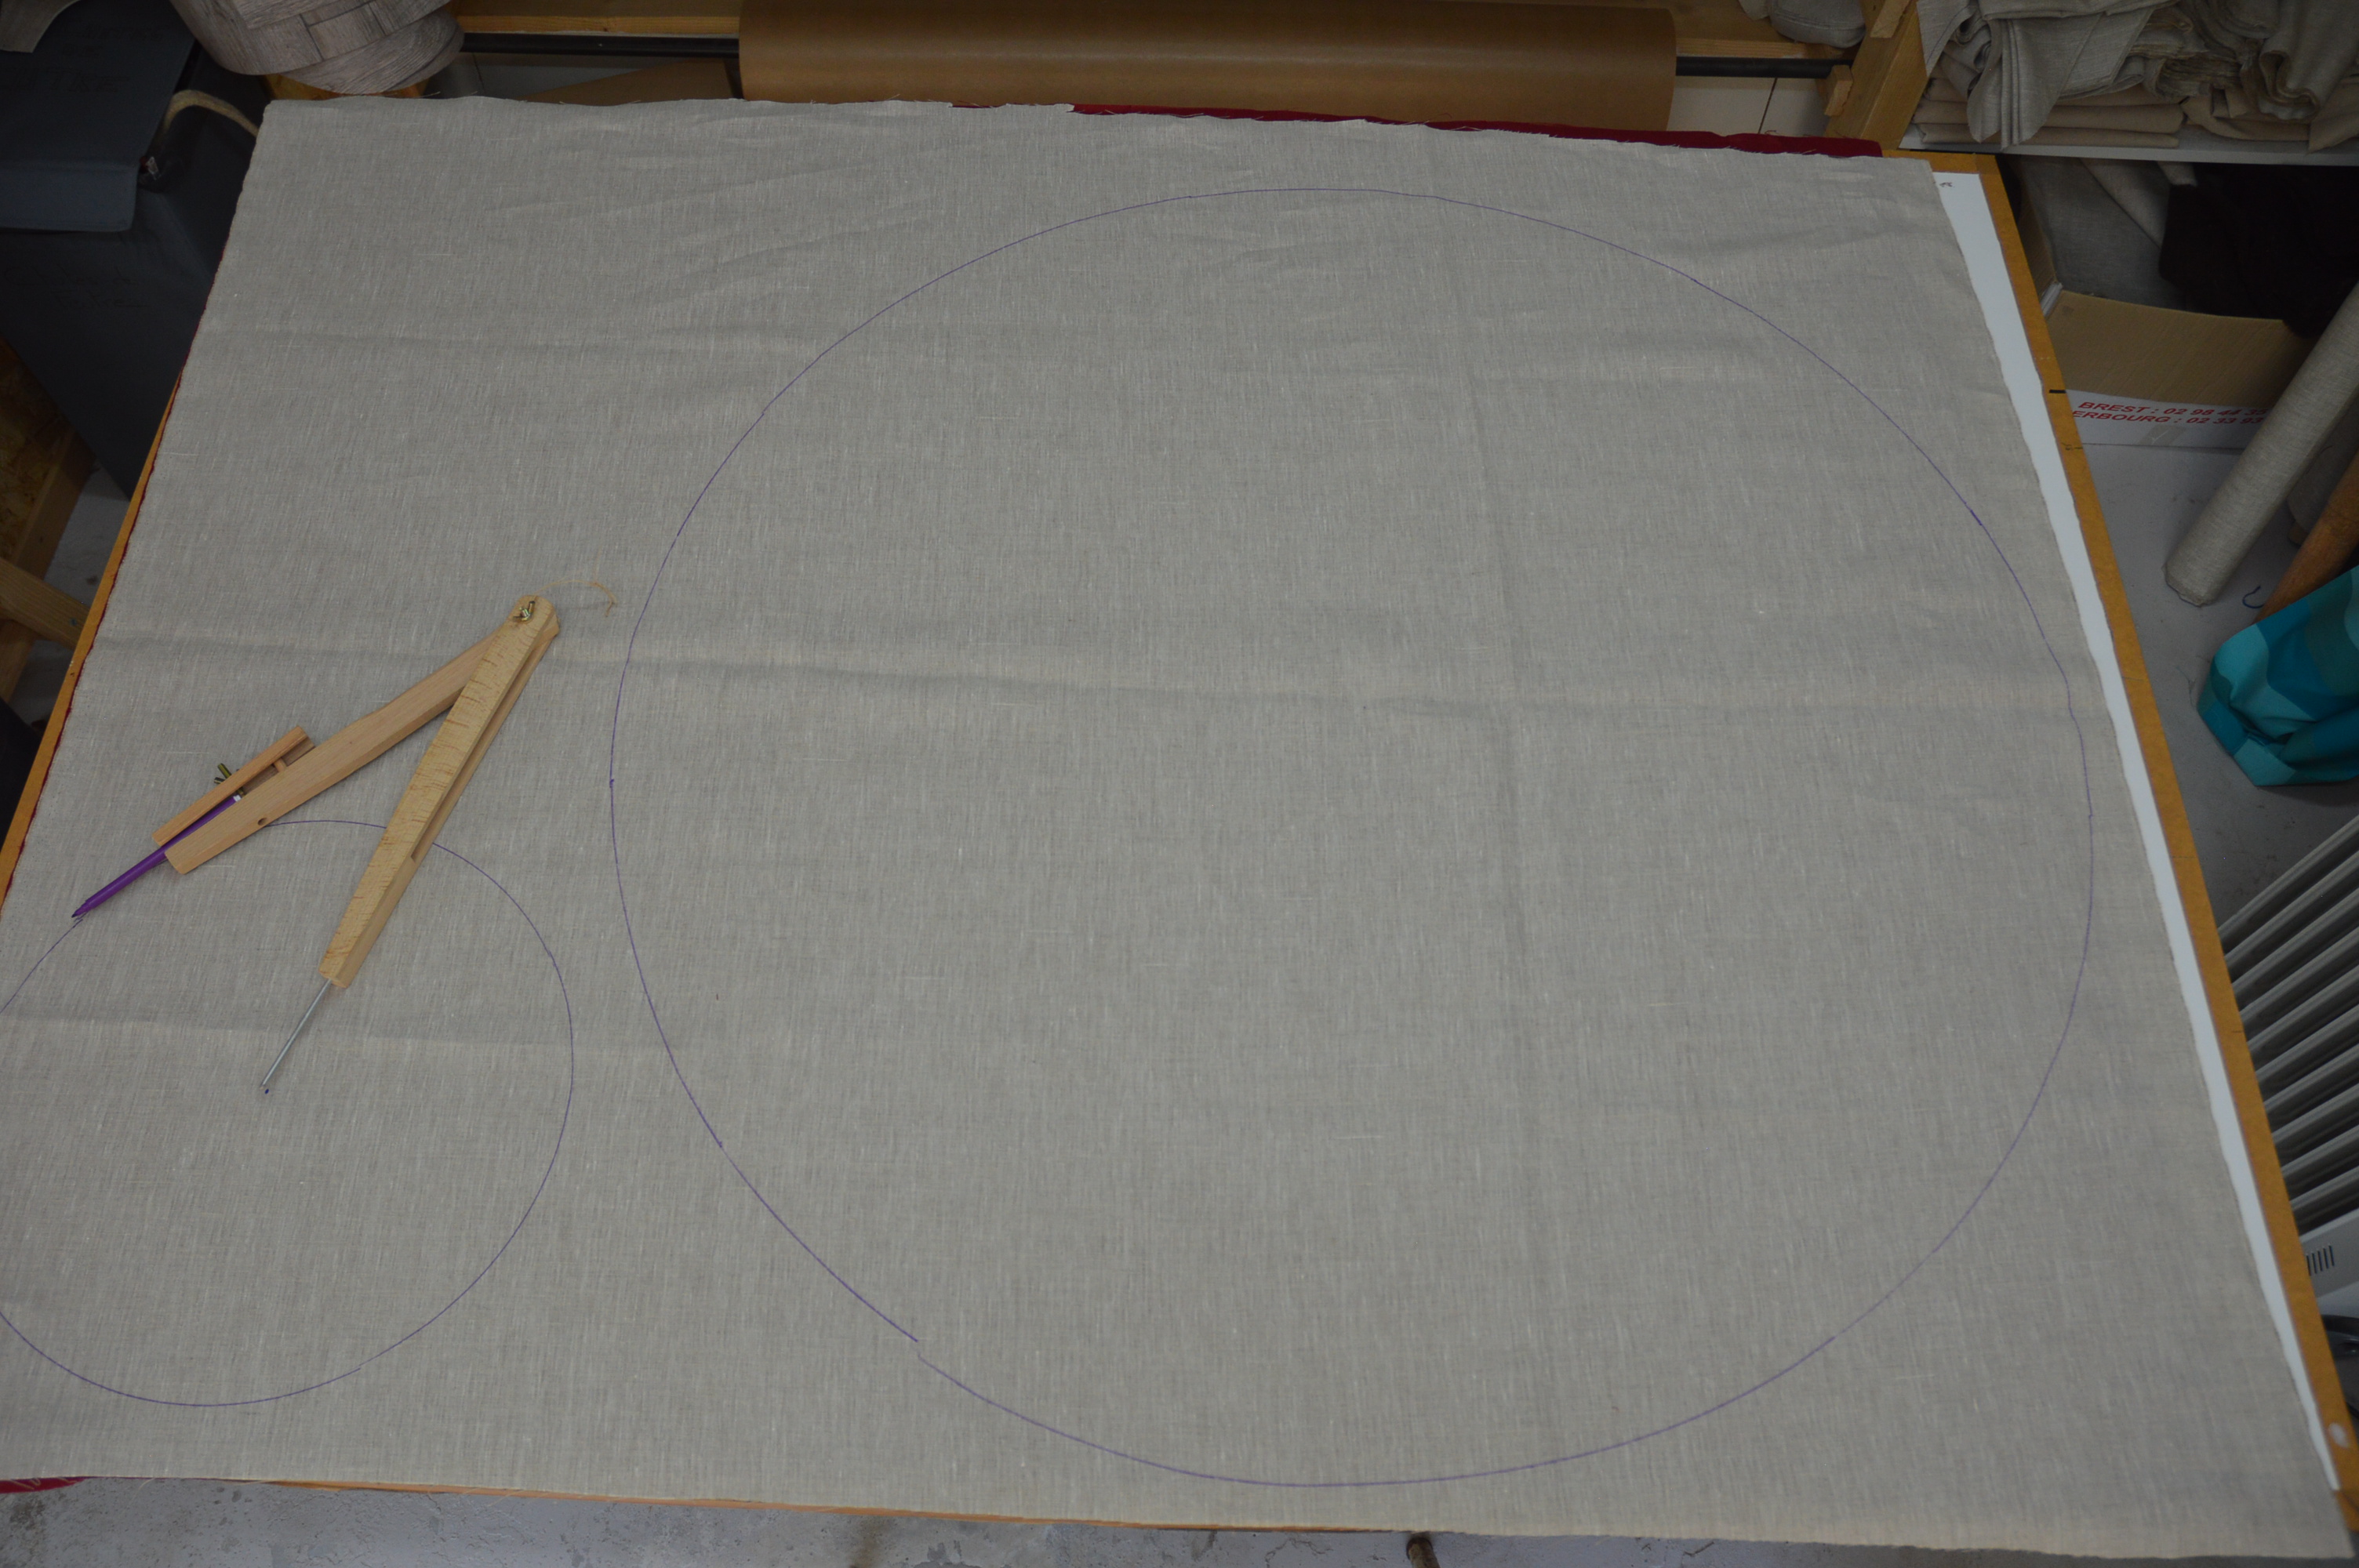
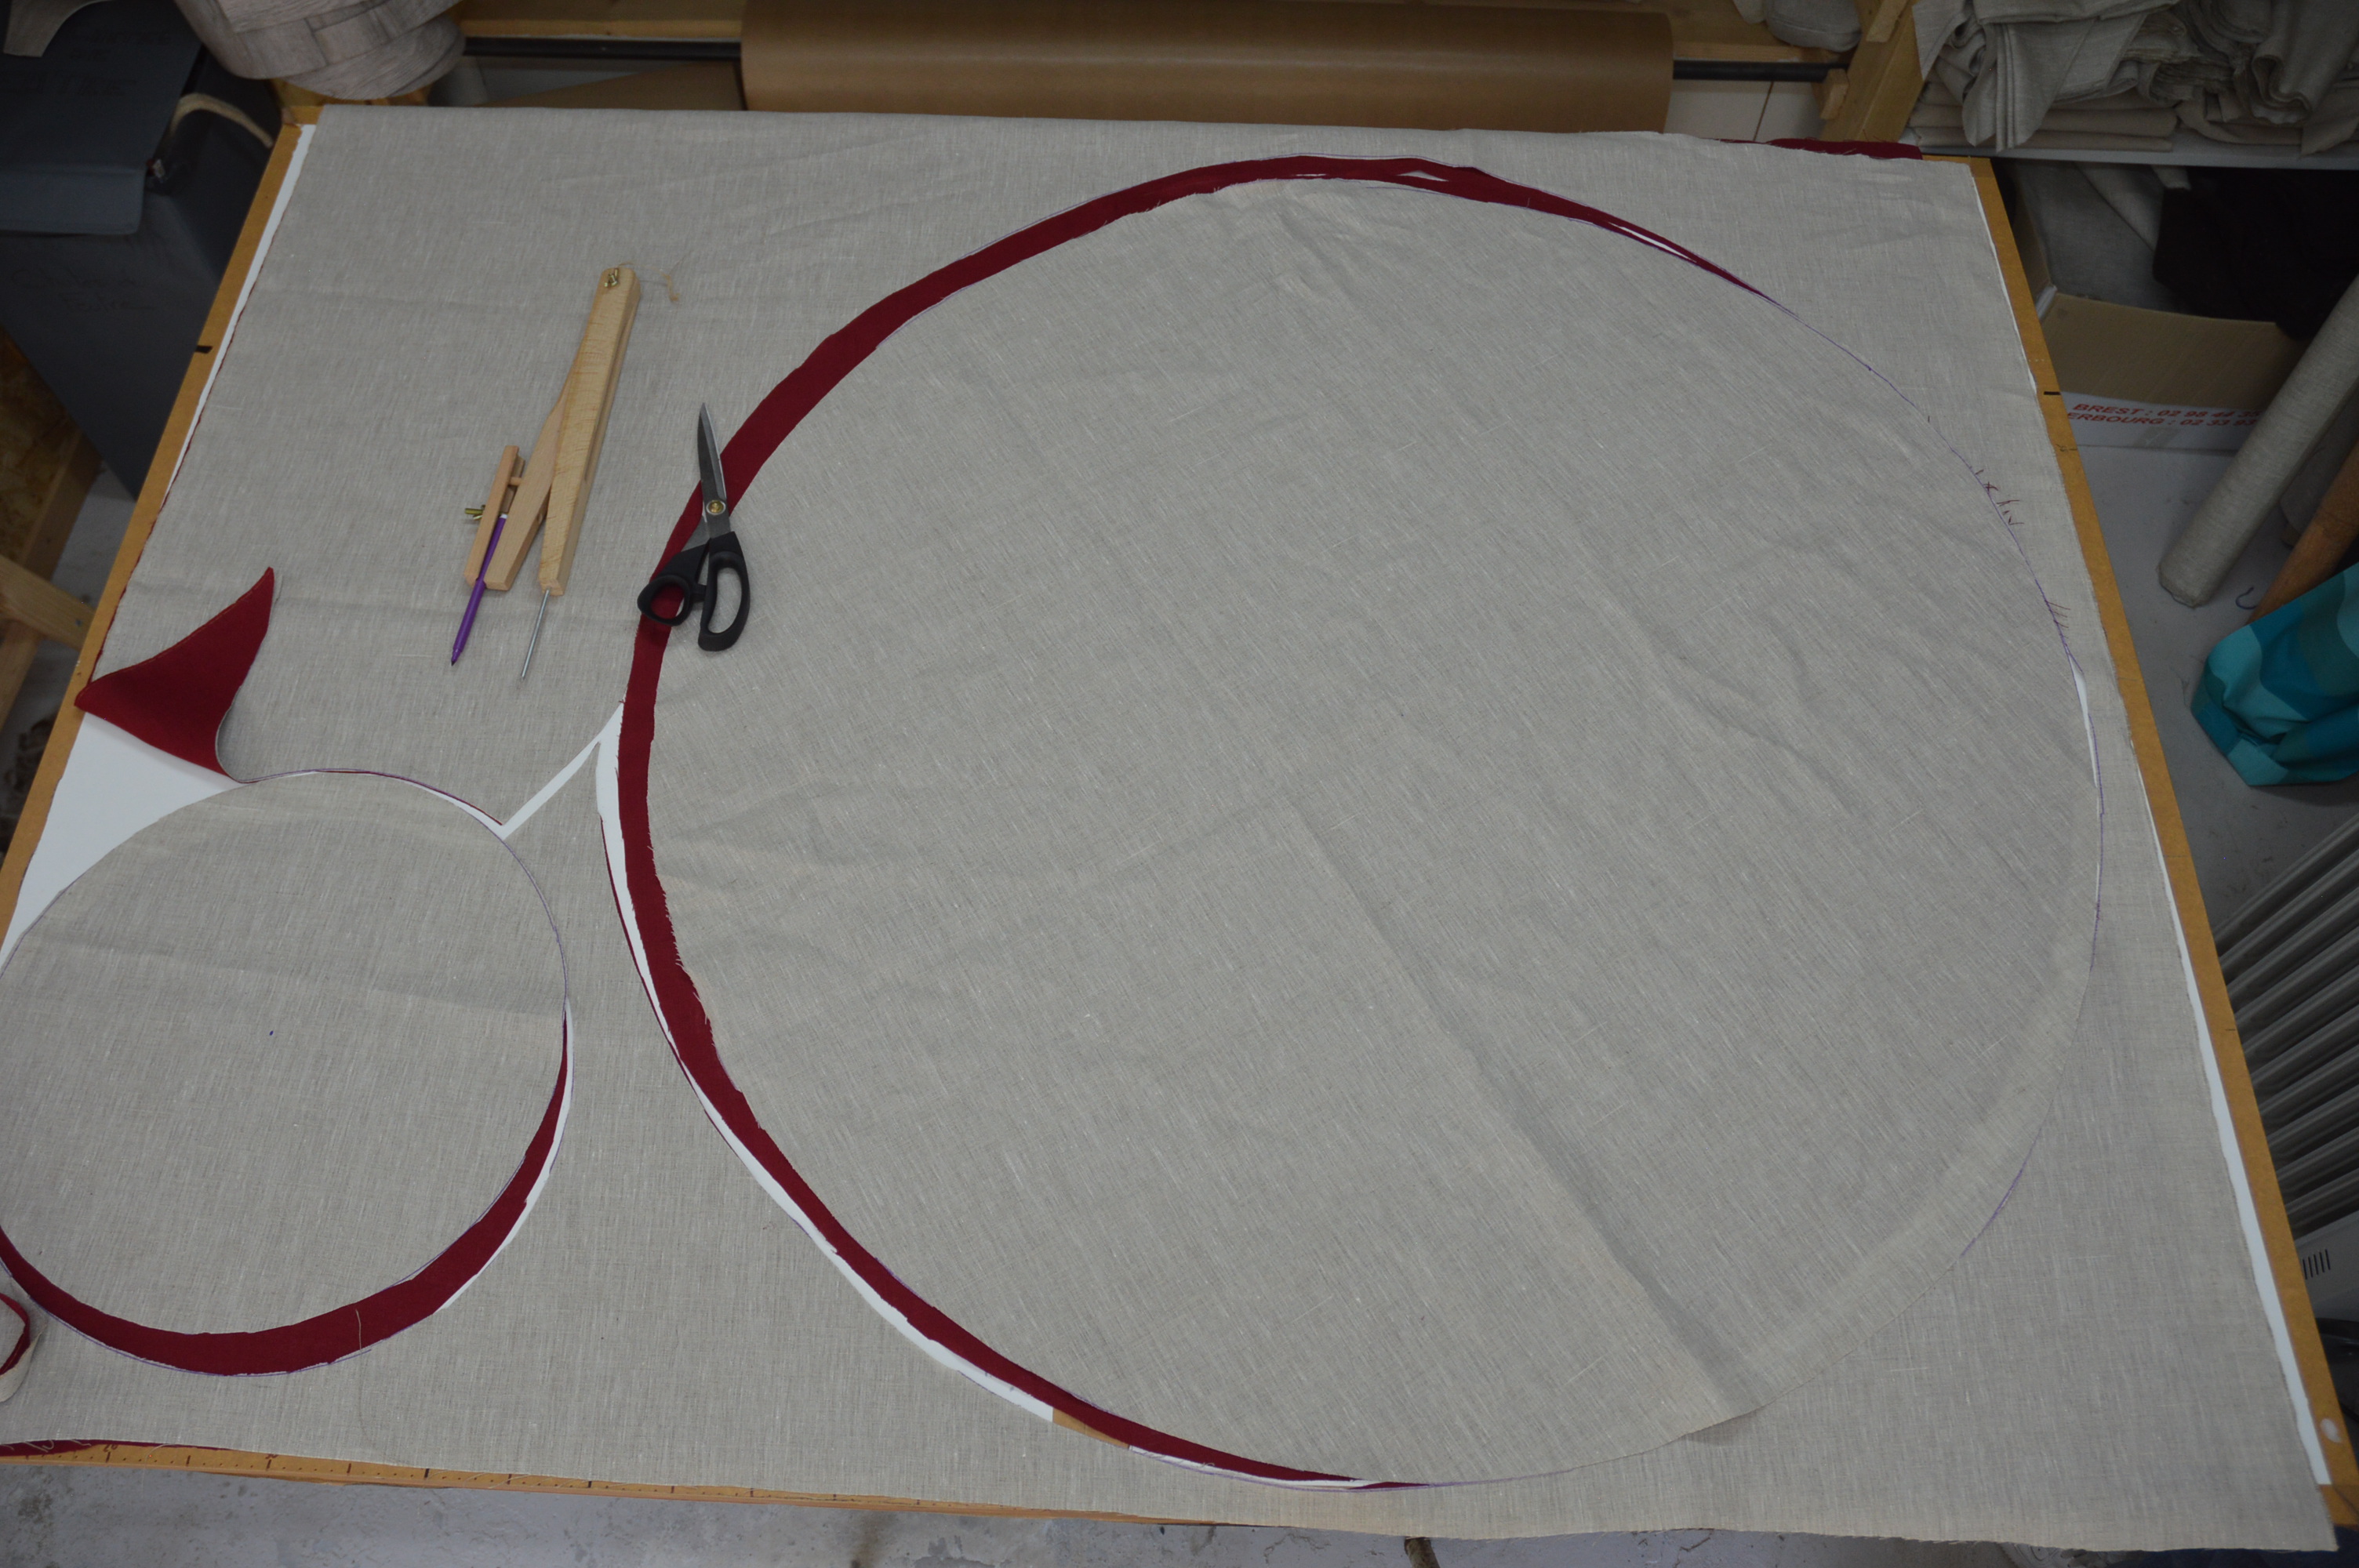
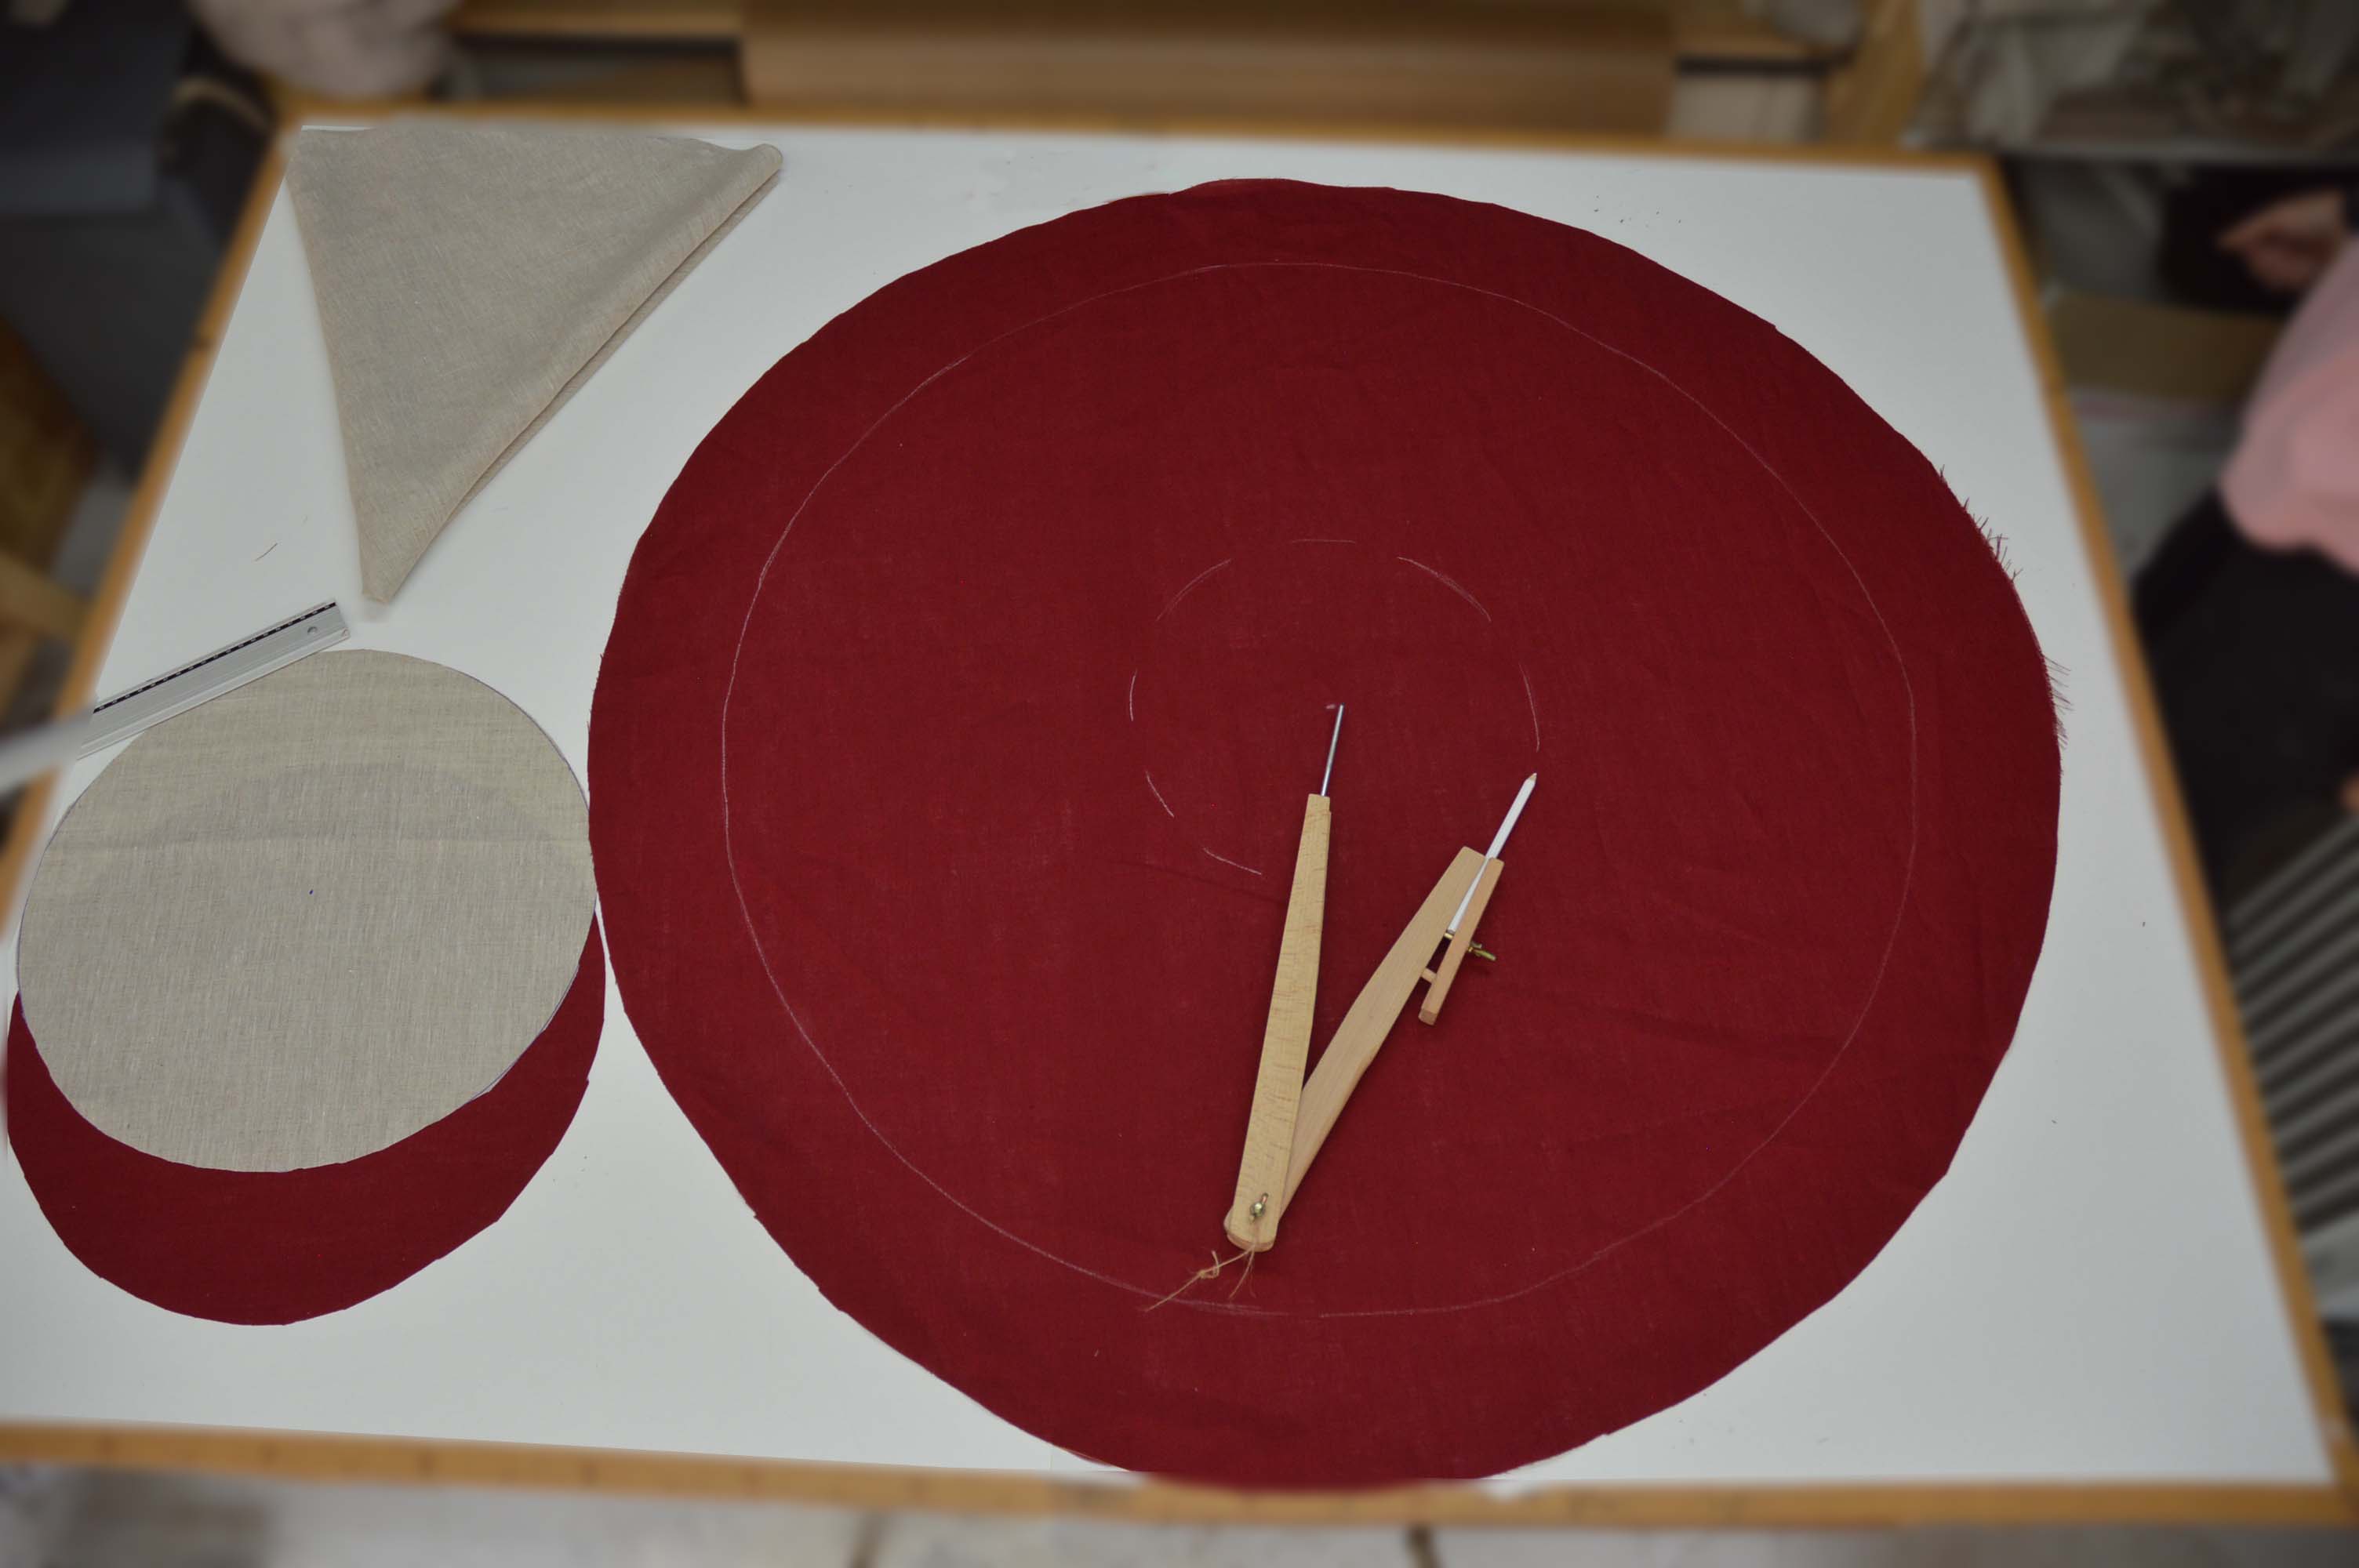
Stand on the floor or find a large table. *Overlap the two fabrics *Mark and fix the centre of your markings on the 2 layers with a needle. *Trace the circles of the central part and the pillow according to the size of casserole you want (see size guide table). *Cut the 2 layers of fabric together to make sewing easier.
Tracing
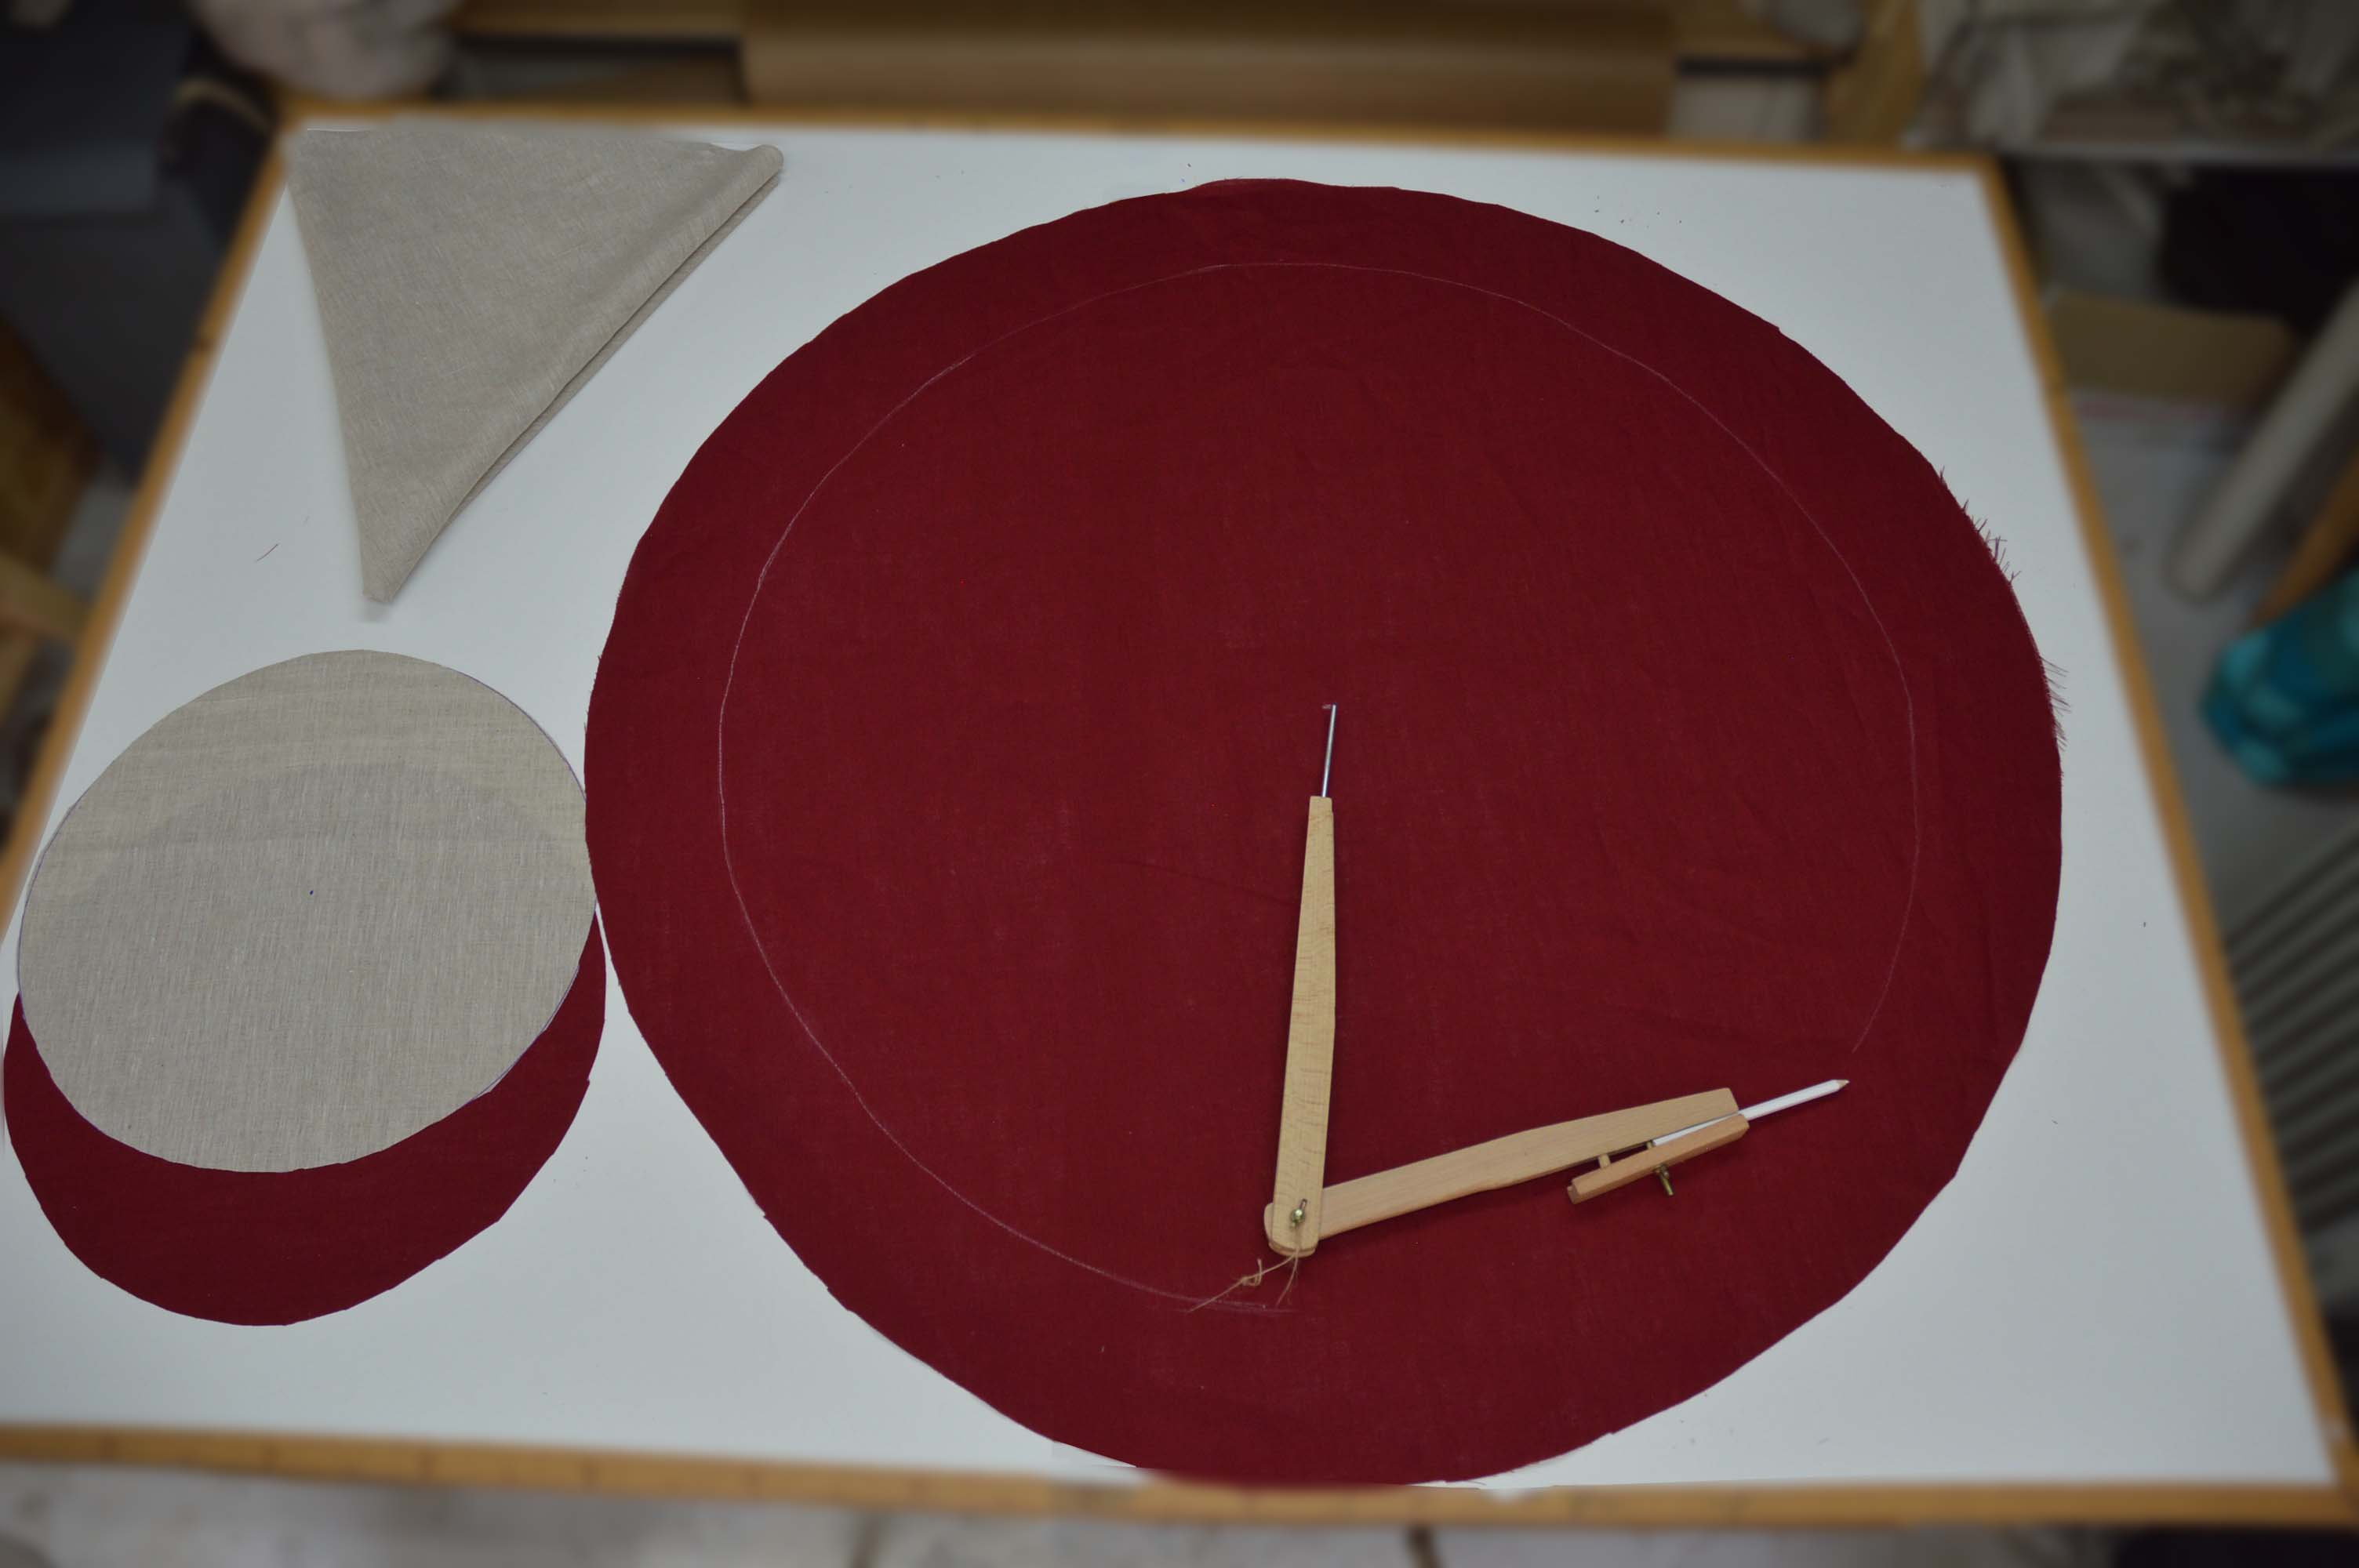
Take chalk with you *Use a compass to draw a circle 8 to 10 cm from the edge. This space will allow the cord to pass through and the lid to be wedged to minimise heat loss (diameter depending on your casseroles => see size table). *Draw a dotted line around the second circle, which will form the central part. *Use a ruler to trace the sides 2 by 2. Check that the space between the sides of the lower part is at least 8-9 cm (more if you have big hands) to allow for padding. *The length of the sides determines the maximum height of the casserole. *Hatch the upper boundary of a portion that will not be sewn to allow for stuffing.
Assembly of the fabrics
The fabrics are joined together using the central pieced seam. *Add pins in the centre of the main part to prevent the fabric from moving. *Sew the peripheral circle (1) outside the hatched upholstery area. *Sew up the right "sides", respecting the tracing to make sure that your hands will be able to get through when stuffing. The sides of the main padding area can be narrowed by 1cm to make it easier for the wool to pass through. *Reinforce the locking stitches as these seams will be put under a lot of stress later on. *Cut the seam threads. *Erase your tracing, leaving only the hatched area of the stuffing.
Stuffing
This step is essential to limit thermal bridges and guarantee the insulating efficiency of your Norwegian pot (quantity of wool required in the "Sizing Guide" - step 1). Stuff with wool cuffs without making tight little balls starting with the corners *Fill the first 4 Pie charts 3/4 full, then turn them over to make them easier to handle. *Finish filling the pie charts. *Stuff the centre. *Start by creating a link between each pie charts and the centre with a large cuff of wool. *Stuff the centre more firmly as it will settle over time. *Finish by stuffing the last pie without letting the wool overflow to allow it to close.
Closing central part
*Sew the central part following the hatched marking. *Then remove the remaining markings.
Positioning of handles (optional)
Place the handles opposite each other, taking care not to twist them. Secure with pins
Passing the cord
Position the cord, securing it with pins to prevent it getting caught in the seam. Place and fix the exit of the cord in the centre of one of the pie charts at 90° to the handles (if there are any) Prepare the external closure by turning the two layers of fabric inside out by 1cm. Secure with clips or pins.
External closure
*Sew up the outside Make sure you take the 2 layers of fabric and watch out for creases. *Reinforce the seam at the cord entry with a tight zigzag.
"button"
Slide the button onto the cord
The pillow
*Sew the pillow inside out, leaving a 10cm opening for the stuffing. *Turn the assembled pillow inside out. *Stuff the pillow: It should form a fairly compact "pebble" 8-9 cm thick. Close the pillow seam
Result
And now your Norwegian Pot is complete! All that's left is to try your hand at low-temperature stewing: it takes a bit of planning, but the result is so tasty.


← Retour au répertoire — Fiche originale sur wiki.lowtechlab.org ↗